
 21.10.2026
A good raised bed herb garden puts the herbs I reach for most within a few steps of the kitchen, without turning watering and weeding into another full-time job. I've found that the most useful designs start with three things: how much sun the space receives, how much room the mature plants need, and how often I actually cook with each herb.
I garden in Boise, Idaho, in USDA zone 7a, where roughly 11 inches of annual precipitation, alkaline soil, hot summers, and late spring frosts shape my decisions. Those conditions aren't universal, so I plan planting dates around my own last and first frost dates and use local extension guidance for other regions. The design principles below work in many climates, with adjustments for local weather, soil, and winter temperatures.
What I prioritize when designing an herb bed
- A reachable width that doesn't require stepping into the soil.
- Separate growing spaces for herbs with different watering needs.
- Enough sunlight for productive culinary herbs.
- Well-drained soil, convenient irrigation, and safe building materials.
- A layout that makes harvesting easier than buying another bunch at the grocery store.
Choose the Right Raised Bed Shape and Size
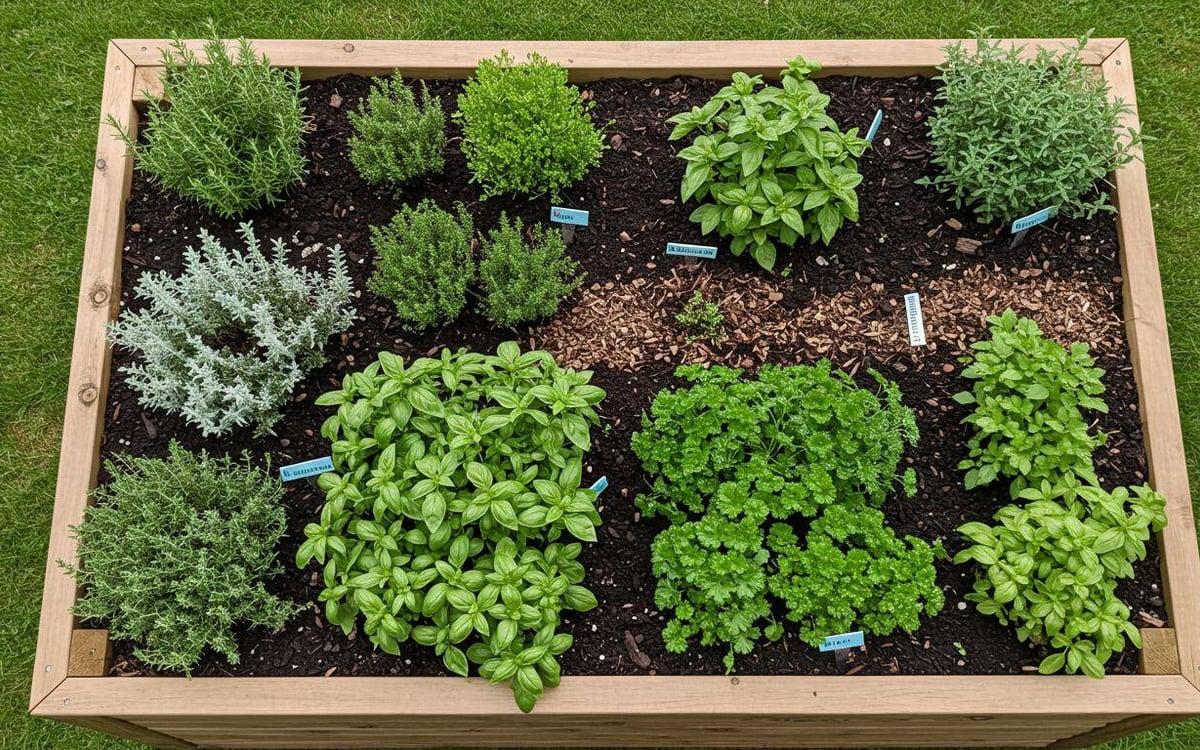
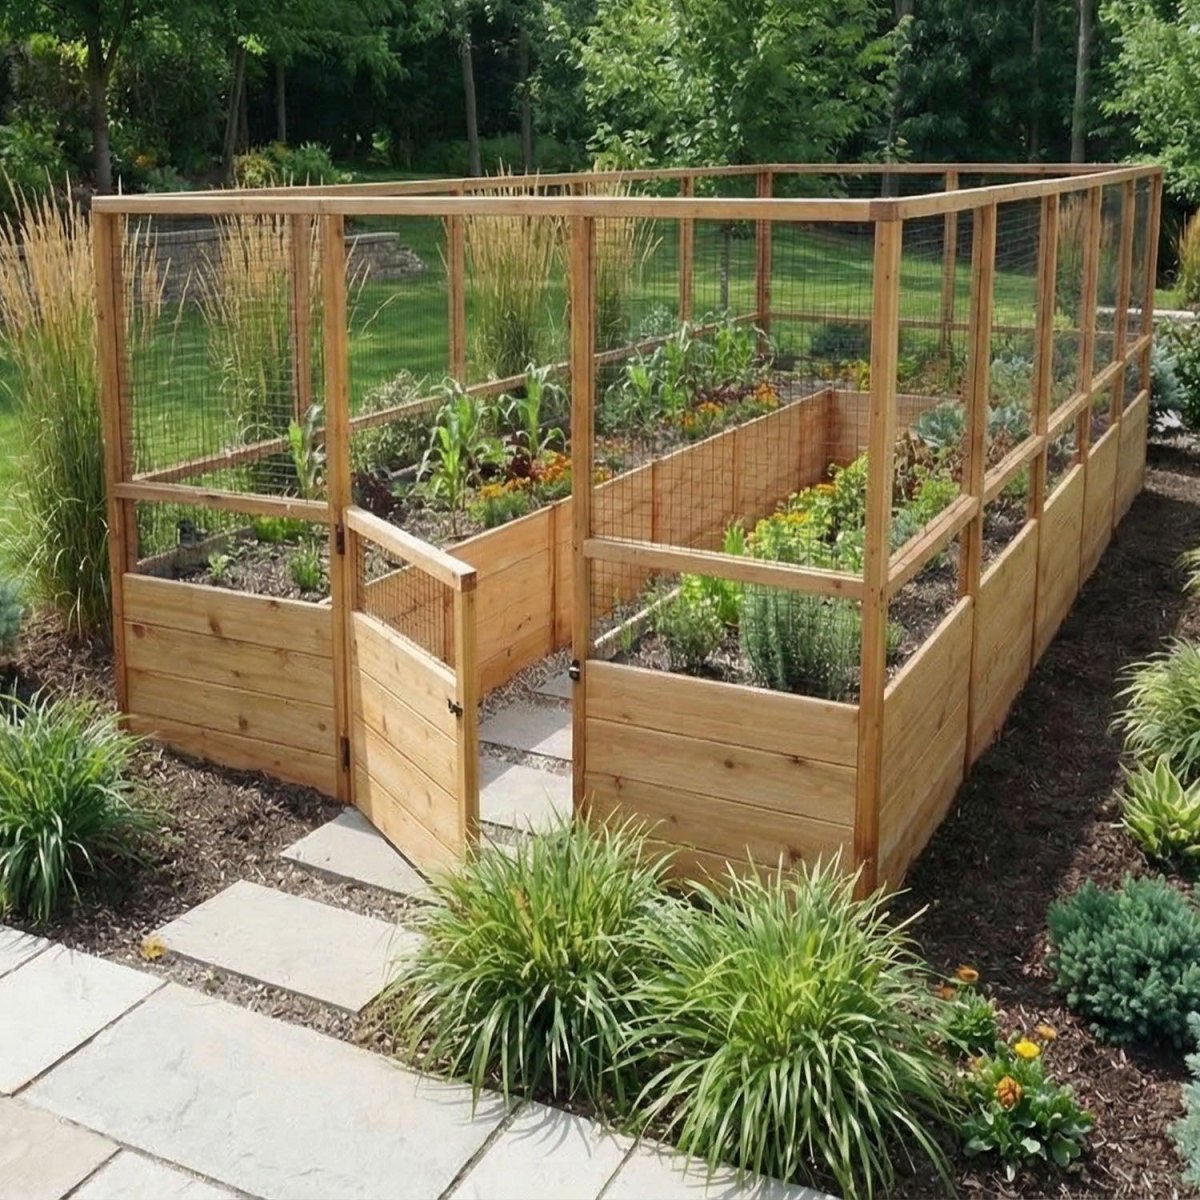
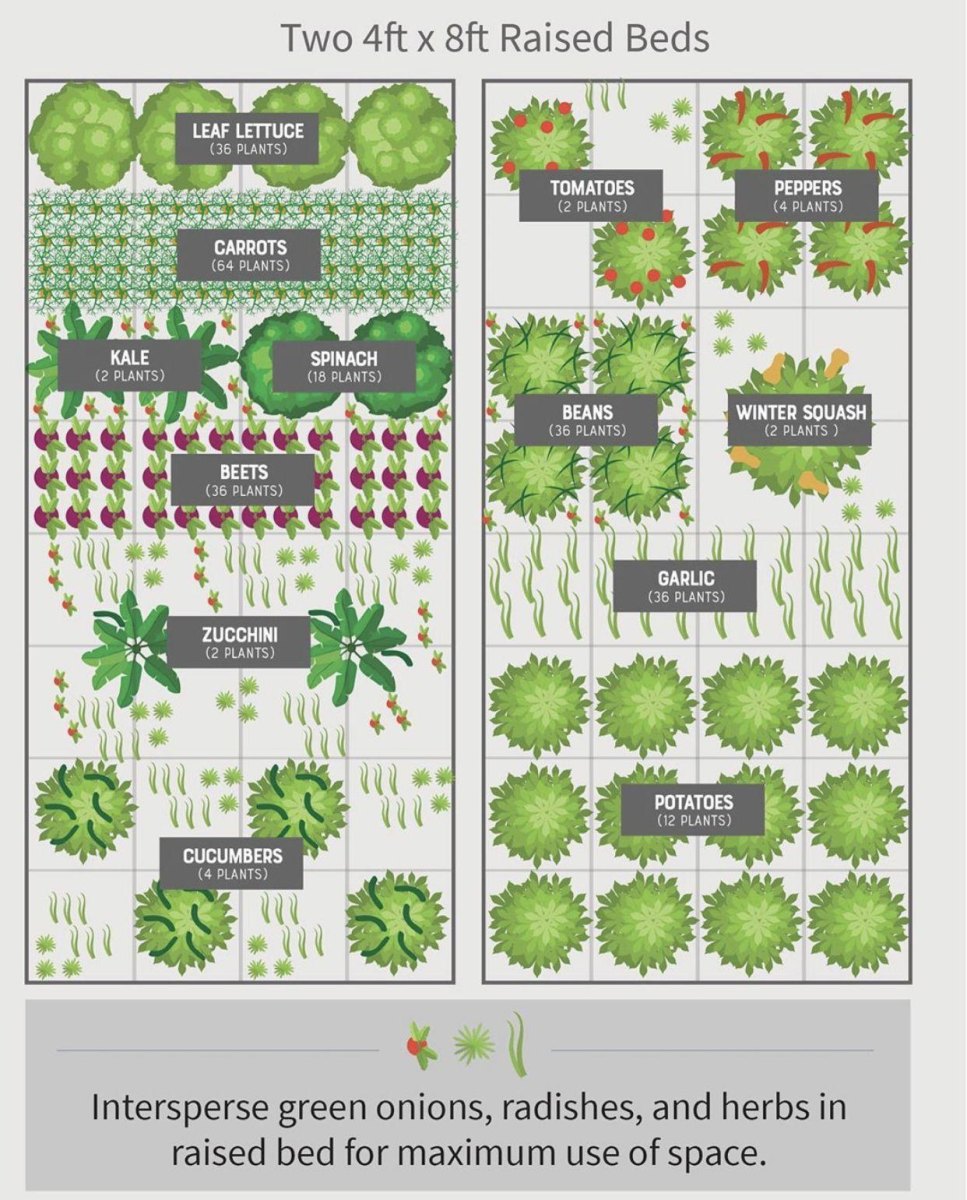
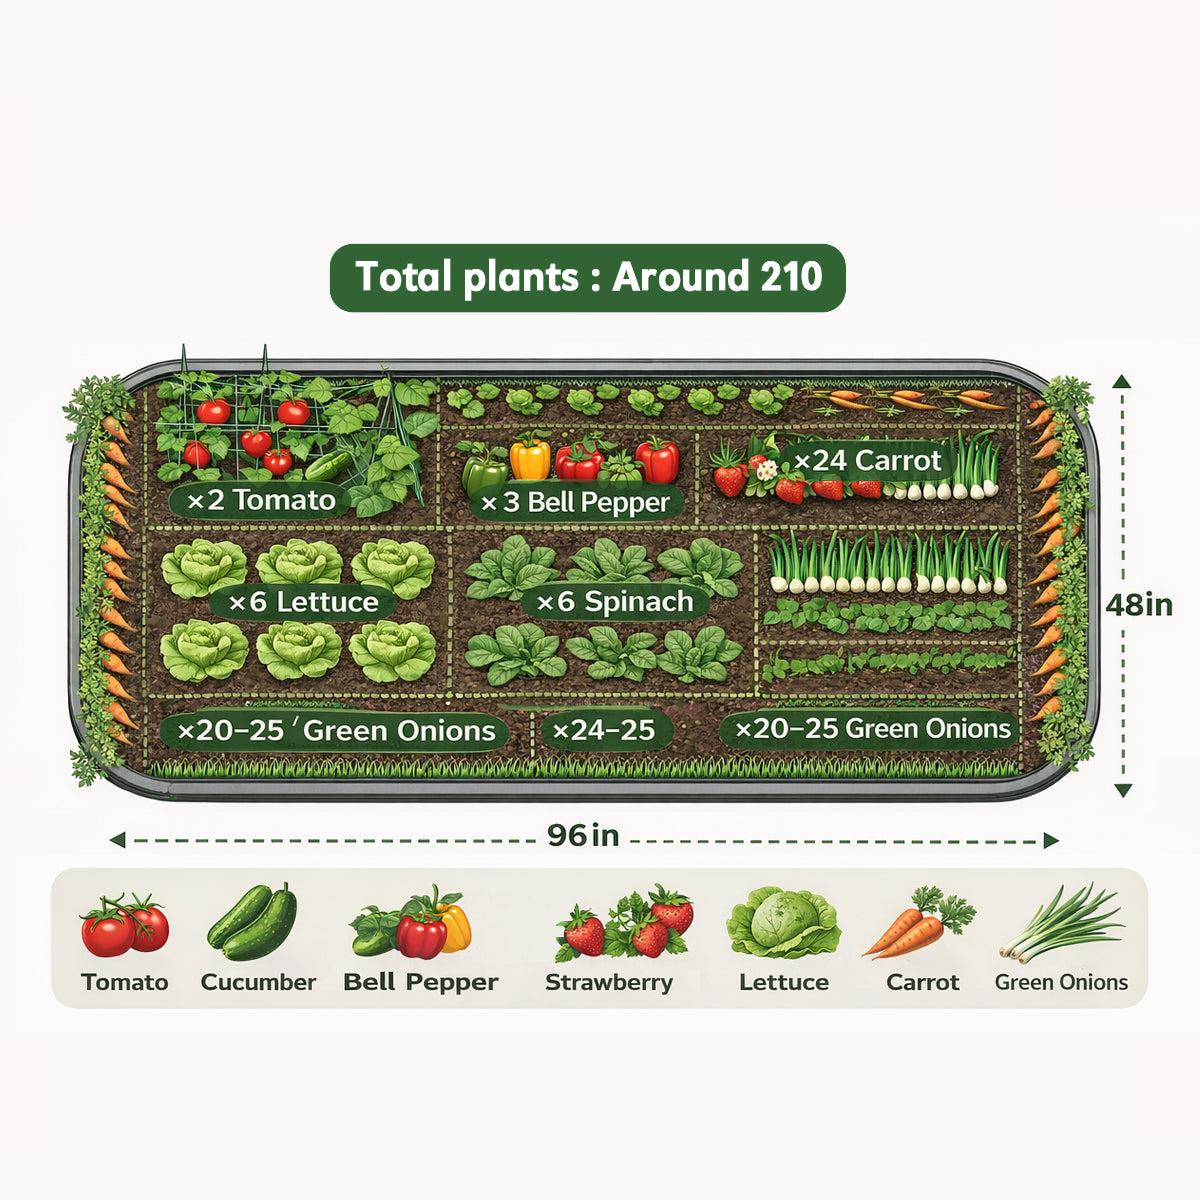
I start with reach rather than appearance. A rectangular raised bed is easy to build, simple to irrigate, and straightforward to divide into planting areas. For a bed accessible from both sides, I like a width of about 3 to 4 feet. That lets me reach the middle without walking on the growing soil. If the bed sits against a wall or fence, I narrow it to roughly 1.5 to 2 feet because I can only reach it from one side.
Length depends on the available space and how many herbs I use. A 4-by-4-foot bed provides 16 square feet, which is plenty for a modest culinary collection. A 4-by-8-foot bed provides 32 square feet and gives sprawling herbs more room. The University of Georgia Cooperative Extension has useful raised bed dimension guidance, including reach and pathway considerations.
My practical starting point
For a first herb garden, build one manageable bed before expanding. Measure the footprint, check the sun through the day, and make sure a hose or irrigation line can reach it.Design a Raised Herb Garden for Small Spaces
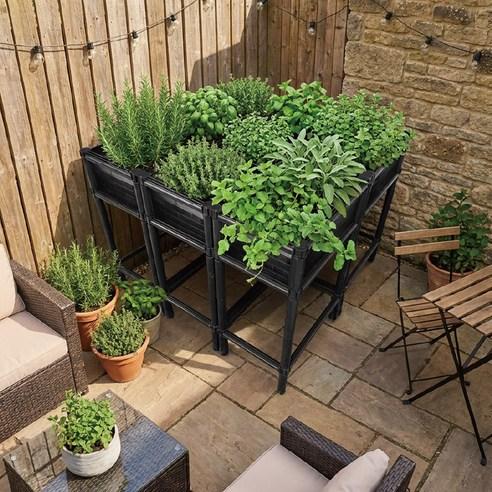
A small patio, narrow side yard, or sunny balcony can grow a useful selection of herbs. I focus on a compact rectangular planter or several containers grouped together rather than trying to squeeze every herb into one crowded box. Basil, chives, parsley, and thyme are useful choices, while rosemary can occupy its own container if it grows large in my climate.
For individual containers, I choose pots with drainage holes and enough soil volume to prevent them drying out too quickly. A 3- to 5-gallon pot is a practical starting range for many medium-sized herbs, although mature rosemary may need more space. In Boise's dry summer heat, small pots can require daily checks and sometimes daily watering. Your watering frequency will depend on wind, temperature, container material, and plant size.
- Sunny balcony: Place sun-loving herbs where they receive several hours of direct light, and secure containers against wind.
- Narrow patio: Use a slim planter accessible from the front.
- Rental garden: Choose movable containers instead of a permanent structure.
I also check balcony load limits before adding heavy, water-saturated containers. Small-space gardening works best when the design fits the site rather than fighting it.
Create a Tiered Raised Bed for Growing Multiple Herbs
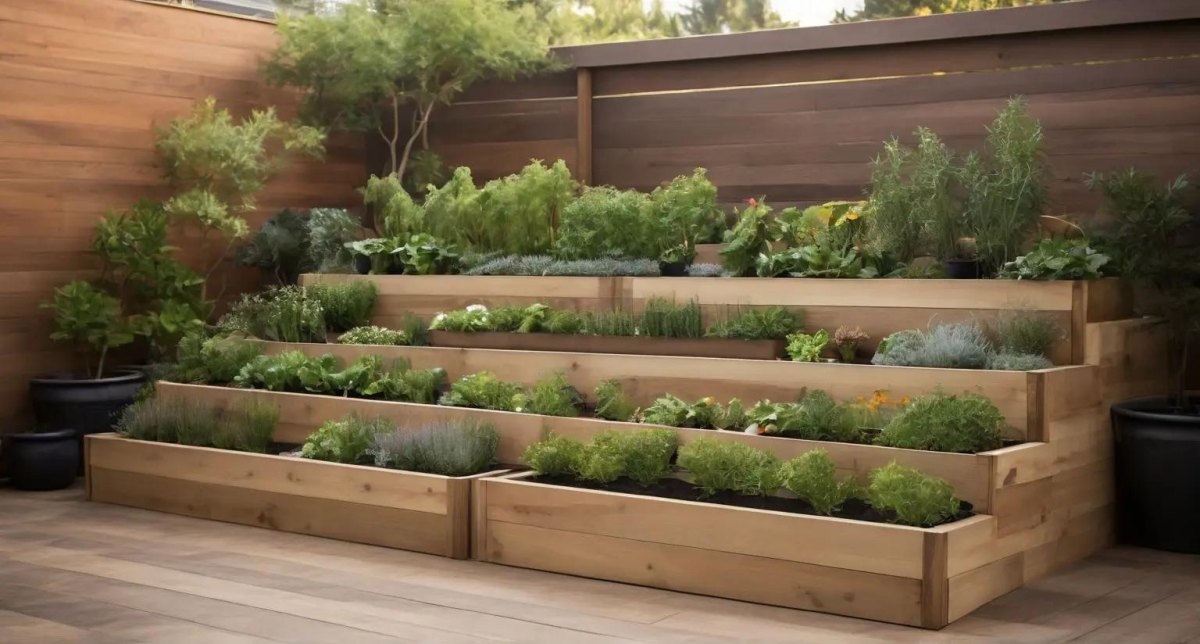
Tiered raised beds add growing space without spreading across the whole yard, and they make a small herb collection look organized. I would place compact thyme and chives on an accessible lower tier, with parsley and basil in a deeper middle section and a larger rosemary plant in a separate upper container if the structure receives enough light.
The main design challenge is that upper tiers can shade lower ones. I position the tallest plants where they are least likely to block the sun, then check the structure at different times of day before planting. Each tier also needs sufficient soil depth, drainage, and structural support for wet growing media.
Don't overlook the weight
Wet soil is much heavier than dry potting mix. Build tiers to support the fully watered load, and make sure excess water drains away instead of collecting against timber or spilling onto a walking surface.For guidance on raised-bed construction and practical sizing, I refer to Iowa State University Extension's raised bed planter guide. A tiered layout is worth considering when ground space is limited, but a single deep planter is usually simpler to water and maintain.
Arrange Herbs According to Sunlight Requirements
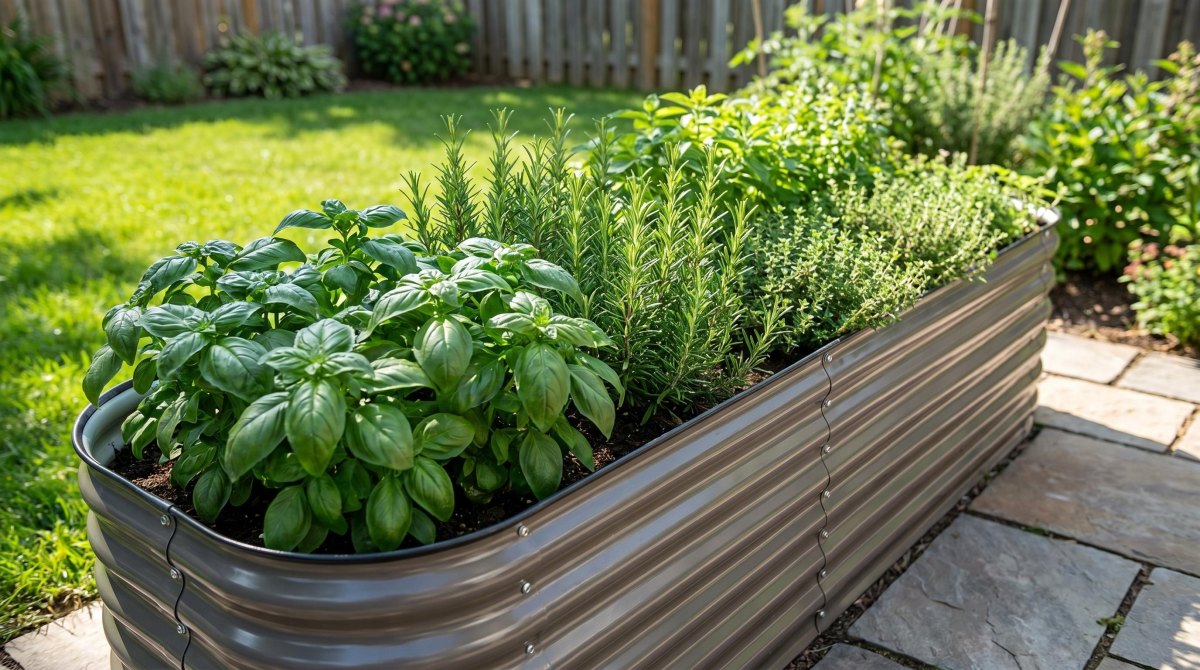
Sunlight is one of the first things I map before deciding where each herb belongs. Basil, rosemary, thyme, oregano, and sage generally perform best in a sunny position. Parsley and chives can tolerate some partial shade, especially where summer heat is intense, although their growth still depends on the amount and quality of available light.
In my Boise garden, I pay particular attention to afternoon exposure. Hot, dry conditions can stress tender herbs even when they enjoy sunshine, so I watch the soil moisture and leaf condition rather than assuming that more sun is always better. In cooler or cloudier climates, a more open, sunny position may be essential for productive growth.
| Herb | Preferred position | Design note |
|---|---|---|
| Basil | Sunny and warm | Protect from frost and severe cold. |
| Rosemary | Full sun | Provide excellent drainage. |
| Thyme | Full sun | Keep away from persistently wet soil. |
| Parsley | Sun to partial shade | Useful in a slightly cooler section. |
| Chives | Sun to partial shade | Easy to place along a bed edge. |
I use these preferences as a starting point, then adjust for my own conditions. For timing, I wait until the frost risk has passed before planting frost-sensitive basil outdoors, counting from my local last frost date rather than copying a calendar from another region.
Build a Rustic Wooden Raised Herb Garden
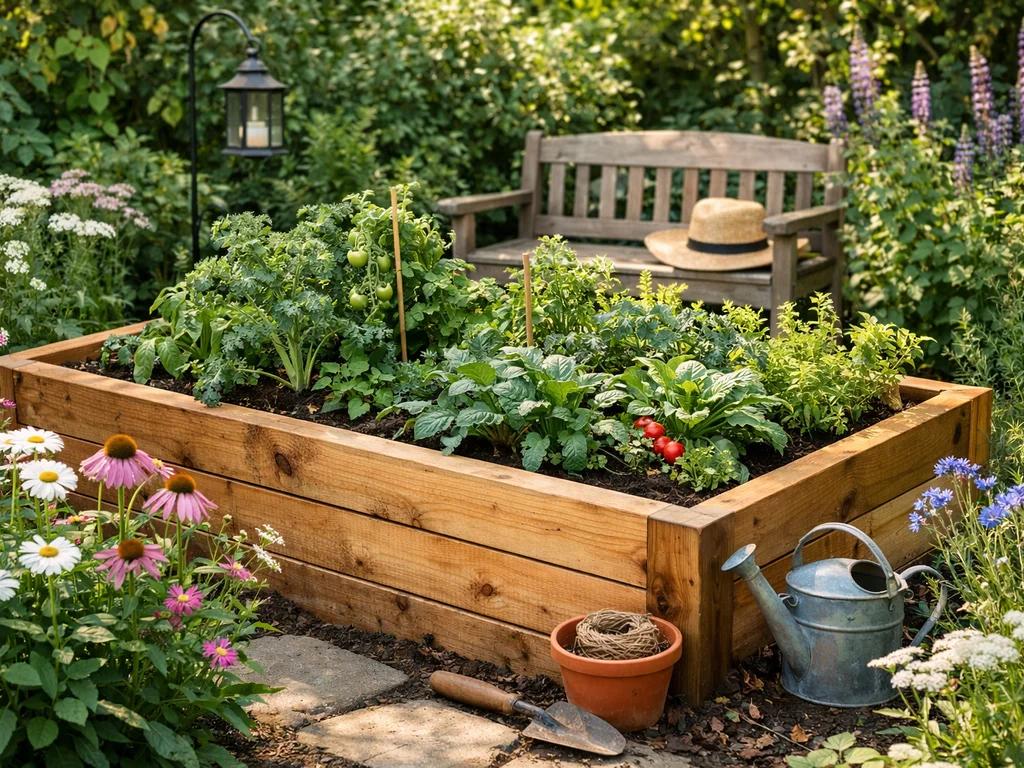
For a traditional garden, I like the look of a simple cedar bed with visible grain, sturdy corners, and a clean top edge. Untreated, naturally durable timber is an appealing option for a food-growing structure, while bricks, stone, and suitable composite materials provide alternatives when wood isn't the right choice for the site.
Before buying lumber, I measure the bed and price the frame, fasteners, soil, and irrigation separately. That gives me a realistic project cost rather than a misleading lumber-only total. I also avoid railroad ties and creosote-treated wood for edible gardens, and I would never reuse unidentified old treated timber around food crops.
Check the material before filling the bed
For a careful overview of wood and other raised-bed materials, see University of Maryland Extension's material safety guidance. Recommendations can differ according to preservative type and local guidance, so check the exact material rather than relying on its color or age alone.If the garden is on an older property or near an old painted building, I also consider testing the soil for lead before growing food. A raised frame does not automatically make potentially contaminated ground safe, particularly if existing soil can mix into the bed.
Design a Modern Raised Herb Garden with Clean Lines
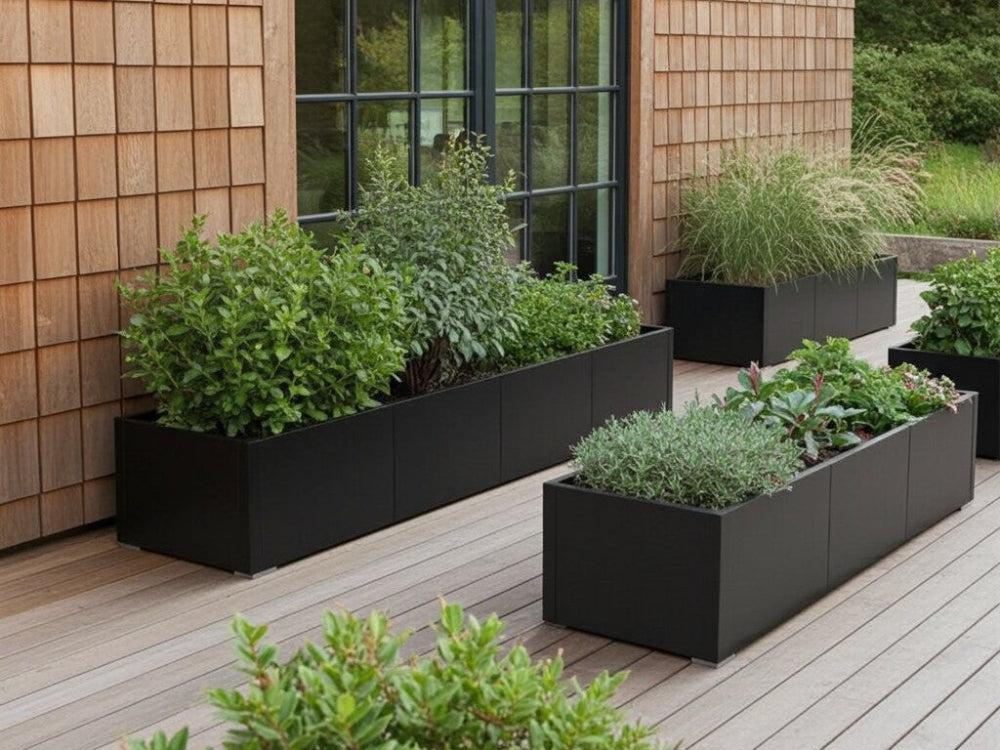
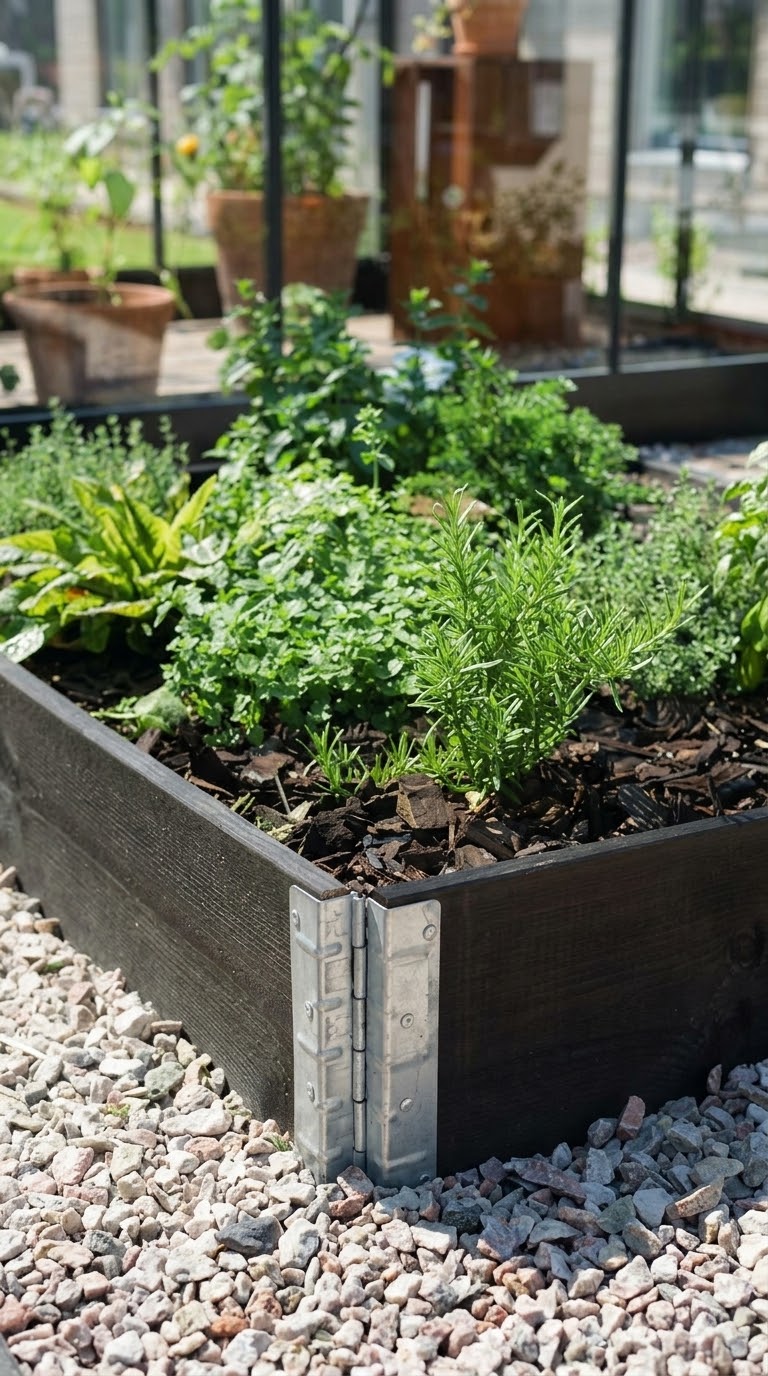
A modern herb garden doesn't need elaborate construction. I would use a straight-edged rectangular planter, a limited plant palette, and enough room between plants for airflow and harvesting. Dark metal, concrete, brick, or simple timber can all create a neat visual framework without making the garden feel overly formal.
For the planting itself, repetition makes a bigger difference than expensive materials. I might repeat thyme along one edge, use basil as a central seasonal crop, and place parsley in a defined block. Matching containers and a consistent path material help the layout feel intentional even when the plants grow at different rates.
What works well
- Clear planting zones are easy to maintain.
- Straight lines simplify drip irrigation.
- Repeated plant groups create visual order.
What I would watch
- Metal planters can heat up in direct summer sun.
- Rigid layouts leave less room for large mature herbs.
- Premium materials can consume a large share of the budget.
I check whether a metal planter is designed for outdoor food gardening and how it handles drainage and heat. A stylish planter is only useful if the roots remain healthy through the hottest part of the season.
Combine Culinary Herbs in a Kitchen Garden Bed
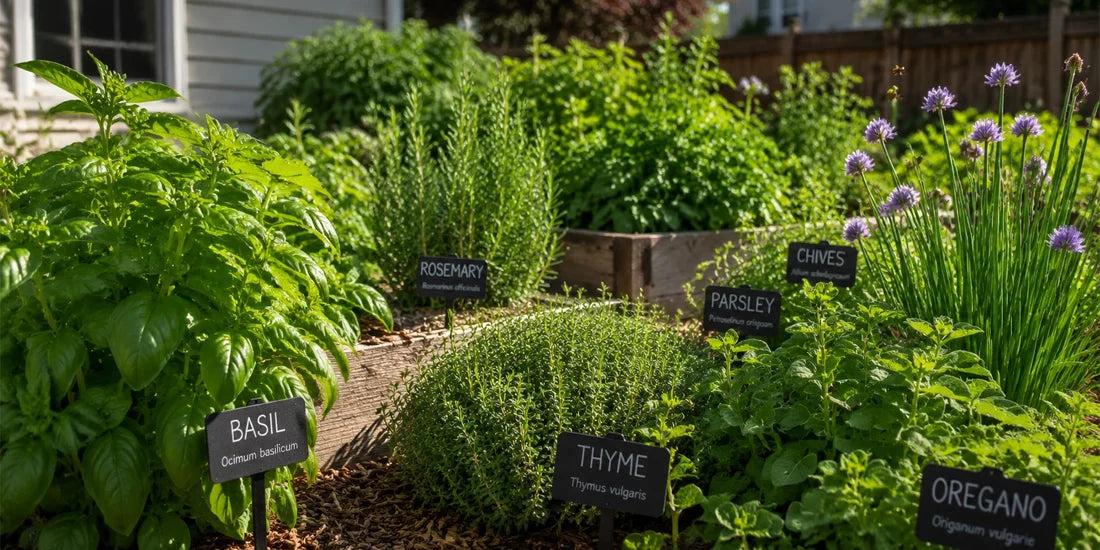
For a kitchen garden, I group herbs by how I cook and how I care for them. Basil, parsley, chives, and oregano make a convenient everyday collection, while thyme can occupy a sunny, well-drained edge. Rosemary is another excellent culinary herb, but I often give it a separate space because its mature size and preference for drier conditions can complicate a crowded mixed bed.
I leave room for mature plants instead of planting every seedling shoulder to shoulder. A nursery pot may make a rosemary plant look small, but that isn't its final footprint. I check the plant label and regional growing guidance for mature dimensions, then leave access for harvesting without crushing neighboring herbs.
- Choose your regular ingredients. Start with the herbs you use weekly, not an ambitious list of unfamiliar plants.
- Group similar needs. Place moisture-loving herbs together and keep drought-tolerant Mediterranean herbs in a better-drained section.
- Keep frequent harvests accessible. Position basil, parsley, and chives close to the path.
- Reserve expansion space. Leave a gap for a new herb or a second basil planting if the season allows.
My test for every plant is simple: will I use enough of it to justify the space? A small bed filled with herbs that make it into dinner is more productive than a large collection that mostly flowers while I buy fresh bunches elsewhere.
Create a Mediterranean Raised Herb Garden
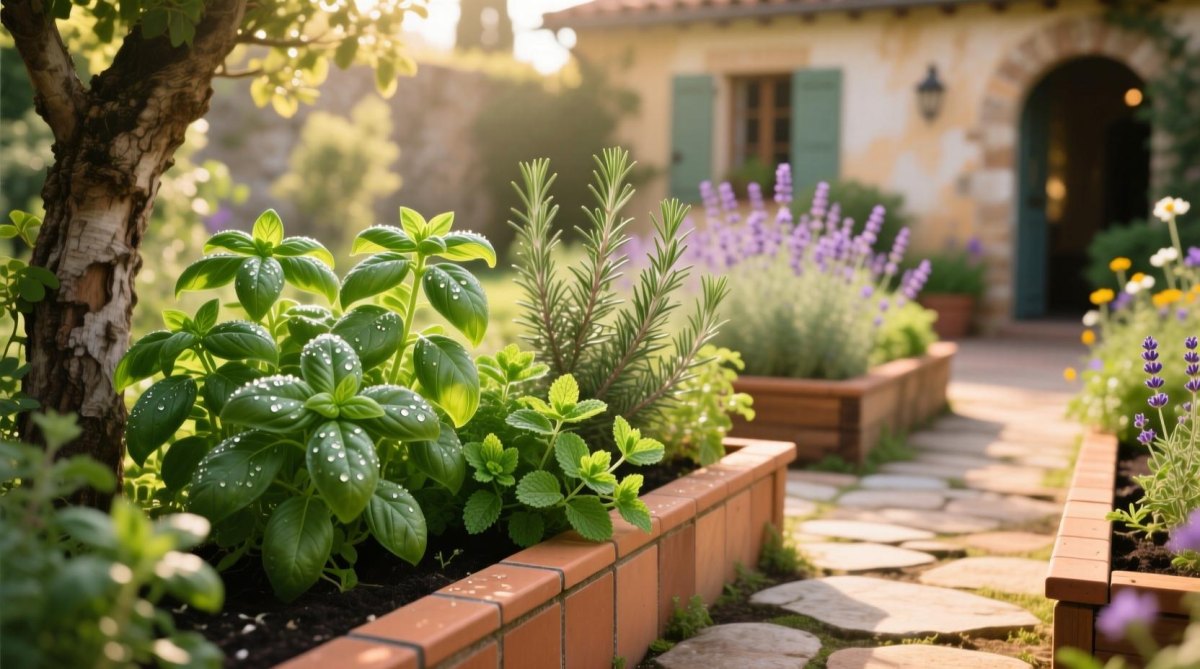
A Mediterranean-style raised herb bed suits gardeners who enjoy rosemary, thyme, oregano, and sage. I build this design around drainage, sunlight, and modest watering once plants are established. These herbs generally dislike sitting in saturated soil, so a sunny bed with a free-draining growing medium is more useful than a deep, constantly moist planter.
Boise's hot, dry summers make this combination attractive, but our winter cold is a separate issue. Rosemary's winter survival varies with cultivar, exposure, drainage, and local minimum temperatures. In USDA zone 7a, I consider the variety and microclimate before deciding whether to leave it outdoors or grow it in a movable container. Gardeners in colder regions may need a sheltered position or indoor winter protection.
- Rosemary: Give it sun, room to grow, and excellent drainage.
- Thyme: Place it near the edge where its low growth can spill slightly over the frame.
- Oregano: Allow room for spreading and trim it to keep the bed organized.
- Sage: Provide good airflow and avoid persistently wet soil around the crown.
I don't add extra water simply because the weather is hot. I check the root zone first, then water thoroughly when needed. That approach is especially important in a raised bed, where the soil can dry faster than the surrounding ground.
Plan a Raised Herb Bed with Companion Planting
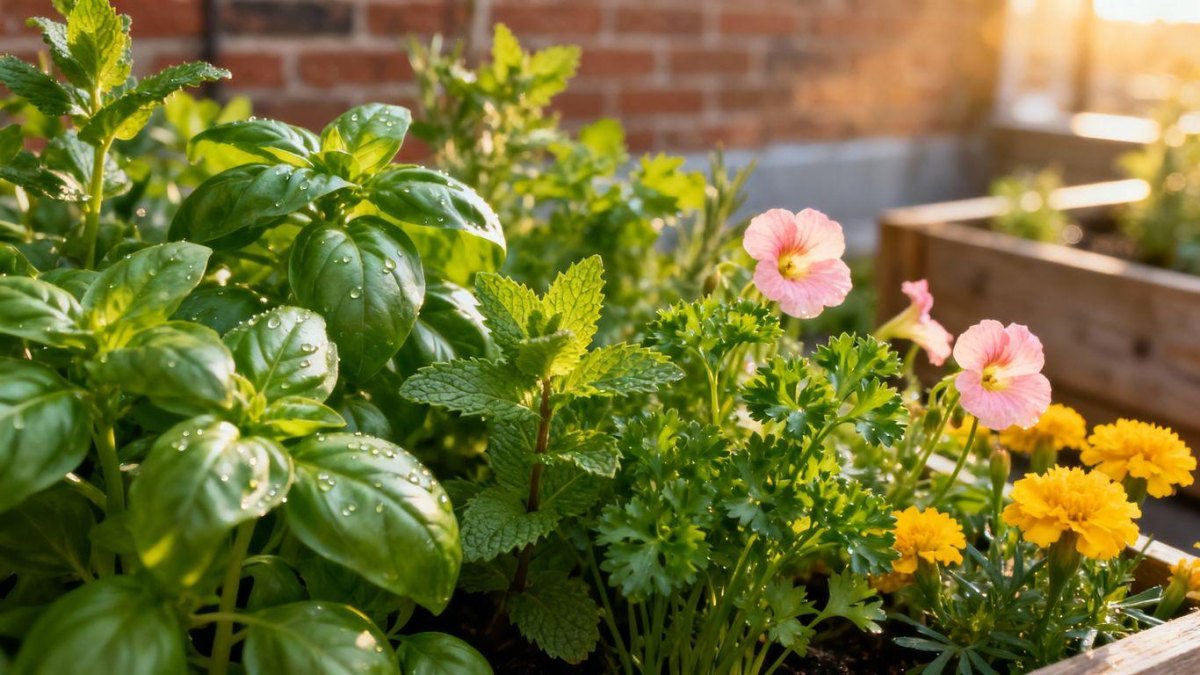
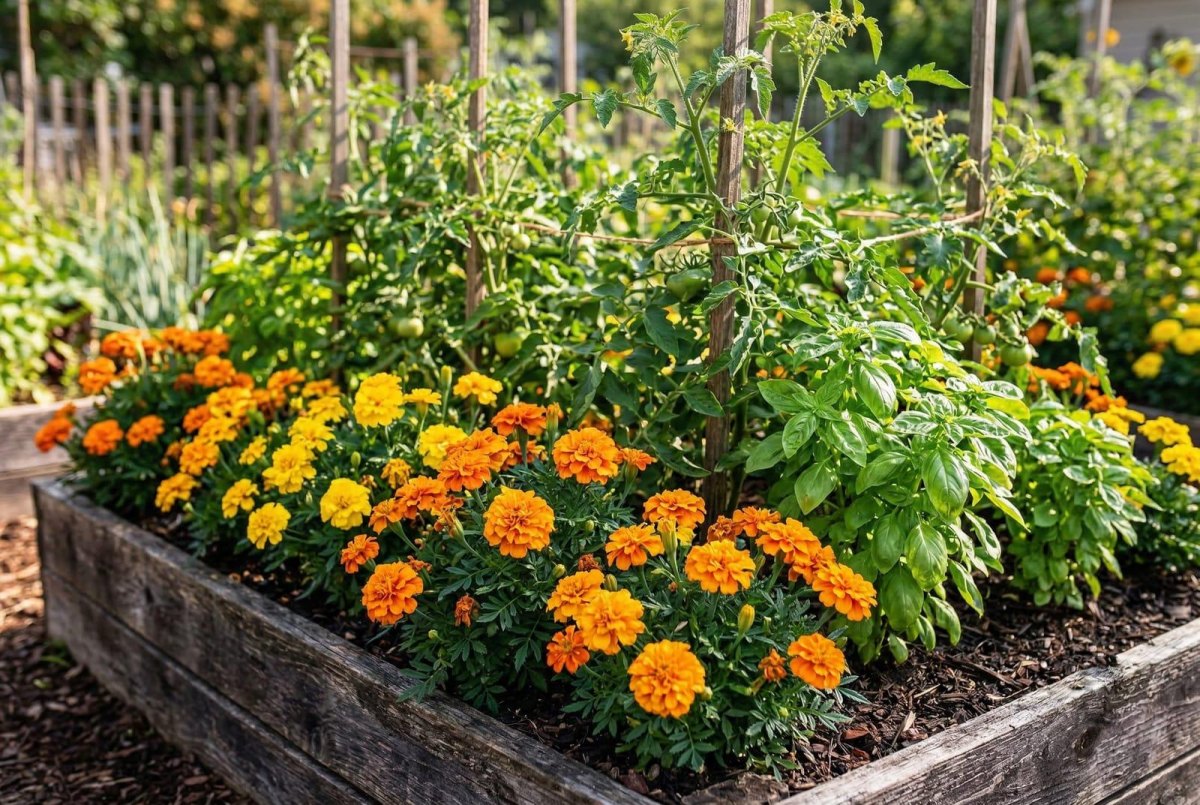
I treat companion planting as a way to create a diverse, useful garden rather than a promise that one herb will magically protect every neighboring plant. Mixed plantings can provide different flowers, scents, and structures that support a wider range of insects and make it harder for some pests to locate a single preferred host. The result depends on the plants, local insects, and growing conditions.
Chives and other flowering herbs can contribute nectar and pollen when allowed to bloom. Dill and other flowering plants may also attract beneficial insects, but I consider their eventual size and tendency to self-seed before adding them to a compact raised bed. I still inspect plants for pests and use physical controls when necessary.
Keep companion-planting claims realistic
Penn State Extension's updated companion-planting guidance discusses research-backed plant partnerships and the value of diverse plantings. I use that kind of evidence rather than assuming every traditional pairing has a proven benefit.If a pest appears, I identify it before taking action. I begin with cultural and physical controls, and I use a pesticide only if necessary, following the product label and ensuring it is approved for the edible crop. Even products described as natural can harm pollinators and beneficial insects, so I never apply them to blooming plants while pollinators are active.
Use Vertical Structures to Maximize Growing Space
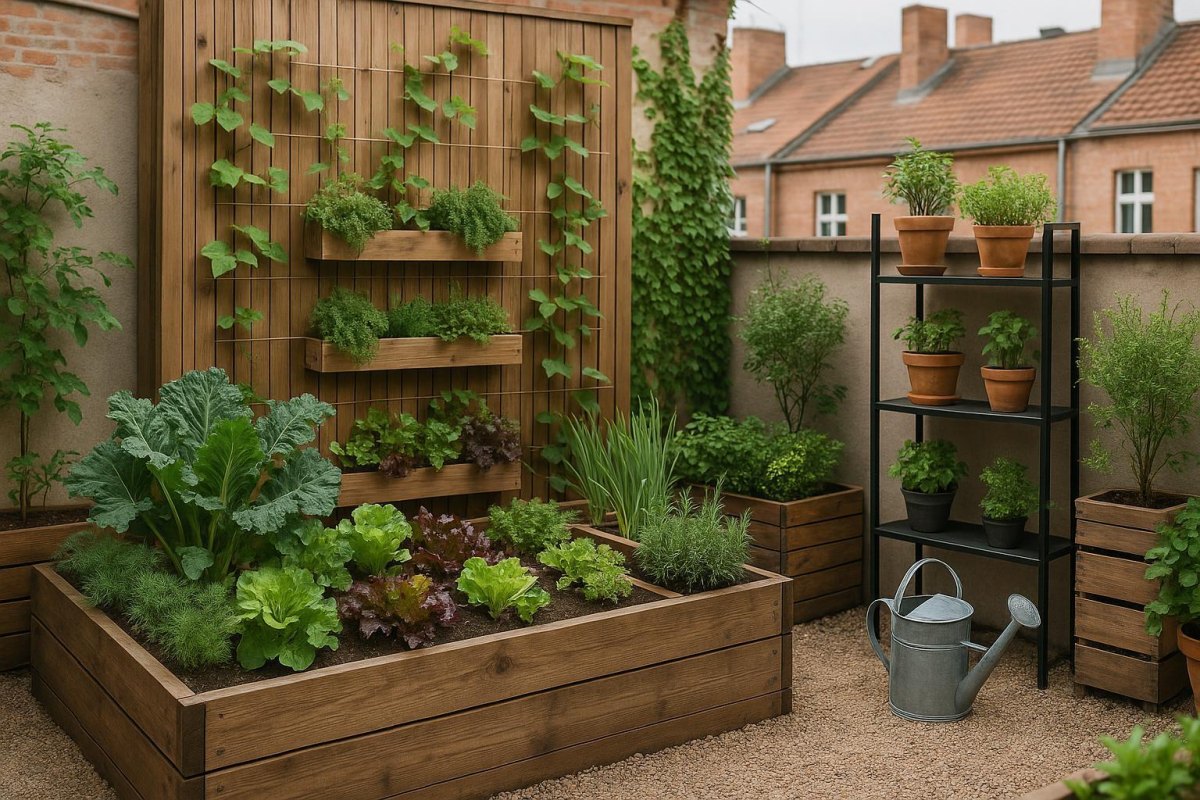
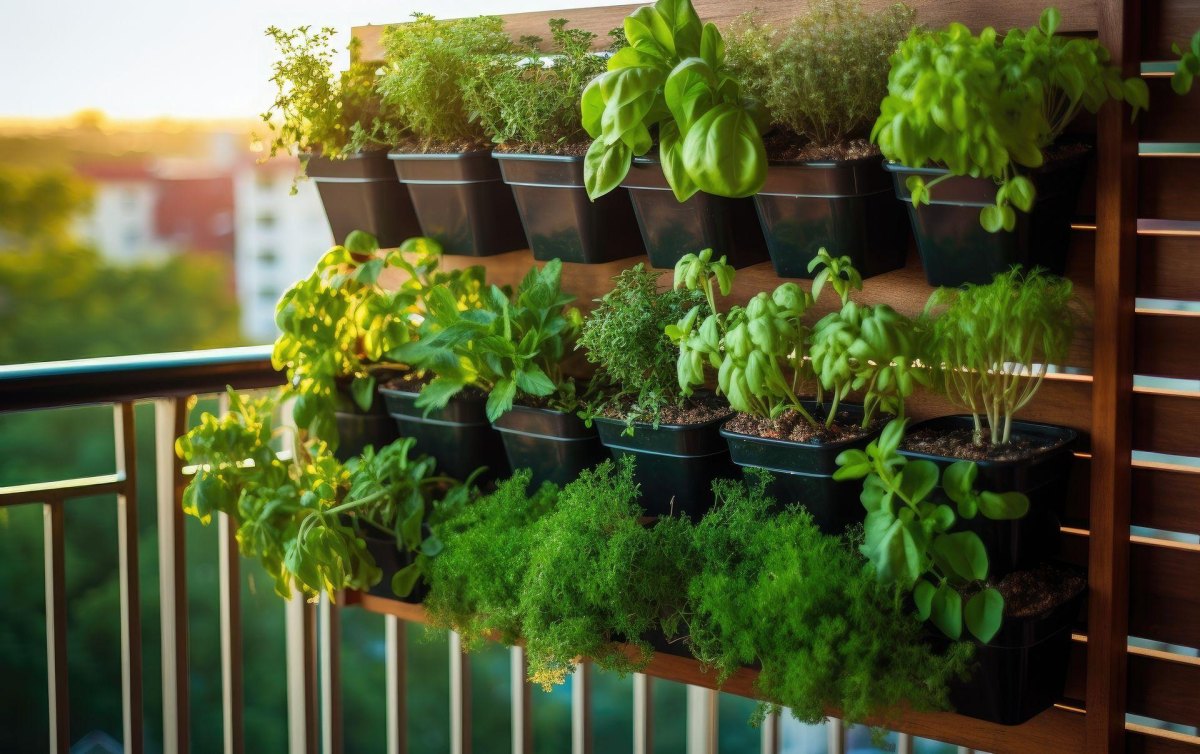
Vertical elements can make a compact herb garden feel larger, but I choose them according to what actually needs support. A trellis is useful for suitable climbing plants, while a wall-mounted rack can hold small pots of thyme, oregano, or other compact herbs. I keep the arrangement stable and make sure every container remains reachable for watering and harvesting.
Vertical planters need more frequent moisture checks than many ground-level beds because their smaller containers may dry quickly. In Boise's dry, windy conditions, exposed wall planters can lose water especially fast. I would rather install fewer, larger containers with adequate soil volume than a wall of tiny pots that require constant attention.
- Secure trellises and racks against wind.
- Check that the wall or fence can carry the intended load.
- Use containers with unobstructed drainage holes.
- Prevent runoff from staining walls or making paths slippery.
- Place frequently harvested herbs within comfortable reach.
Before building a vertical structure, I observe where shadows fall through the day. A tall planter or trellis can shade the lower bed, so I position it where it won't take away the sunlight the herbs need.
Design an Accessible Raised Herb Garden
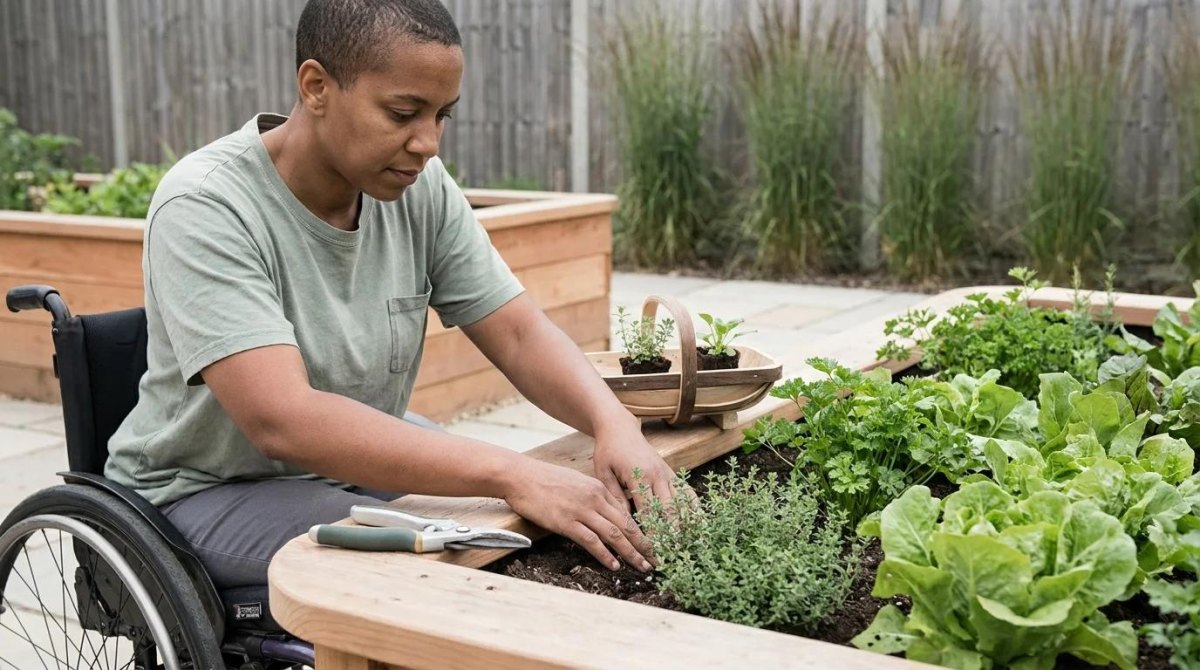
An accessible raised herb garden should be designed around the gardener's comfortable reach, working position, and mobility. A higher bed can reduce bending, but the ideal height isn't identical for everyone. I would test the proposed height and reach with a temporary box or mock-up before committing to a permanent structure.
For a seated gardener, a table-style planter can offer knee clearance and room to reach across the growing surface. The growing box still needs enough depth for the selected herbs, a drainage layer or drainage openings as appropriate to the design, and a strong base that can support wet soil. A lower ground-level bed may work well for someone who prefers standing or kneeling.
- Measure the reach. Check how far the gardener can comfortably work without stretching.
- Choose a working height. Test sitting and standing positions before construction.
- Plan clear paths. Leave enough space to turn, approach the bed, and move any mobility aid.
- Place tools and water nearby. Keep frequently used equipment accessible without repeated bending or carrying.
NC State Extension's accessible gardening guidance covers raised beds, containers, and garden tables. I use it as a starting point, then adapt the design to the actual gardener rather than relying on a single supposedly universal height.
Choose the Best Soil Mix and Drainage System
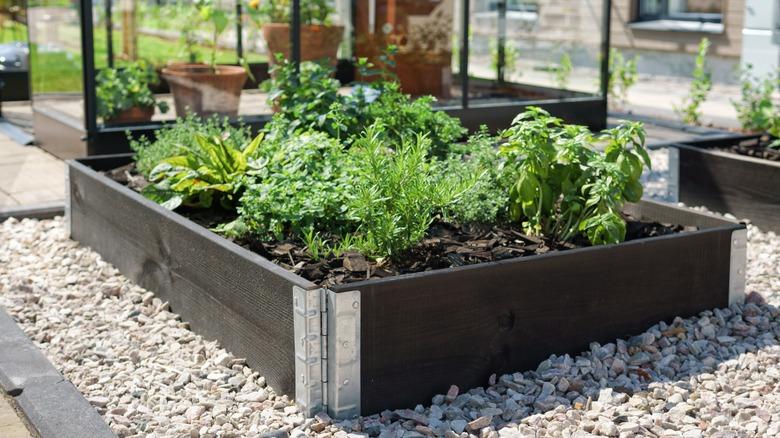
Soil is where I spend money carefully because even a beautiful frame won't compensate for poor drainage or a compacted growing medium. For many raised herb beds, a balanced mix of screened topsoil, mature compost, and a suitable drainage-improving component is a practical starting point. A blend around one-third of each by volume is commonly suggested in extension guidance, but the best proportions depend on the ingredients and local soil conditions.
For Mediterranean herbs, I avoid heavy, waterlogged mixes. Parsley and basil appreciate more consistent moisture than rosemary and thyme, so I either group plants with similar needs or use separate containers. I don't automatically add gravel beneath the soil; a bed needs an unobstructed way for excess water to escape, and a gravel layer alone does not fix a poorly draining mix.
Test questionable soil before growing food
If the property is older, near a painted structure, or has an uncertain history, test the existing soil for lead and other contaminants where appropriate. Contact your local extension service or accredited soil-testing laboratory for recommendations. Filling a frame with new mix is not a substitute for preventing contaminated soil from mixing into the growing area.I also check the volume before ordering materials. A bed measuring 4 feet by 8 feet by 1 foot deep holds 32 cubic feet of growing medium before accounting for settling. That is a little over one cubic yard, so filling even a modest bed can cost more than the frame itself.
For further guidance on soil blends, drainage, and raised-bed construction, I consult Ask Extension's raised-bed soil guidance and adapt recommendations to the ingredients available locally.
Incorporate Decorative Paths and Garden Edging
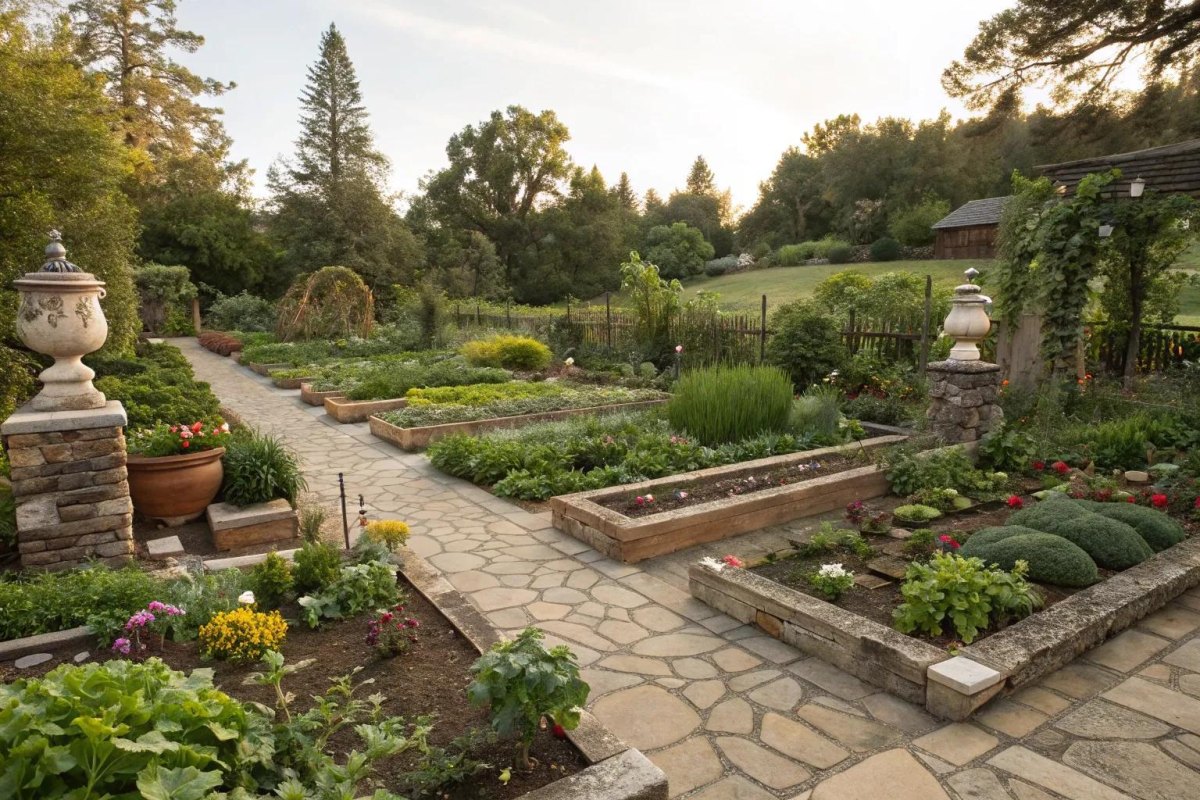
Paths are not wasted garden space. They let me harvest without compacting the bed, make irrigation easier to inspect, and keep muddy shoes out of the growing area. For a small garden, I might use wood chips, compacted gravel, stepping stones, or brick, depending on the slope, drainage, and how often the path gets wet.
I aim for about 18 to 24 inches of clear space where a person needs to walk comfortably, and more where a wheelbarrow or mobility aid must pass. The right width depends on the layout and user. I check the path after watering to ensure runoff doesn't create puddles, wash material into the bed, or leave a slippery surface.
- Wood-chip paths: Comfortable underfoot and easy to refresh, but they need occasional replenishment.
- Gravel paths: Durable with good drainage when properly installed, but can be harder to navigate with some mobility aids.
- Stepping stones: Useful for compact gardens when spaced for a natural stride and kept level.
- Brick edging: Creates a defined border, provided the edges don't become a tripping hazard.
I prefer to finish the path before filling the bed. That lets me set the final bed height and spacing without moving heavy soil twice. The decorative choices can be simple; what matters most is safe, comfortable access to every plant.
Add Irrigation for a Low-Maintenance Herb Garden
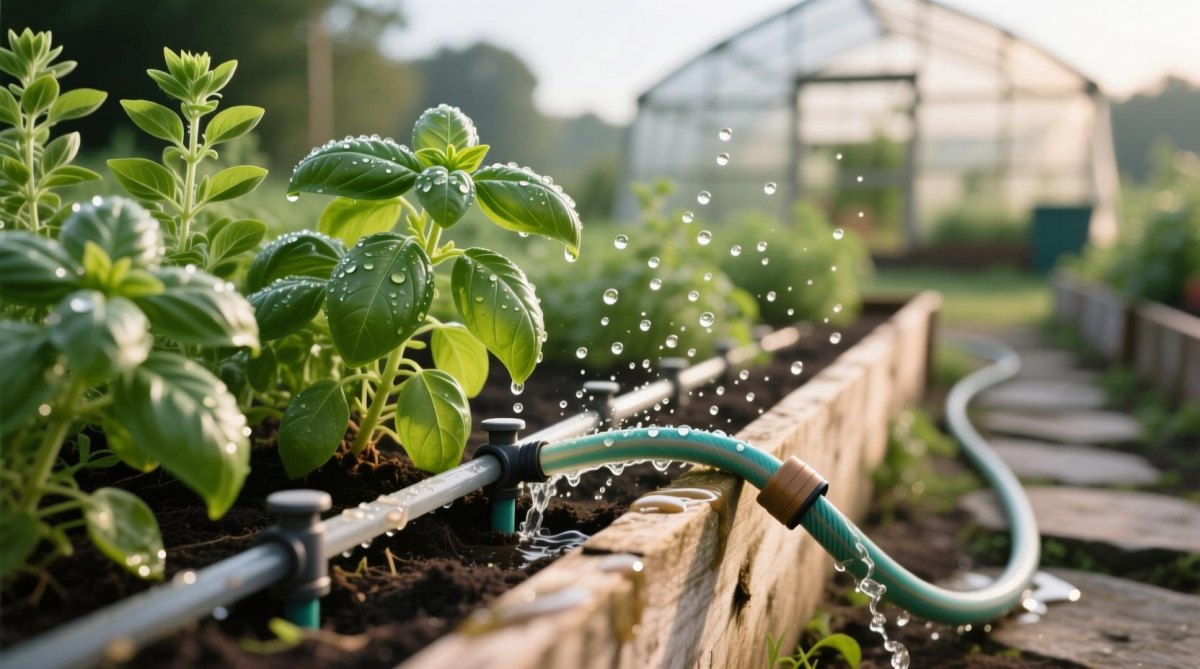
Irrigation belongs in the design plan, not on the list of things to figure out after planting. Raised beds can dry out faster than in-ground gardens, and Boise's approximately 11 inches of annual precipitation make dependable summer watering especially important. I favor drip irrigation for a tidy layout because it delivers water near the root zone and can reduce unnecessary wetting of foliage.
For a mixed herb bed, I plan separate watering zones where practical. Basil and parsley generally need more consistent moisture than established rosemary and thyme. If they share one line, I monitor soil moisture closely and adjust emitters or plant groupings to prevent one area staying wet while another dries out.
- Place the water source. Check hose reach and avoid routes that cross the main walking path.
- Lay out the tubing. Position drip lines near plant roots and follow the system manufacturer's spacing guidance.
- Check the output. Run the system and confirm that water reaches the whole bed without leaks or pooling.
- Mulch appropriately. Use a suitable organic mulch to slow evaporation while keeping material away from plant crowns.
- Adjust with the weather. Check soil moisture during heat waves and reduce watering after cooler or rainy periods.
Wes, who has strong opinions about irrigation, would remind me that a timer is only useful when the system is delivering water evenly. I agree. I check the bed rather than trusting a schedule blindly, and I follow local watering restrictions when they apply.
Design a Seasonal Raised Herb Garden for Year-Round Harvests
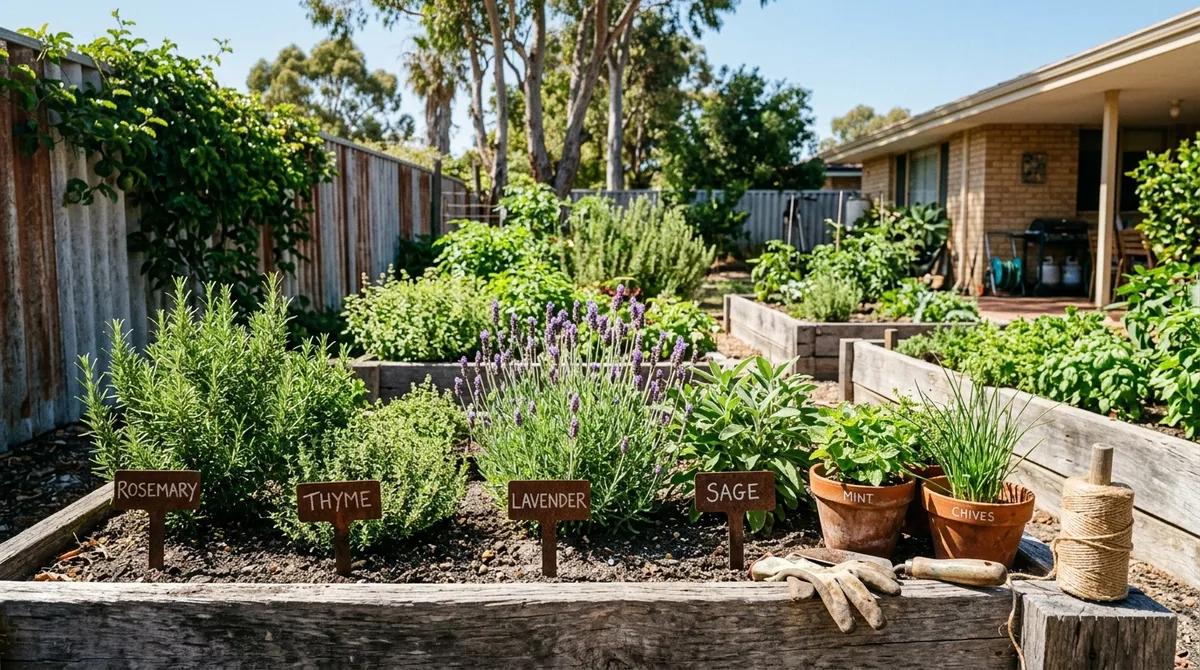
For a longer harvest season, I combine perennial herbs with annual herbs that can be replanted as temperatures change. Rosemary, thyme, sage, and chives can provide recurring harvests when their varieties suit the local climate. Basil is a warm-season annual in my garden, and parsley can extend the useful season but may slow down or become stressed as temperatures move beyond its preferred range.
I garden in USDA zone 7a in Boise, where hot, dry summers and late spring frosts make frost dates more useful than fixed planting dates. I plant tender basil outdoors only after the risk of frost has passed and the soil has warmed. For autumn planning, I count backward from my expected first frost and check local extension guidance for the varieties I grow. Gardeners in other regions should use their own frost dates and winter minimums.
| Seasonal stage | Design priority | Practical action |
|---|---|---|
| Before the last frost | Prepare the permanent framework | Repair beds, improve soil, and check irrigation. |
| After frost danger passes | Plant tender herbs | Introduce basil when local conditions are suitable. |
| Summer heat | Maintain steady growth | Check moisture, harvest regularly, and monitor stress. |
| Before the first frost | Protect or harvest tender plants | Move suitable containers indoors and harvest healthy foliage. |
| Winter | Protect suitable perennials | Use local guidance for cold protection and avoid waterlogged soil. |
I don't promise fresh outdoor herbs every month because winter survival depends on climate, exposure, and the plants themselves. Instead, I plan for the longest realistic outdoor harvest, then decide which herbs are worth overwintering indoors or replacing the following spring. A few reliable plants, well placed and watered appropriately, will usually serve a home cook better than a crowded bed full of herbs that cannot thrive together.
More Pinterest Visuals



 Balcony & Patio GardensSmall Space Garden Ideas That Make Every Inch Count
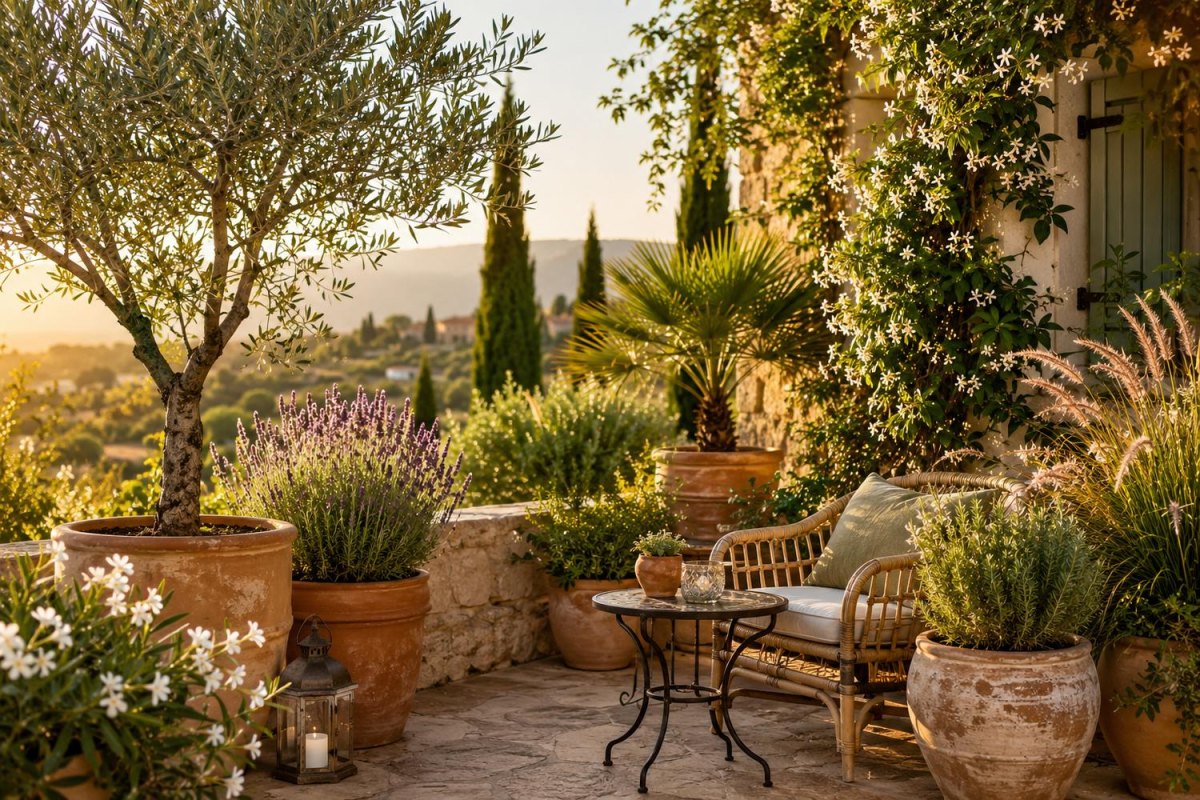 Balcony & Patio GardensKübelpflanzen für die Terrasse – 15 Ideen für ein grünes und blühendes Outdoor-Paradies
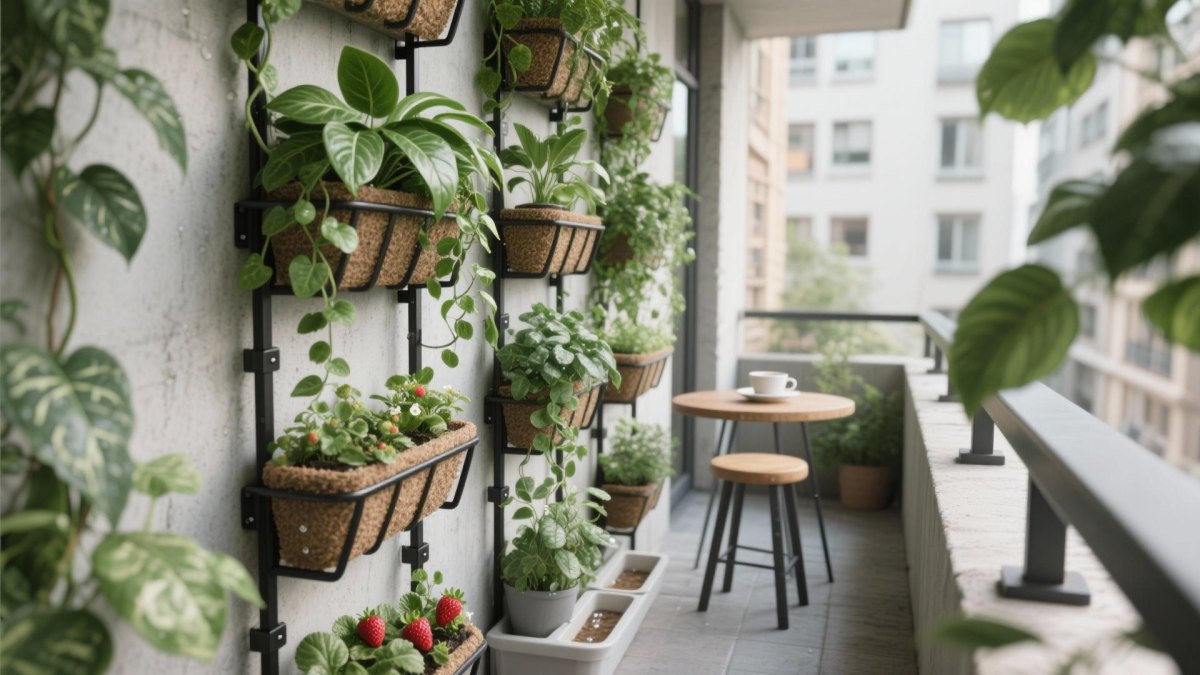 Balcony & Patio Gardens20 Balcony Garden Setup Ideas To Transform Your Outdoor
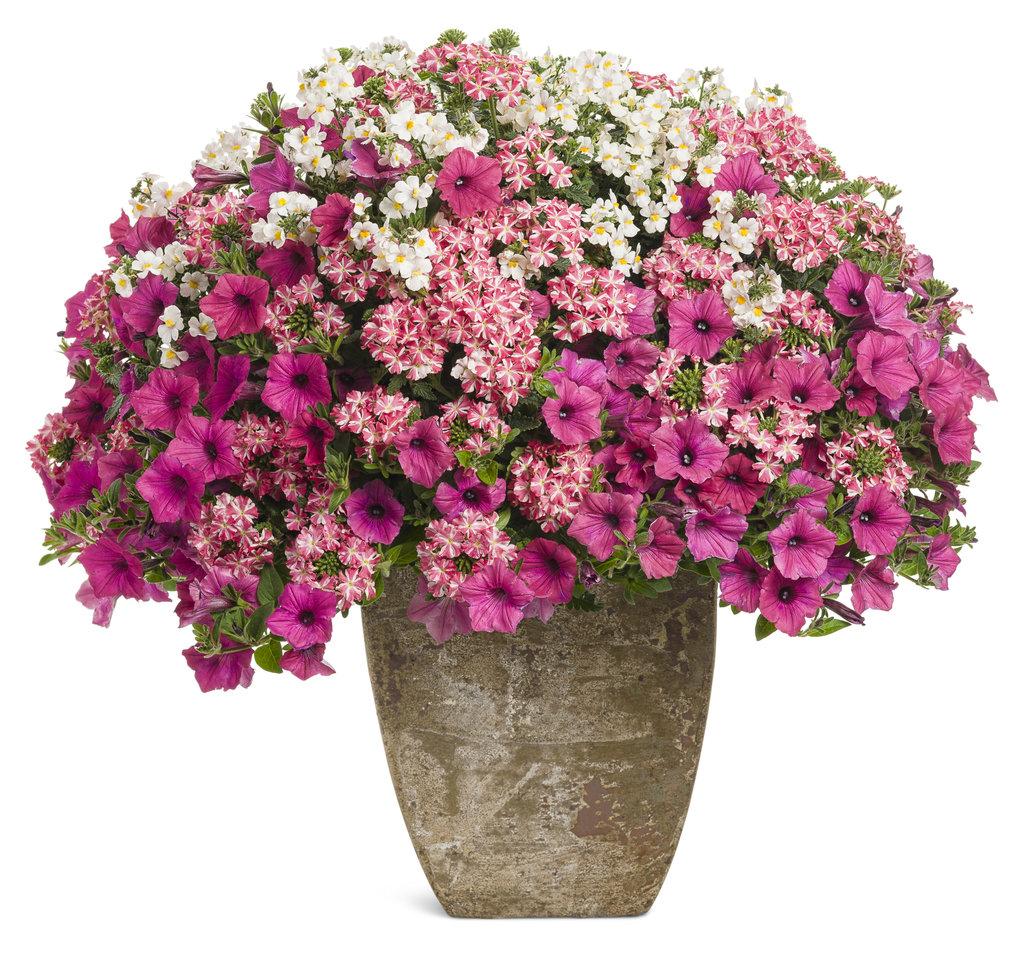 Seasonal & Flower Containers16 Beautiful Container Garden Flower Combinations That Work