
A small garden can produce a surprising amount of food, provided I give every square foot a job. I've learned from years of growing vegetables in Idaho that the trick isn't cramming in more plants. It's matching each crop to the light, root space, water, and support it actually needs.
I garden in Boise, Idaho, in USDA zone 7a, where we average about 11 inches of precipitation annually. Our alkaline soil, hot July afternoons, drying winds, and occasional late spring frosts have taught me to plan around conditions rather than pretty garden photographs. Your local climate may be entirely different, so use your own last and first frost dates and local Cooperative Extension advice when deciding when to plant.
These 11 vegetable garden design ideas for small spaces cover balconies, patios, narrow side yards, and compact backyards. I've included practical dimensions, container sizes, and the trade-offs I'd consider before spending money on a new setup.
What I would plan first
- Measure the sunlight before choosing crops.
- Use vertical supports and compact containers where they make sense.
- Choose adequate root volume and reliable drainage over decorative pots.
- Keep water access and harvesting paths convenient.
- Grow vegetables you genuinely enjoy eating.
Vertical Garden Planters for Maximum Growing Space
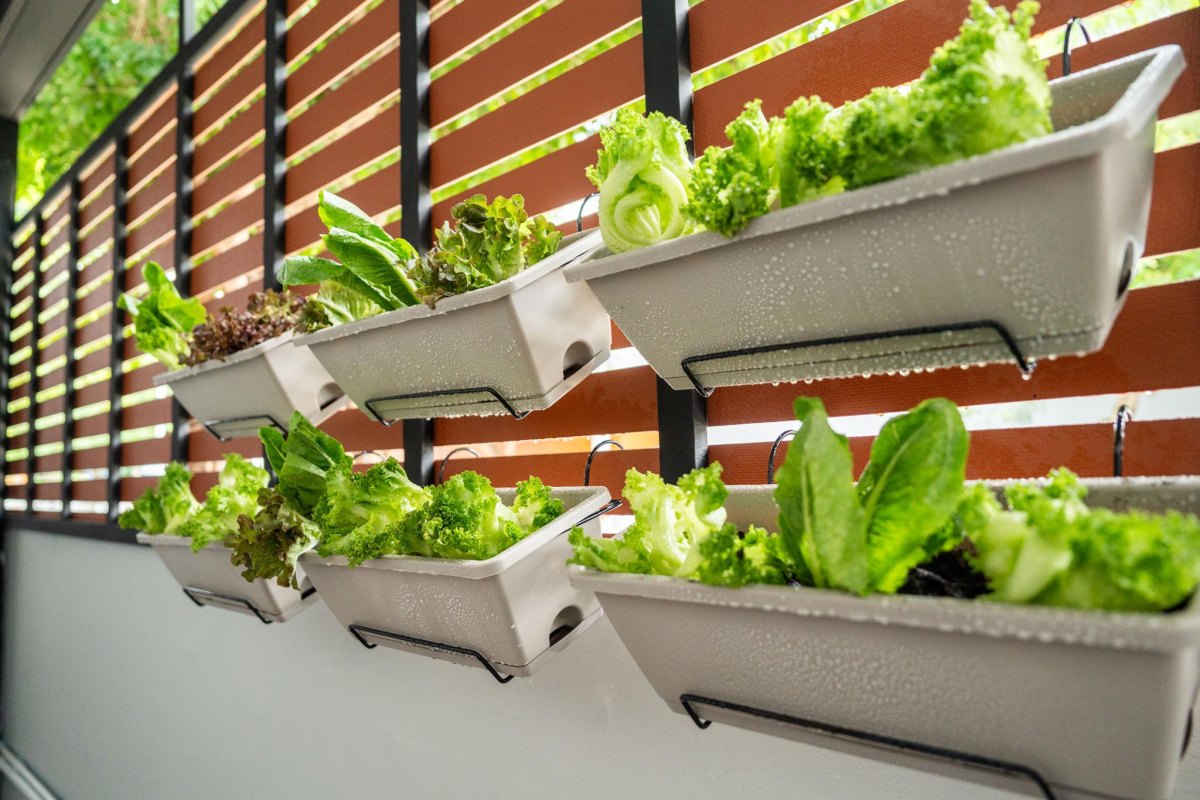
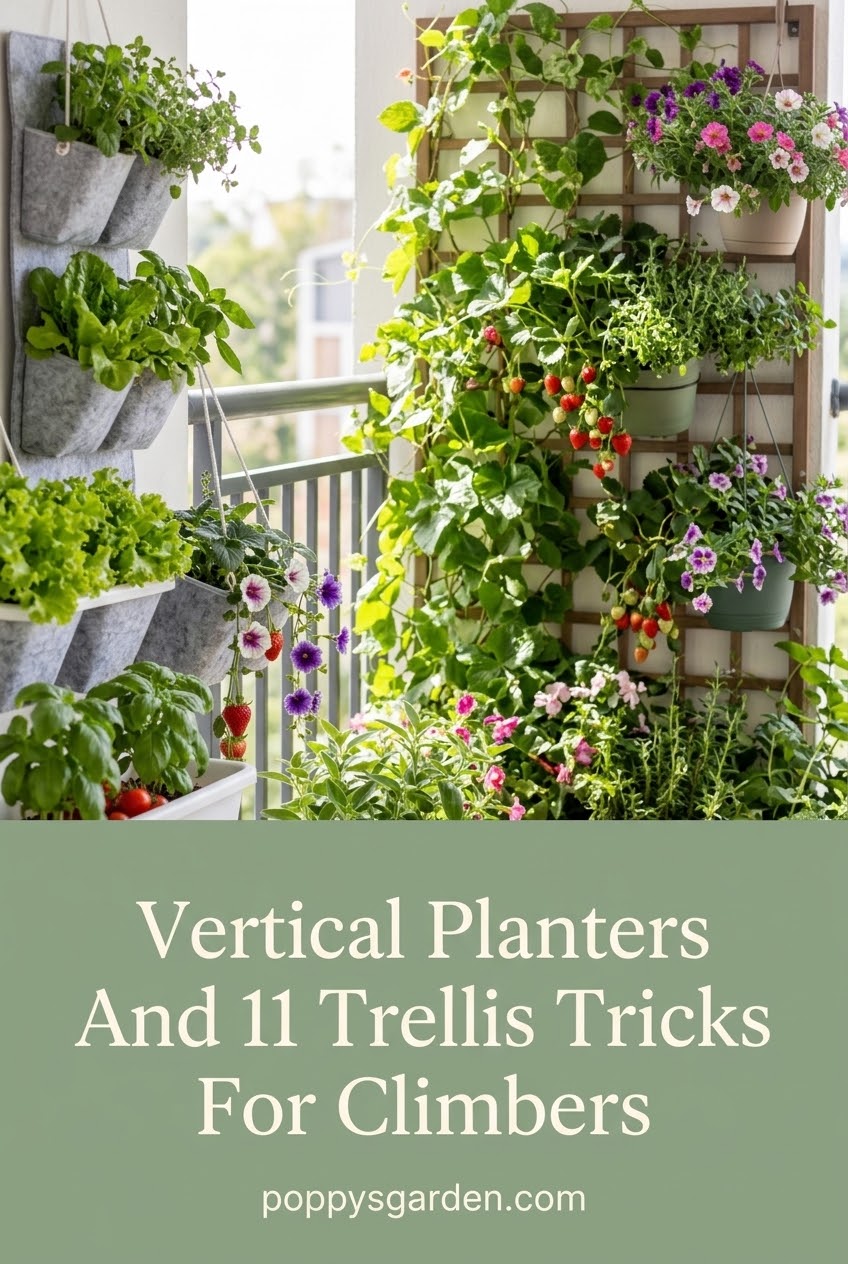
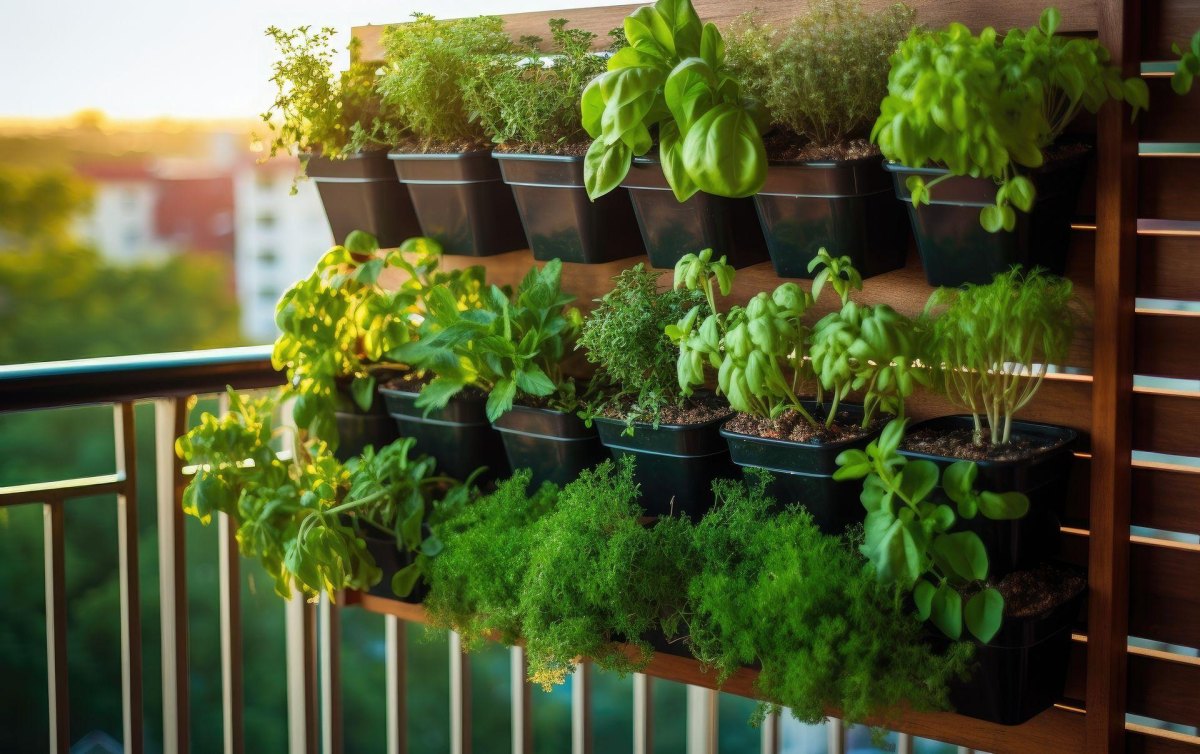
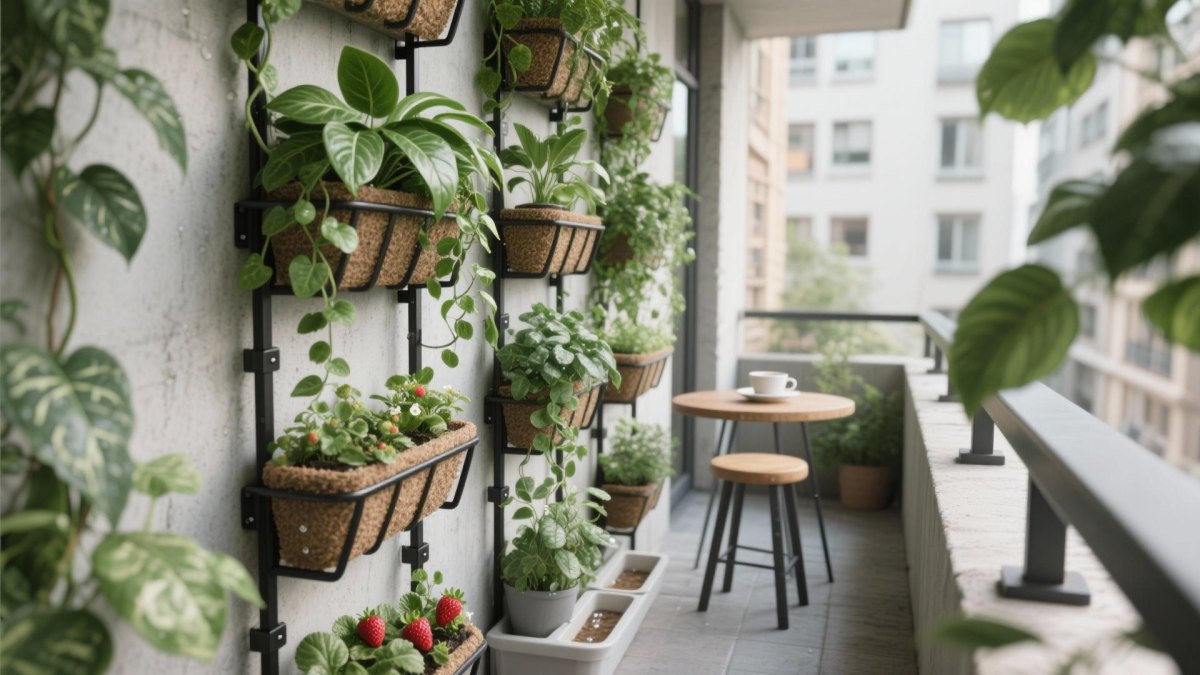
When floor space is scarce, I look upward before I look for another pot. A vertical planter can hold lettuce, baby greens, and compact herbs against a fence or wall, leaving valuable patio space open for a larger tomato container or a chair. Extension guidance on small-space gardening supports using vertical structures and containers to make limited growing areas more productive.
I would reserve the shallowest pockets for shallow-rooted crops such as leaf lettuce and small herbs, then put deeper-rooted vegetables in larger containers. Pocket planters dry faster than big pots, especially in direct afternoon sun, so I check the growing medium daily during hot weather. A vertical garden that needs constant rescuing with a watering can isn't automatically a space-saving success.
Before installing one, I check how much direct sunlight the wall receives, whether the structure can support the wet weight of the planter, and where excess water will drain. For warm-season fruiting crops, aim for roughly six to eight hours of direct sun where possible; leafy greens can often manage with less. I use the current recommendations from my local extension service rather than assuming every wall suits every vegetable. Reference: NC State Extension's vegetable gardening in small spaces.
Compact Raised Beds for Organized Vegetable Growing
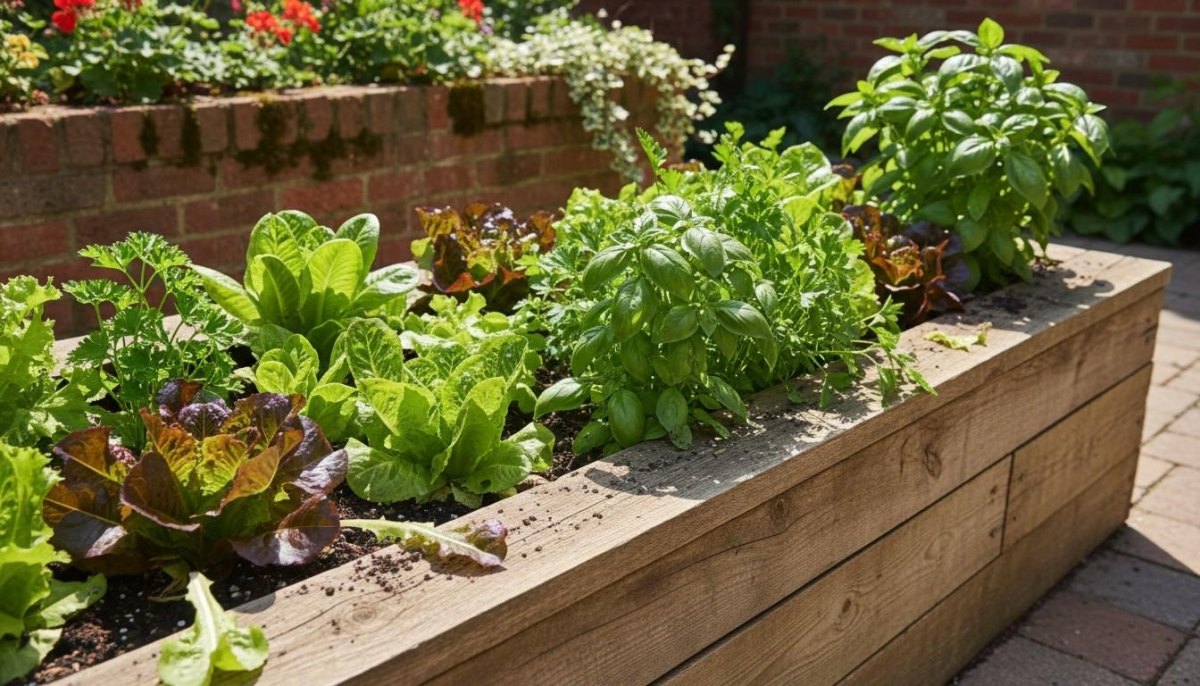
A compact raised bed is one of my favorite options when a small yard has a patch of soil or a firm, level surface. I can organize crops in blocks, amend the growing medium, and reach plants without stepping on the bed. For a bed accessible from both sides, I generally start with a width of about 3 to 4 feet; if it sits against a fence or wall, make it narrower so I can reach the back without climbing into the vegetables.
Depth depends on what grows there and what lies underneath. On open ground, roots may continue into the soil below. On concrete or paving, that option disappears, and the bed must provide the root space itself. University of Maryland Extension recommends at least 8 inches of depth for several crops, including leafy greens and beans, and deeper beds for crops such as tomatoes, peppers, and squash. I treat those figures as starting points, not a reason to build a huge box for every plant.
I also pay attention to the soil beneath the bed. On older properties, especially near foundations or old painted structures, I recommend testing for lead before growing food directly in existing soil. For a new wooden bed, I avoid railroad ties, creosote-treated wood, and old CCA-treated lumber. Safe materials and sound soil matter more than an elaborate frame. Reference: University of Maryland Extension's raised-bed guidance.
My layout tip
Keep the bed small enough to reach comfortably from every side. A bed you can weed and harvest without stepping on the soil is more useful than a larger bed with an unreachable middle.Container Gardening for Patios and Balconies
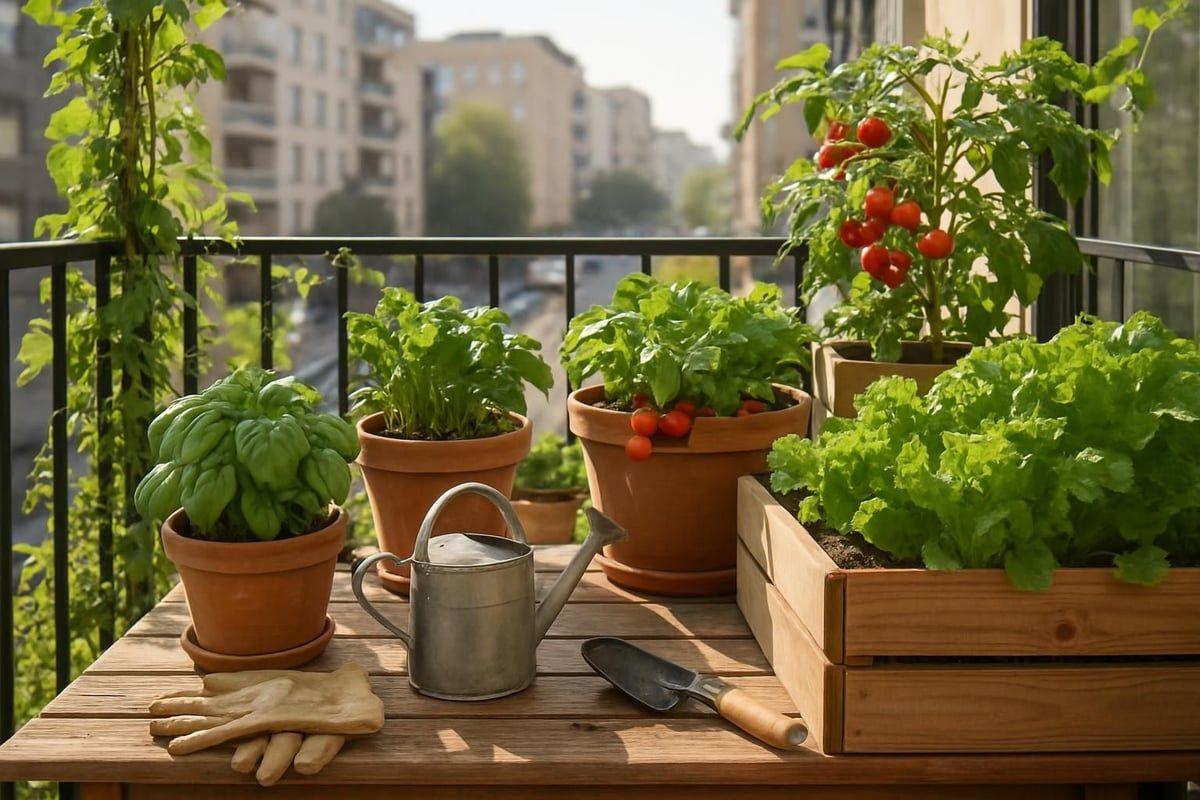
Containers let me grow vegetables where there is no usable garden soil at all. A sunny balcony, paved courtyard, or narrow patio can support an impressive collection of edible container plants, provided the pots are large enough and water can drain freely. I choose the crop first and the container second, rather than trying to persuade a tomato to thrive in a pot intended for a windowsill herb.
As a practical starting point, University of Maryland Extension lists minimum container volumes of about 2 gallons for cherry tomatoes and bush beans, 5 gallons for standard tomatoes, peppers, and cucumbers, and 10 gallons for summer squash. Larger containers can offer more stable moisture and more room for roots. I use containers with drainage holes and a suitable potting mix, not dense garden soil dug from the yard.
In Boise's hot, dry summers, I check pots every day and sometimes more often during heat or wind. That is my local experience, not a universal watering schedule; a cool, shaded balcony in a humid climate will behave differently. Water thoroughly when the mix needs it, let excess water escape, and consider a drip system or self-watering container if you have several pots. Before filling a balcony with heavy planters, check its load limits and make sure runoff won't cause problems below. Reference: University of Maryland Extension's container vegetable guide.
| Crop | Suggested minimum volume |
|---|---|
| Leaf lettuce | About 1/2 gallon |
| Bush beans | About 2 gallons |
| Cherry tomatoes | About 2 gallons |
| Standard tomatoes | About 5 gallons |
| Cucumbers | About 5 gallons |
| Summer squash | About 10 gallons |
These are minimum starting sizes from extension guidance, not guarantees of maximum yield. Compact cultivars, growing conditions, and the container's dimensions all affect performance.
Trellis Designs for Climbing Vegetables
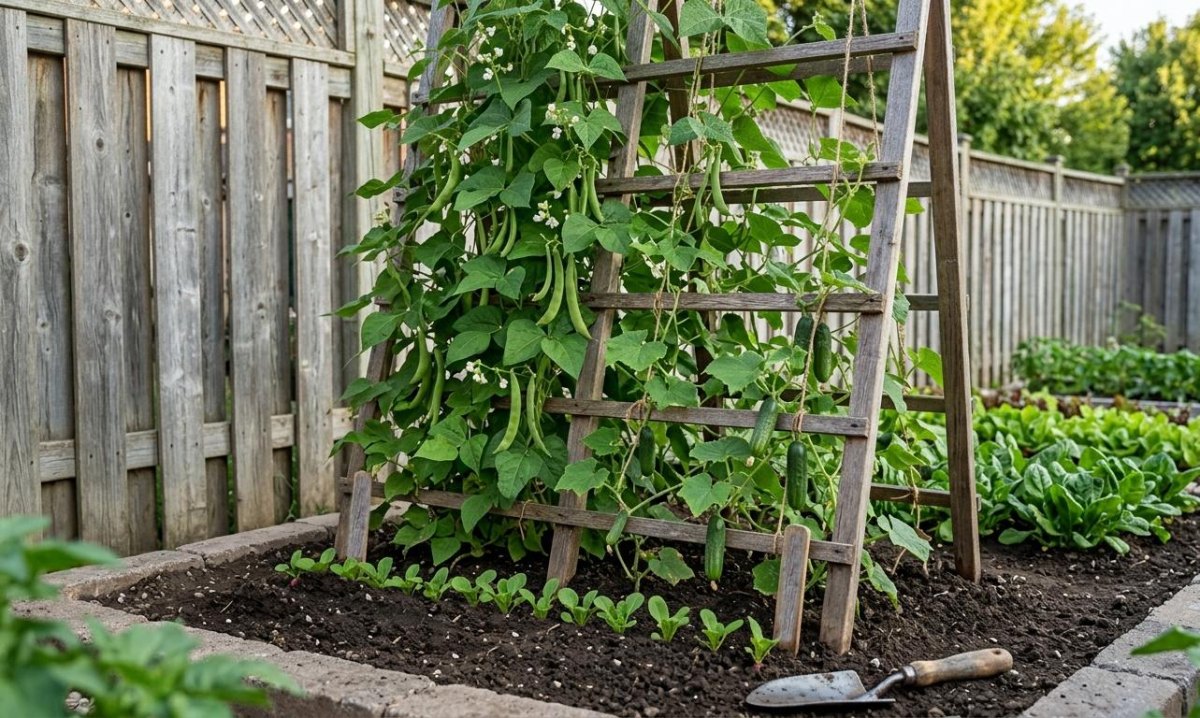
A trellis can turn a patch of ground into a productive vertical growing area. I use supports for crops such as pole beans, peas, and climbing cucumbers because they keep foliage off the ground and make harvesting easier. In a small vegetable garden, that can free the bed's surface for shorter crops or make it easier to reach the vegetables without pushing through sprawling vines.
For a simple design, I would attach sturdy mesh or garden netting to a frame secured firmly at the base and top. Put the support in place before the plants become large enough to tangle or before roots spread through the bed. The support needs to suit the crop: peas and beans climb readily, while heavier cucumbers may need their stems guided and their fruit supported as it develops.
Not every sprawling vegetable is a good candidate for vertical growing. University of Minnesota Extension notes that compact or bush varieties can be sensible choices in small plots, while suitable vining crops can be trained on trellises. I also consider the direction of the sun so a tall support doesn't shade the shorter plants behind it. In my windy high-desert garden, anchoring is non-negotiable; an overloaded trellis can act like a sail. Reference: University of Minnesota Extension's trellis guidance.
Don't underestimate wind
Secure the frame to a suitable support, and check its stability before the vines fill in. A lightweight trellis that seems sturdy when empty may behave very differently when covered in wet foliage.Corner Garden Layouts for Unused Outdoor Spaces
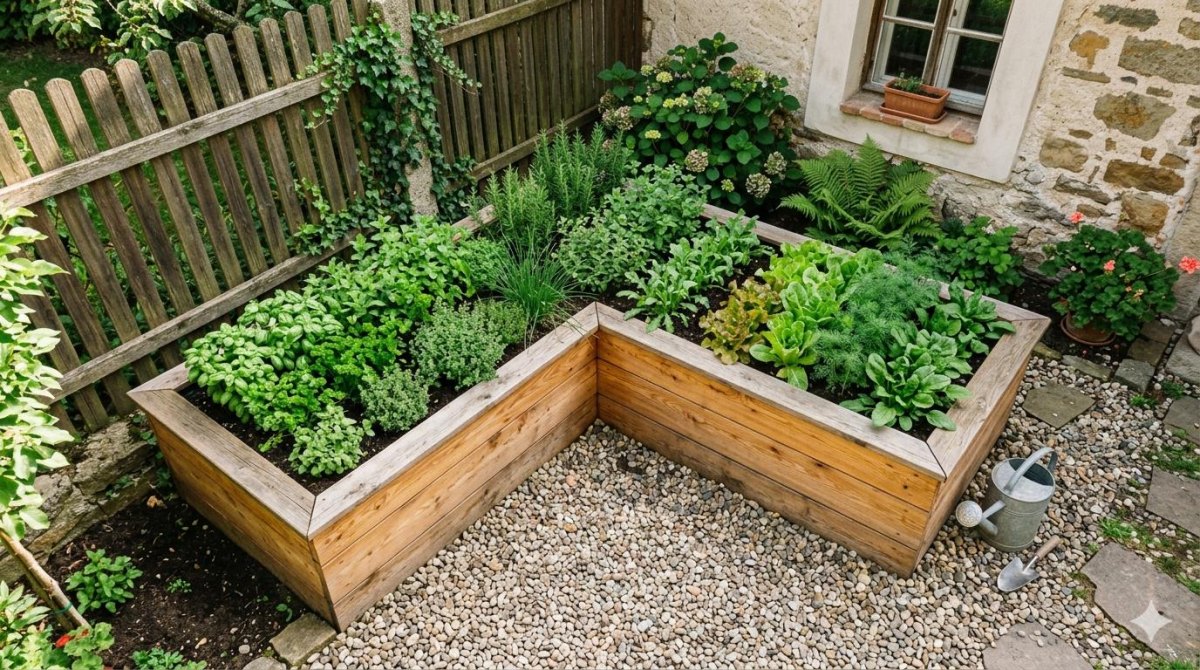
That awkward corner beside a fence or patio can become a useful growing area if I plan around access and sunlight. An L-shaped raised bed follows two boundaries while leaving the middle open, but I avoid making the arms so wide that I can't reach the plants at the back. If the space is particularly tight, a row of containers along the corner may be easier to rearrange than a permanent wooden frame.
I map the sunlight before deciding what goes where. In a small layout, taller crops can shade a surprisingly large part of the bed, so I position them where they are least likely to block shorter vegetables. I leave enough room to kneel, water, and harvest, and I keep the route to a tap clear. These practical details are easy to overlook in a drawing and impossible to ignore in July.
My preferred corner design mixes a few crops with different shapes rather than filling every inch with one large plant. Leaf lettuce, radishes, compact herbs, and a supported climbing crop can share a small footprint if their mature sizes and light requirements are compatible. I would start with a modest planting and expand next season only if the maintenance fits my schedule. Iowa State Extension similarly advises planning for access and avoiding a garden that is larger than the gardener can reasonably maintain. Reference: Iowa State Extension's vegetable garden planning guide.
Herb and Vegetable Companion Planting
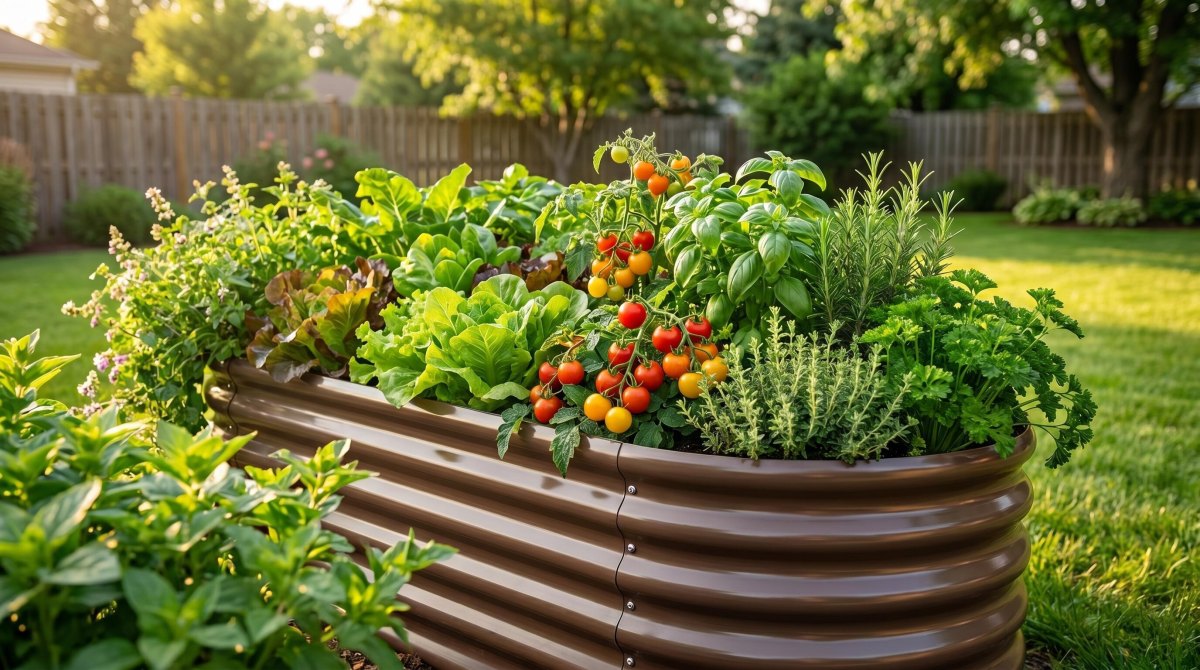
I like combining herbs and vegetables because the result is convenient to harvest and can make a small planter feel like a complete kitchen garden. A basil and cherry tomato combination is an easy arrangement to try, with lettuce or another low-growing crop nearby if light and root space allow. I keep each plant's mature size in mind rather than treating companion planting as permission to crowd everything together.
There is useful research behind some forms of plant diversity, but I am cautious about sweeping claims that one herb will magically repel every pest. Penn State Extension's updated guidance explains that diverse plantings can make it harder for certain insects to locate their preferred host plants, and that some herbs have documented roles as plant partners. That is a more sensible promise than expecting a pot of basil to protect an entire garden.
For a compact combination, I would plant a tomato in a suitably large container, tuck basil into a separate nearby pot or the same planter only if there is sufficient root volume, and grow lettuce where it gets the right amount of light. In Boise, the hotter part of summer can make cool-season lettuce bolt, so I schedule that crop around my local conditions rather than copying dates from another region. My rule is simple: combine plants with compatible needs, and judge the arrangement by healthy growth and harvest rather than folklore. Reference: Penn State Extension's companion-planting research summary.
Hanging Baskets for Leafy Greens and Strawberries
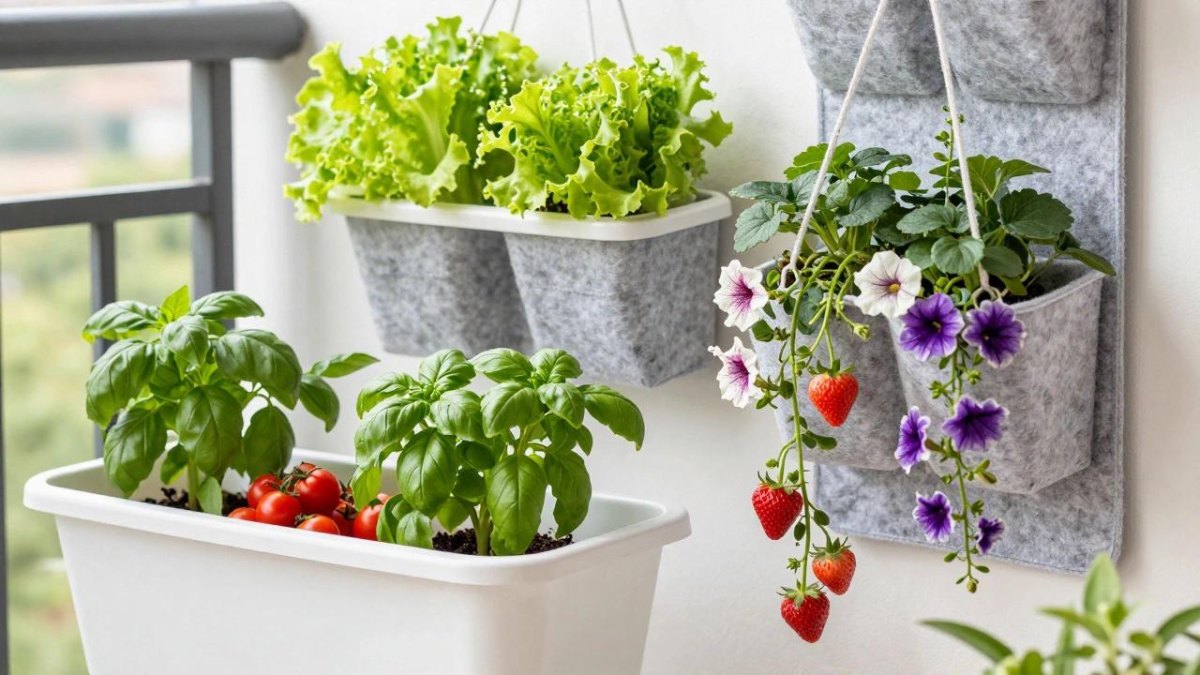
Hanging baskets are worth considering when the balcony floor is already full. They bring the planting surface up to eye level and work especially well for compact, trailing, or shallow-rooted edibles. Iowa State Extension lists strawberries, lettuce, compact tomatoes, peppers, thyme, oregano, and mint among edible plants that can suit hanging baskets, depending on the variety and growing conditions.
I would start with leaf lettuce or day-neutral strawberries rather than a large, vigorous vegetable. Choose a basket with enough growing medium for the roots, secure hanging hardware, and a way to water without soaking a neighbor's balcony or the furniture below. A basket that looks lush on planting day can dry rapidly once roots and foliage fill it, particularly in direct sun or wind.
In my dry Idaho climate, I would inspect hanging baskets daily during warm weather and water when the mix begins to dry, making sure it is thoroughly rehydrated. Your conditions may call for less frequent watering, so use the moisture in the mix as your guide. If I were growing strawberries, I would also remove unwanted runners when the goal is fruit production rather than more plants. The practical limit is weight: wet compost and mature plants are heavier than an empty basket, and the fixing must be rated for the load. Reference: Iowa State Extension's hanging basket guidance.
Repurposed Wheelbarrow Planters for Portable Gardens
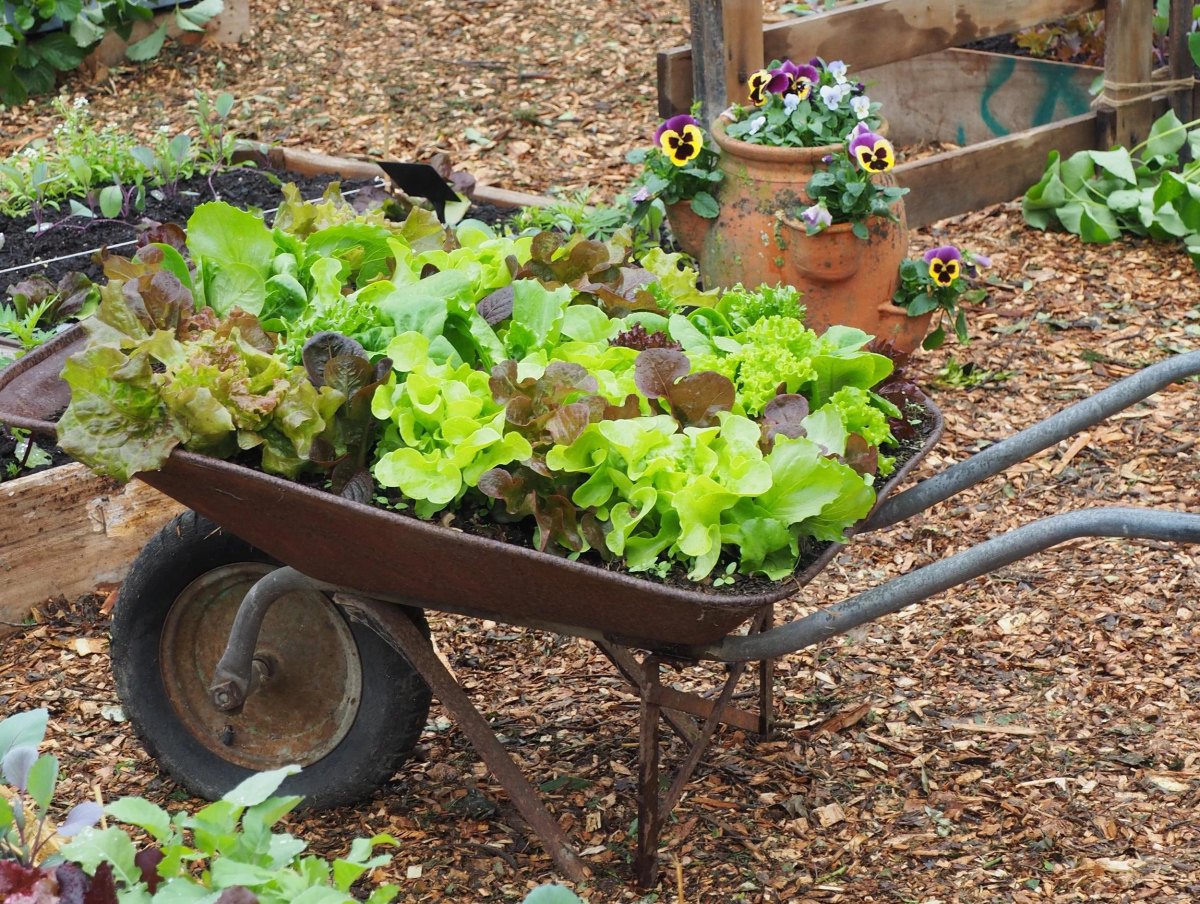
A retired wheelbarrow can become a cheerful vegetable planter, especially if I want a garden that can be moved around the yard. It is a useful example of repurposed container gardening, but I check the material and condition before putting food crops in it. An old wheelbarrow with flaking paint, unknown coatings, or a history of holding chemicals is not a container I would automatically trust for edible plants.
Drainage is the first practical job. If the wheelbarrow is suitable for food gardening, I make sure excess water can escape through properly placed holes, then fill it with a lightweight potting mix appropriate for vegetables. I would use it for lettuce, radishes, compact herbs, or other crops whose root requirements match the available depth. A full-size tomato may need more root volume and a more stable container than an old wheelbarrow provides.
The word portable deserves a little scrutiny. Once filled with wet growing medium, a planter can become difficult to lift or roll, and an uneven path can tip it. I position it before planting if moving it later is likely to be awkward. University of Maryland Extension notes that drainage is essential for container crops and that everyday objects can be repurposed as planters when they are suitable. I would rather use a plain food-safe tub than a charming object with a questionable history. Reference: University of Maryland Extension's container selection guide.
Window Box Vegetable Gardens for Small Homes
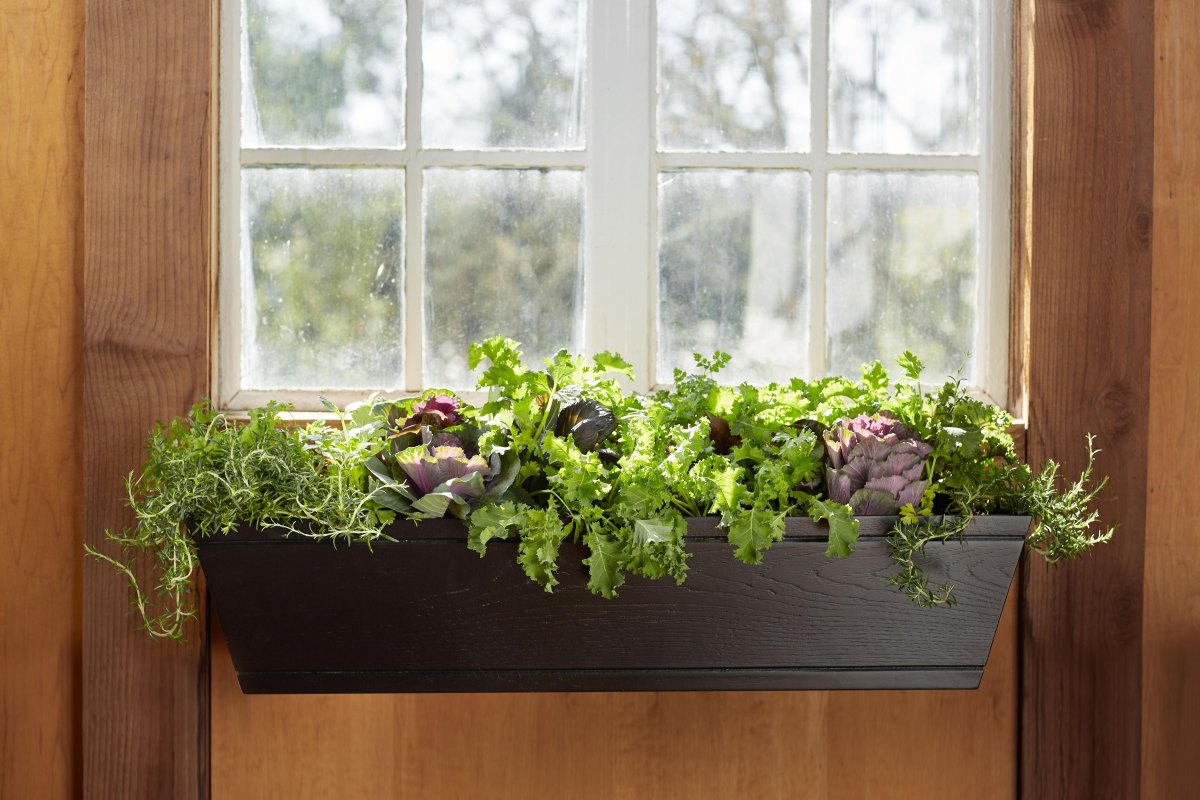
A window box can give me fresh salad ingredients without taking up floor space. I choose shallow-rooted, compact vegetables such as leaf lettuce, baby spinach, and radishes, checking the mature root depth before buying seed. A box that is too shallow or crowded can dry quickly and restrict roots, so I prefer a sturdy planter with enough depth and width for the crops I actually want to grow.
Sunlight determines the planting list. Many warm-season crops need around six to eight hours of direct sunlight, while leafy greens may manage with less. I watch the window through the day rather than assuming that a bright room means the exterior box gets adequate sun. A south- or west-facing exposure can also become very hot, and reflected heat from masonry can make the growing medium dry faster than expected.
Secure the brackets properly and plan where watering runoff will go before planting. I use a quality potting mix, confirm that drainage holes are clear, and check moisture regularly in warm weather. For a window box, frequent small harvests of young leaves often make more sense than trying to grow a full-size squash or sprawling cucumber. NC State Extension's small-garden guide also identifies radishes and leafy greens as useful candidates for compact containers. Reference: NC State Extension's small-space vegetable guide.
Square-Foot Gardening for Efficient Plant Spacing
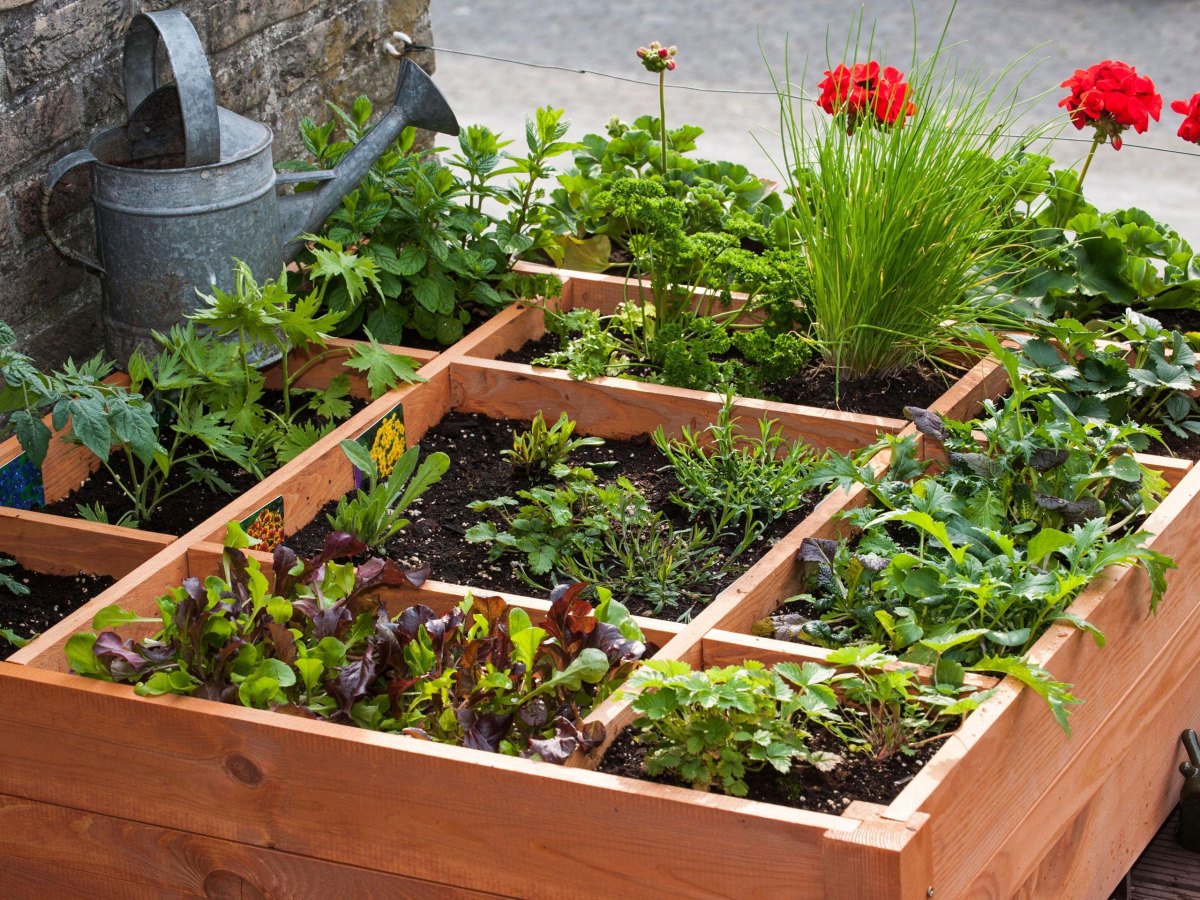
Square-foot gardening divides a bed into small planting blocks instead of long traditional rows. I like the basic idea because it makes space planning visible: I can assign each block a crop, record what grew there, and see where I have room for another sowing. It also helps keep foot traffic out of the growing soil, provided I can reach every block from the paths.
I'd start with a bed no wider than about 4 feet when I can access it from both sides, then divide the surface into a simple grid. I don't follow a universal number of plants per square foot for every vegetable, because mature plant size and cultivar make a difference. A small radish and a full-size tomato plainly do not need the same area. I use the seed packet's spacing information and local extension recommendations to set the number of plants in each block.
Block planting can reduce wasted aisle space and allow foliage to shade some of the soil, but it does not remove the need for air circulation or sensible spacing. In my notebook, I would record the crop, variety, sowing date, and harvest dates for each block. If a section repeatedly becomes crowded or dries out faster than its neighbors, I have useful evidence for changing next season's layout. A grid is a planning aid, not a substitute for plant-specific spacing. Reference: Iowa State Extension's advice on block planting and garden layout.
Before planting a grid bed
- Measure the bed and leave a comfortable path around it.
- Mark the grid with string or narrow wooden dividers.
- Check the recommended spacing for every crop.
- Place tall plants where they will shade shorter ones least.
- Record sowing and harvest dates as the season progresses.
Tiered Planters for a Multi-Level Vegetable Garden
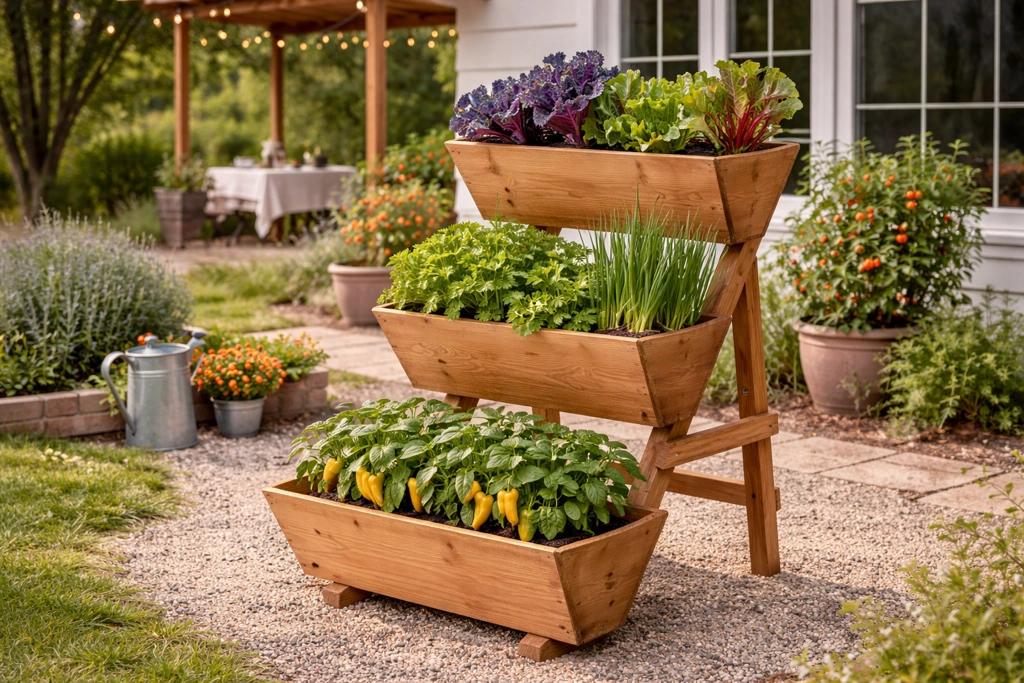
Tiered planters give a small patio several planting levels without requiring a large footprint. I would use the upper tier for crops that need the brightest conditions, then reserve lower levels for suitable leafy greens or herbs, depending on how much sunlight they actually receive. The main design challenge is light distribution: a tall tier can shade the lower one, so I check the arrangement at different times of day before filling every level.
Root depth and watering matter just as much as the appearance. Each tier needs enough growing medium for the chosen crop, and the upper level may drain into the lower one. That can leave the top dry while the bottom stays too wet, so I check each section individually. On a paved surface in Boise's hot, dry summers, I would pay particular attention to moisture and use a mulch suitable for containers where practical.
For a first tiered garden, I would combine compact herbs and salad greens with one or two appropriately sized vegetable plants rather than treating every level as a place for a large tomato. University of Maryland Extension notes that three-tiered containers can accommodate crops such as bush cucumbers and dwarf tomatoes when container size and growing conditions are suitable. I also secure the unit against wind and place it where water can drain safely. Choose tiers for access and crop fit, not simply for the number of plants they promise to hold. Reference: University of Maryland Extension's container gardening guidance.
The test I use
Before buying a tiered planter, decide what will grow on each level and check its minimum container requirements. If the lower tier is too shaded or the upper tier is too shallow, a few well-chosen individual pots may produce a better harvest.I would choose the design that solves the actual problem in my space: a trellis if the floor is crowded, a raised bed if I need accessible growing soil, or containers if the light changes throughout the day. Start with the vegetables you eat most, leave room to water and harvest, and make one or two changes after you've seen how the first season performs.
More Pinterest Visuals



 Balcony & Patio GardensSmall Space Garden Ideas That Make Every Inch Count
 Balcony & Patio GardensKübelpflanzen für die Terrasse – 15 Ideen für ein grünes und blühendes Outdoor-Paradies
 Balcony & Patio Gardens20 Balcony Garden Setup Ideas To Transform Your Outdoor
 Seasonal & Flower Containers16 Beautiful Container Garden Flower Combinations That Work