
I built my current wire rack seed starting setup in the basement because Boise, Idaho zone 7a, gives me dry air, alkaline soil, about eleven inches of annual rain, and late frosts that can ruin a season overnight. I count backward from my own last frost date rather than trusting a generic calendar, and I recommend doing the same with your local extension frost information.
After years in a seed company trial garden and six seasons growing flowers for market, I have learned that a simple rack with good light beats a complicated gadget pile. The goal is sturdy transplants, not a showroom shelf.
Wire Rack Frame and Shelf Arrangement
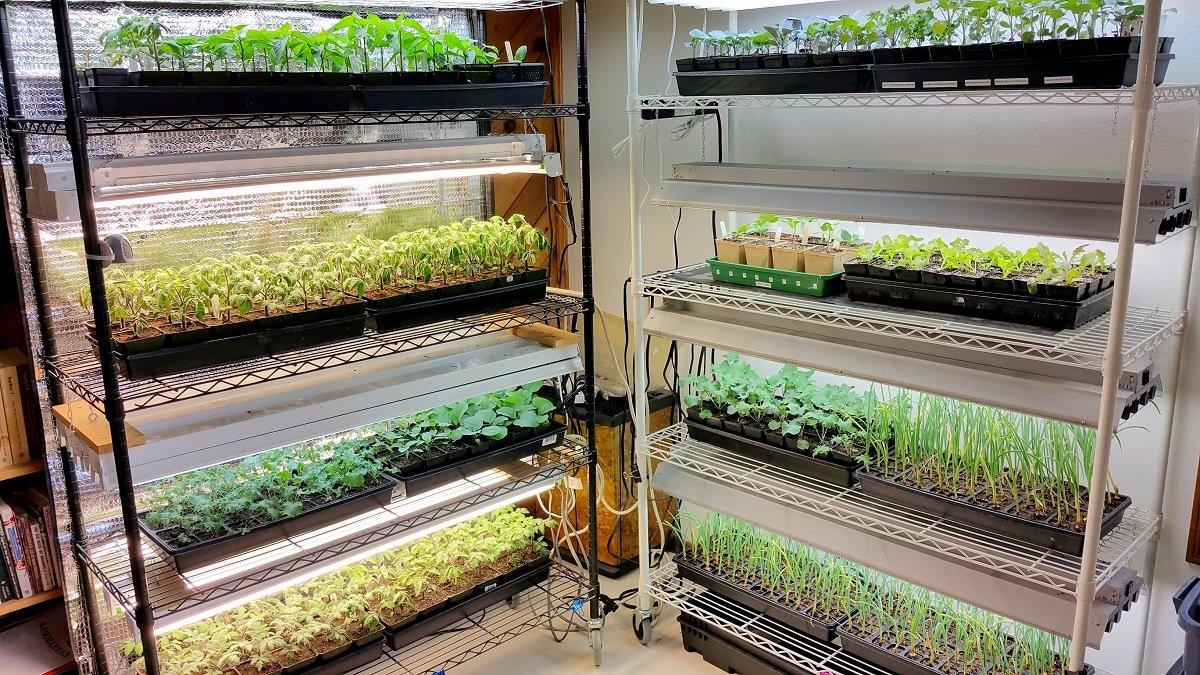
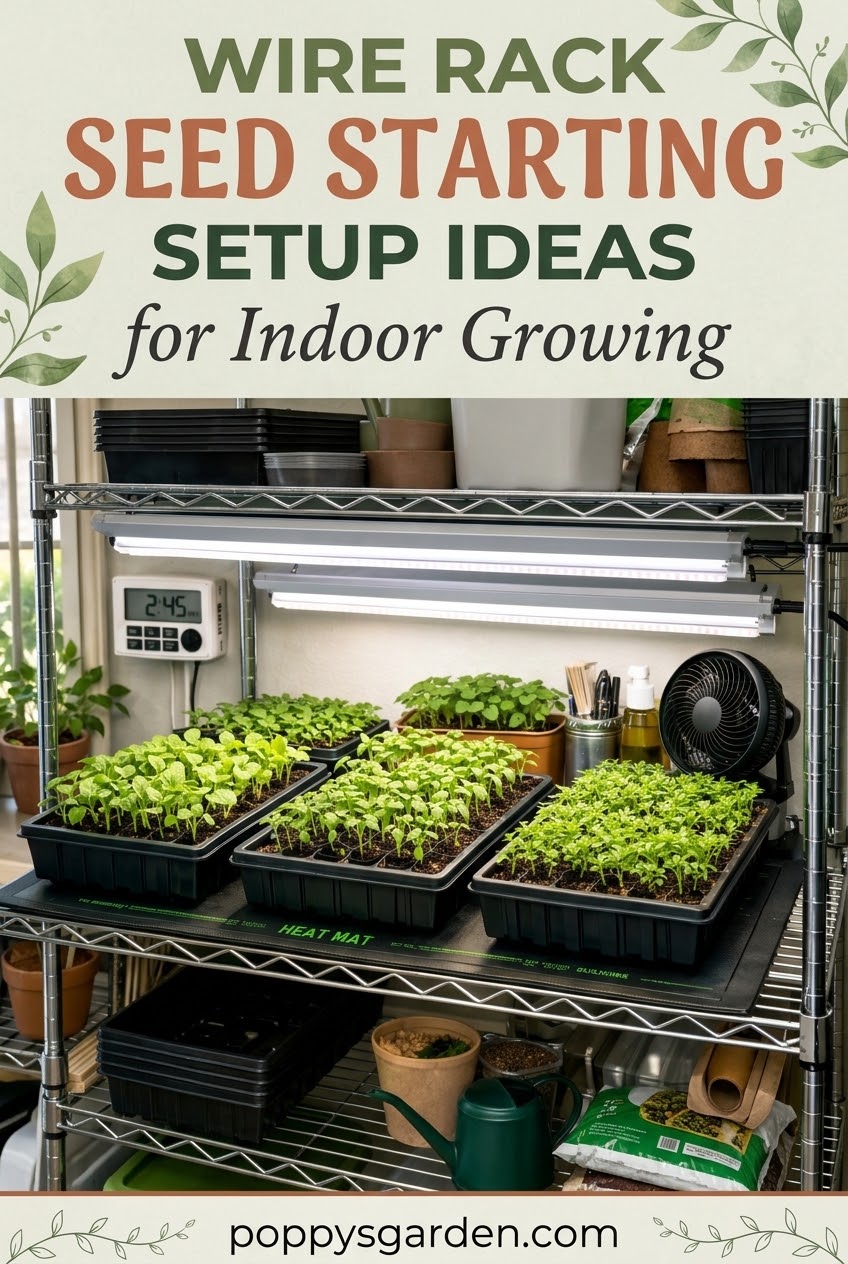
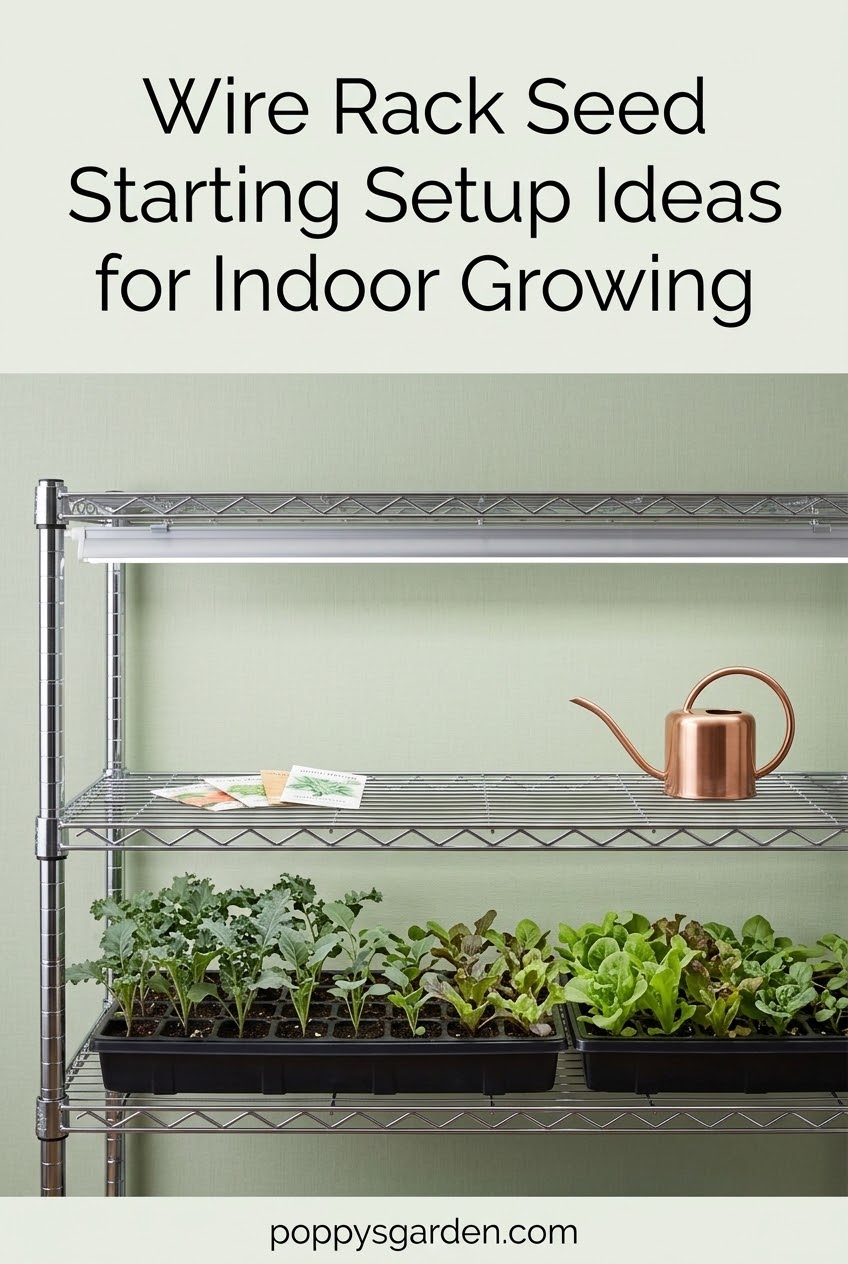
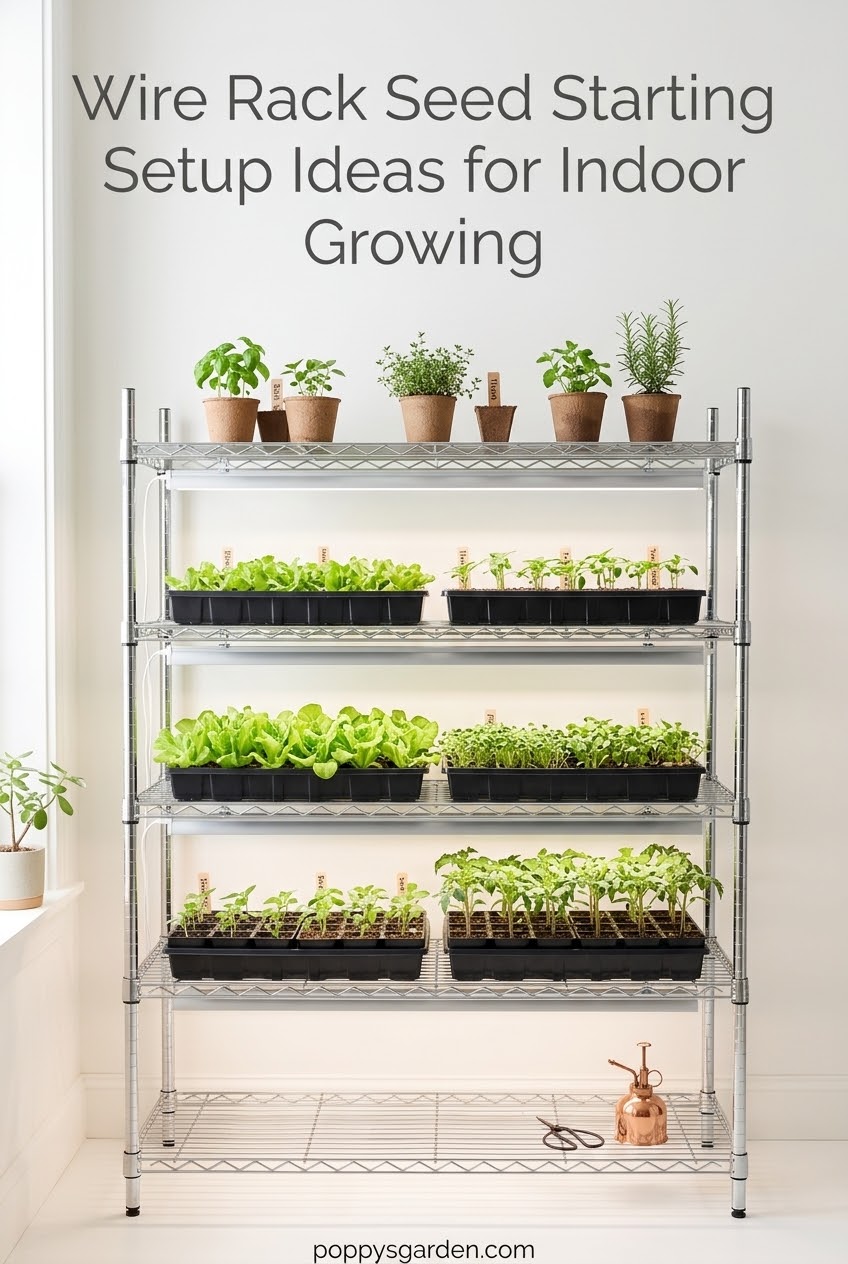
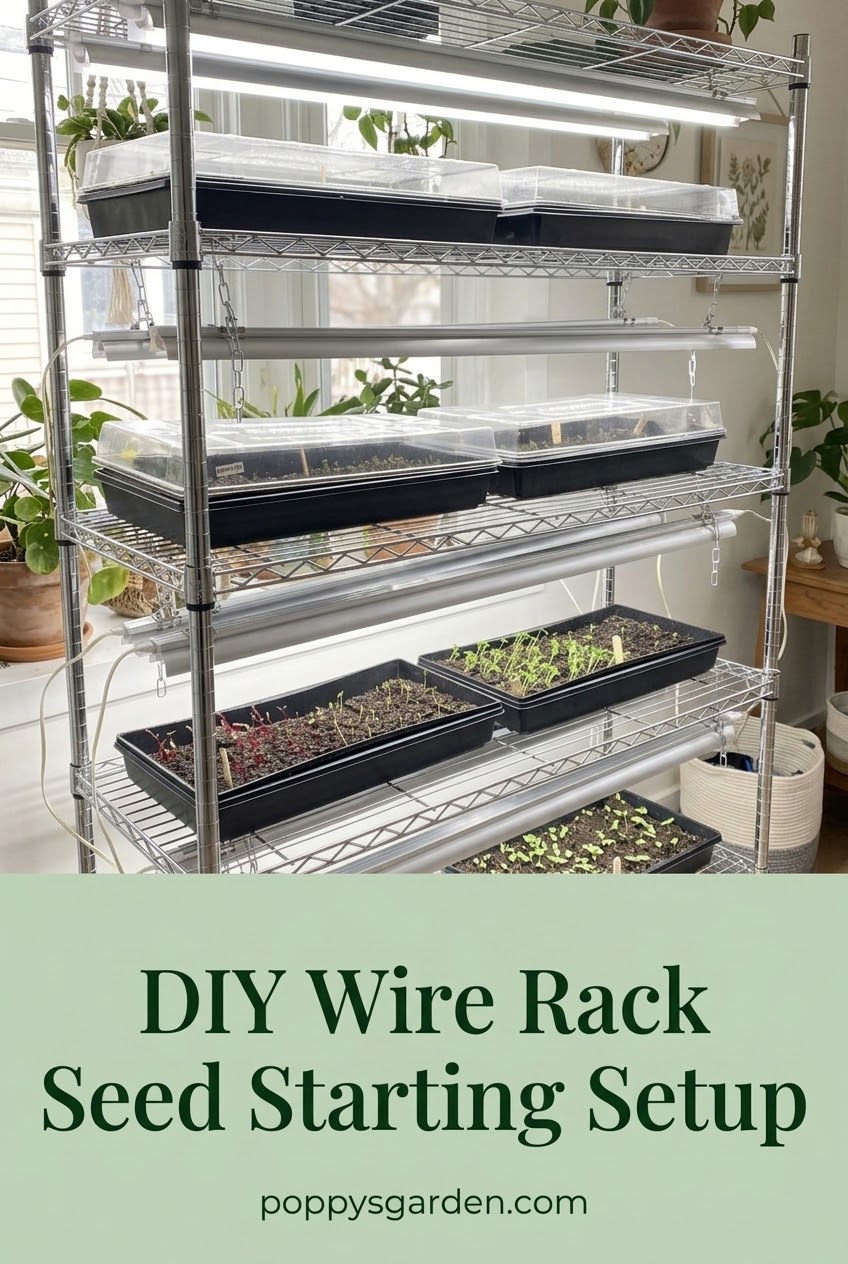
My basement rack is not fancy, but it is square, stable, and easy to adjust. I like an adjustable metal wire shelving unit because I can change shelf spacing as seedlings grow and move supplies around after seed-starting season. Many indoor seed systems use wire shelving with lights attached underneath because the structure already provides the hanging points needed for fixtures.
What I look for in a rack
- Enough depth for standard seed trays without crowding
- Adjustable shelves for changing plant height
- A level location away from cold drafts
I learned this the hard way after one windy spring when my basement storage was rearranged and my trays ended up leaning. A level rack saves spills, broken seedlings, and a lot of frustration.
Grow Lights Mounted Above Seed Trays
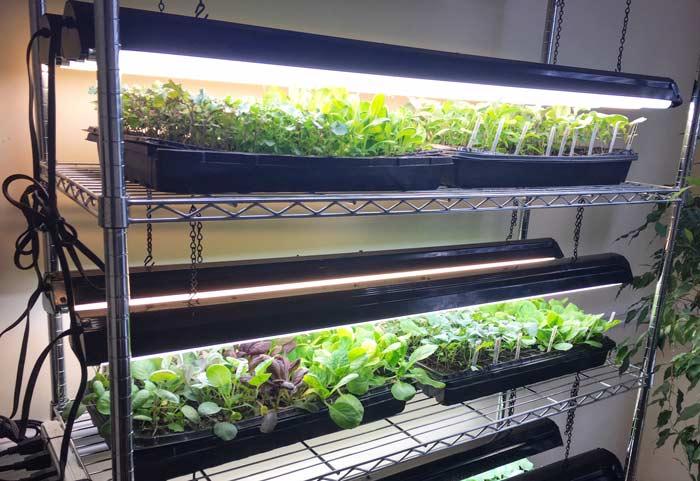
The biggest mistake I see with indoor seedlings is treating a sunny window as a replacement for real light. My adjustable LED grow lights stay close to the seedlings, and I raise them as the plants grow. Extension guidance commonly recommends keeping supplemental lights close and running them around 14 to 16 hours daily for healthy transplants.
- Hang. Attach lights so the height can change instead of locking them in place.
- Time. Use an outlet timer so seedlings receive consistent light.
- Watch. Raise fixtures when leaves approach the bulbs.
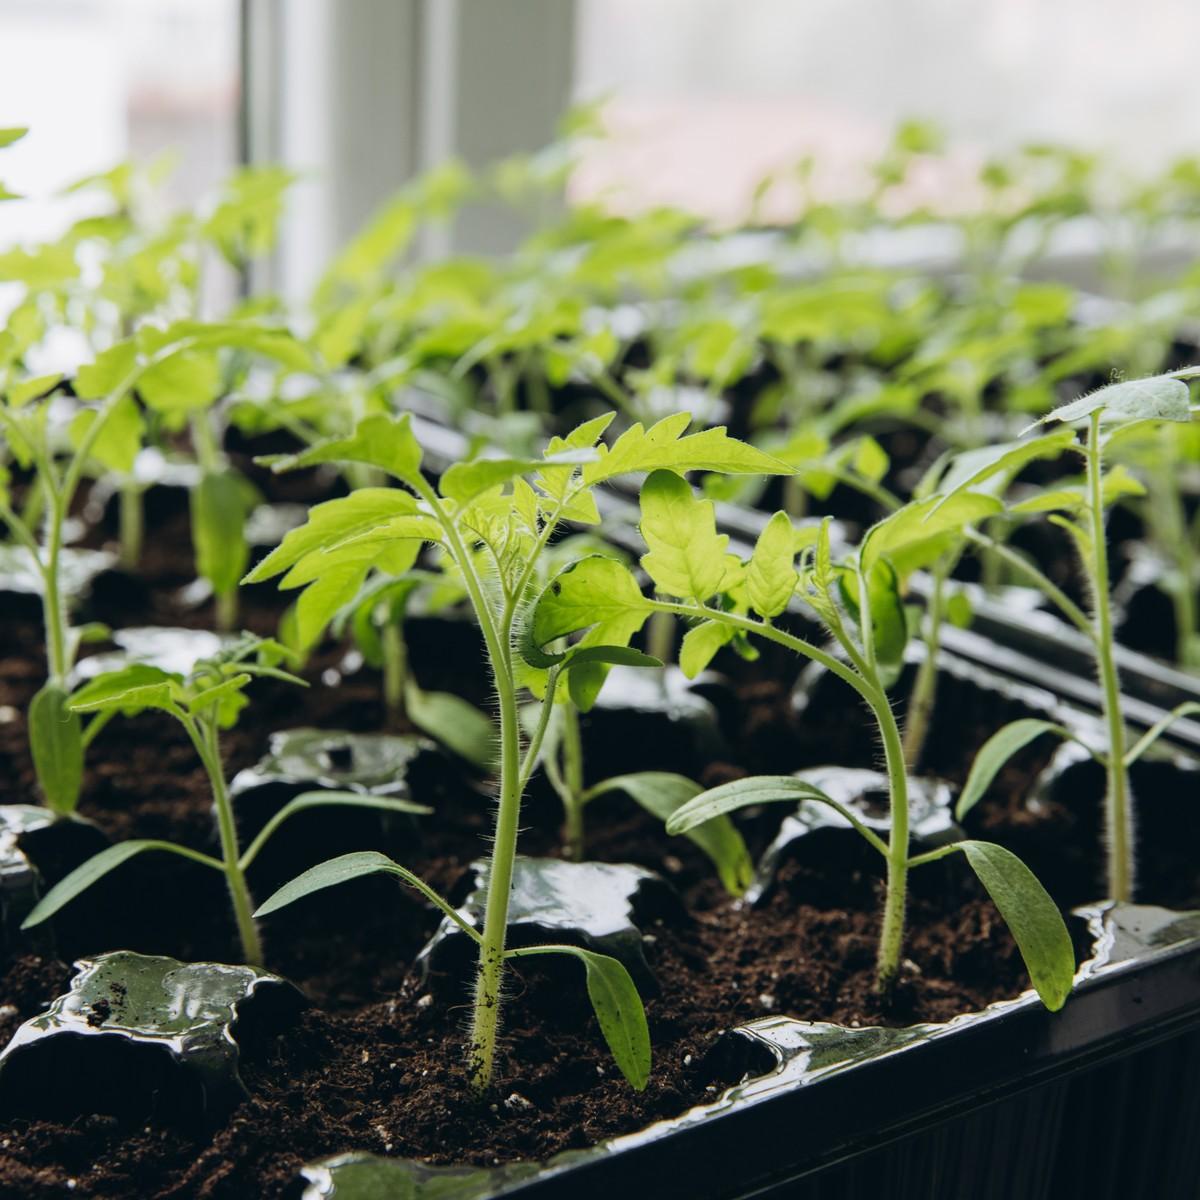
I keep notes on which crops stretch. Tomatoes and cabbage family seedlings are the ones I watch most closely because weak light turns them into tall, floppy plants before they ever reach the garden.
Seed Trays and Humidity Dome Organization
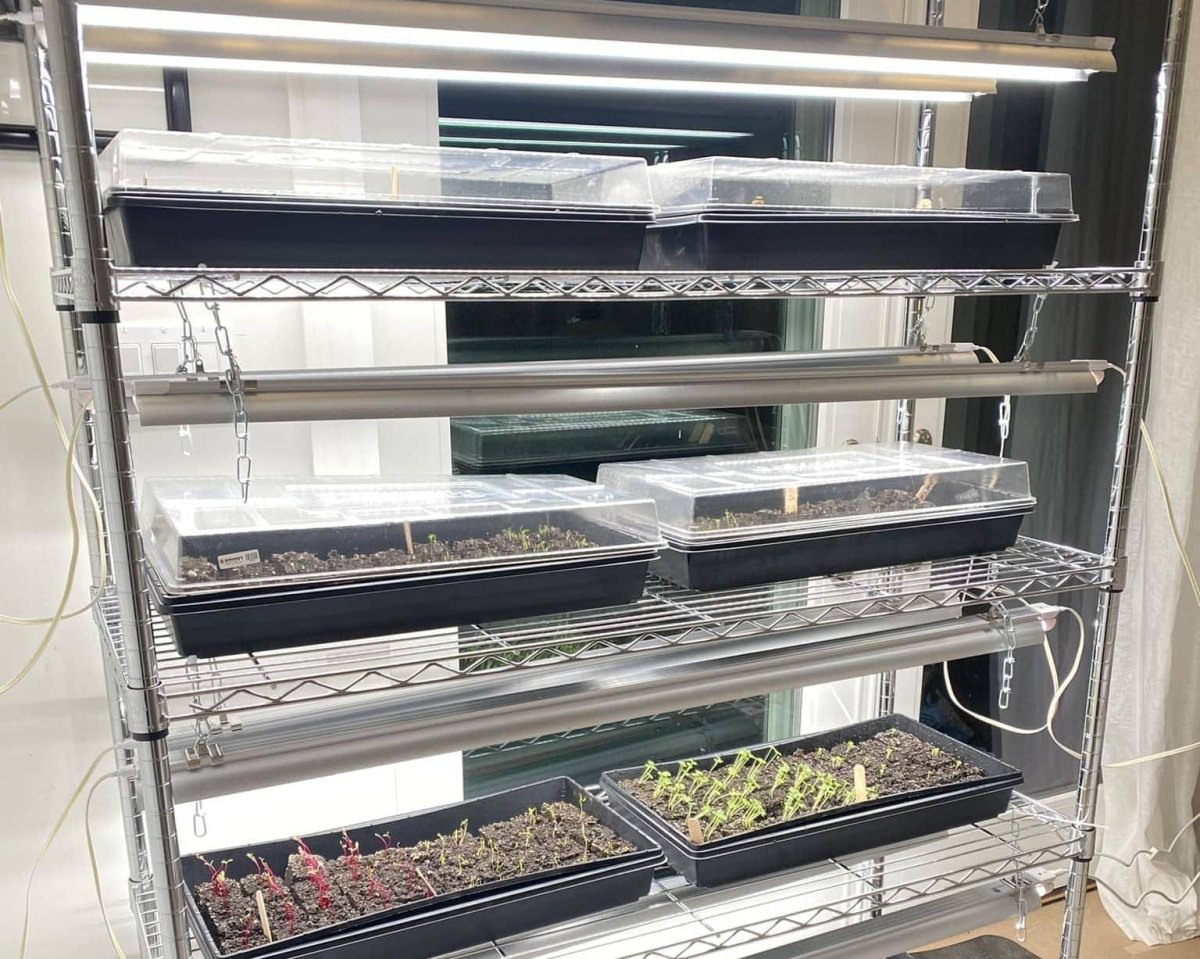
I label every tray because my memory is not as reliable as my garden notebook. A few years ago I grew two basil varieties side by side and lost track of which one handled my heat better. Now every seed tray organization system includes crop name, sowing date, and variety.
| Item | Why I use it |
|---|---|
| Cell trays | Keeps roots separated before transplanting |
| Humidity domes | Helps maintain moisture during germination |
| Labels | Tracks varieties and sowing dates |
Humidity covers are useful early, but I remove them after germination because seedlings need airflow and lower humidity as they establish. My rule is simple: help seeds start, then stop pampering them.
Heat Mats and Temperature Control Setup
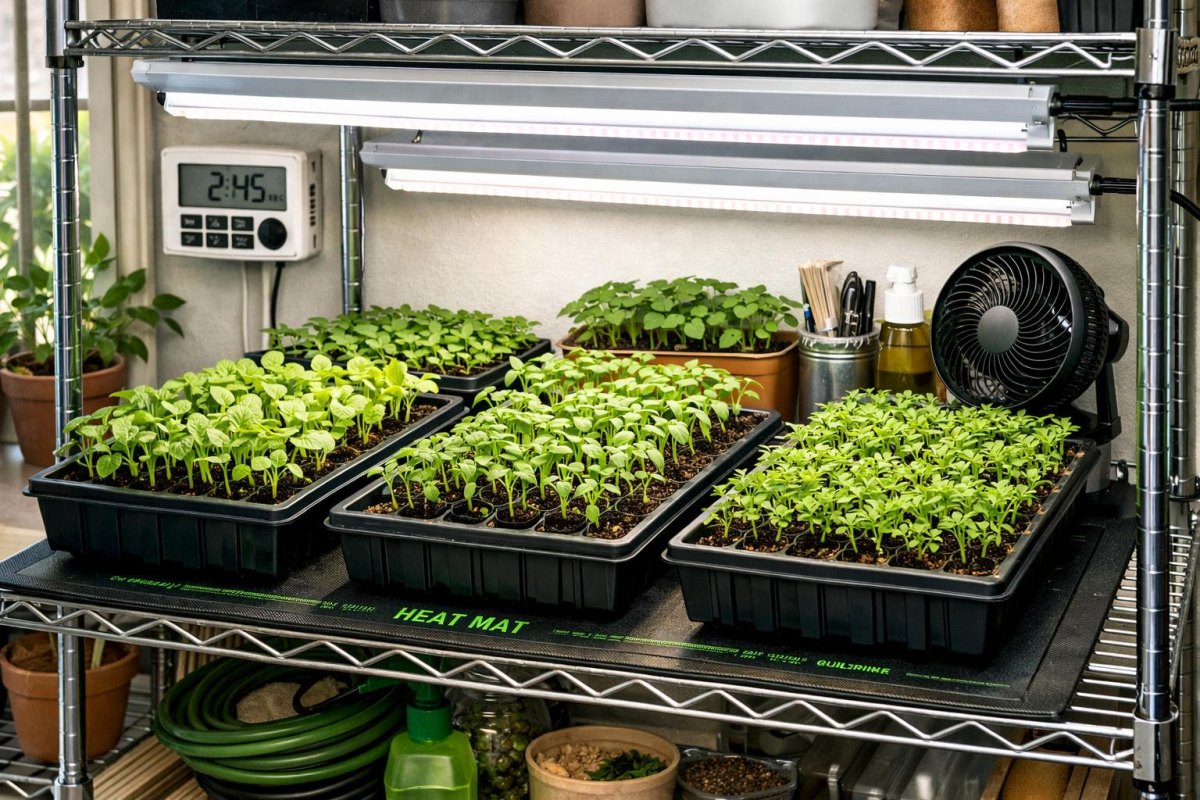
My heat mats are not running under every tray all season. I use them as a germination tool, especially for crops that appreciate warmer soil. A thermostat-controlled heat mat is worth the money because overheating is just as frustrating as cold soil.
My timing tip
I remove bottom heat once most seeds have emerged and move seedlings into their cooler growing conditions. Extension recommendations commonly suggest removing heat after germination begins rather than leaving trays warm indefinitely.
Why I keep heat mats
- Faster germination for warm-season crops
- More predictable starts in a cool basement
Where they are not needed
- Established seedlings already under lights
- Crops that prefer cooler conditions
Watering Tools and Seedling Maintenance Station
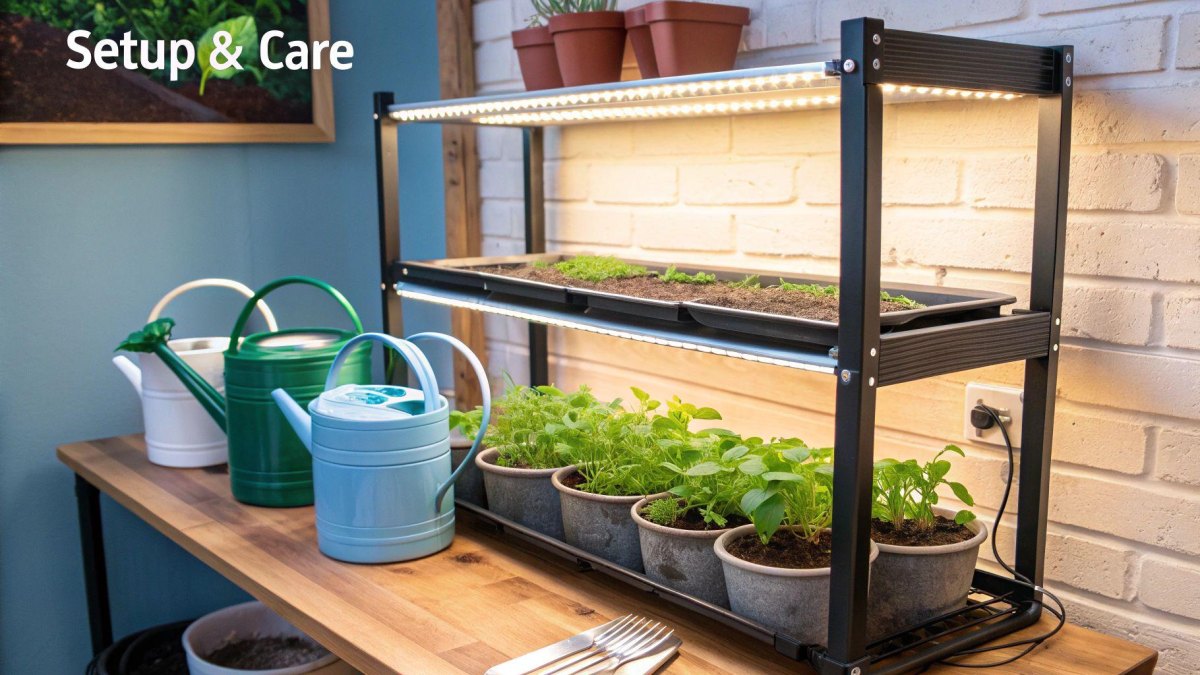
The final piece of my rack is not another gadget. It is a small station with a watering can, labels, scissors, and a notebook. My seedling maintenance routine takes about ten minutes each morning because I check moisture, airflow, and growth instead of waiting for problems.
- Check trays for even moisture
- Remove weak seedlings before they crowd neighbors
- Record germination dates and transplant timing
- Clean trays before storing them
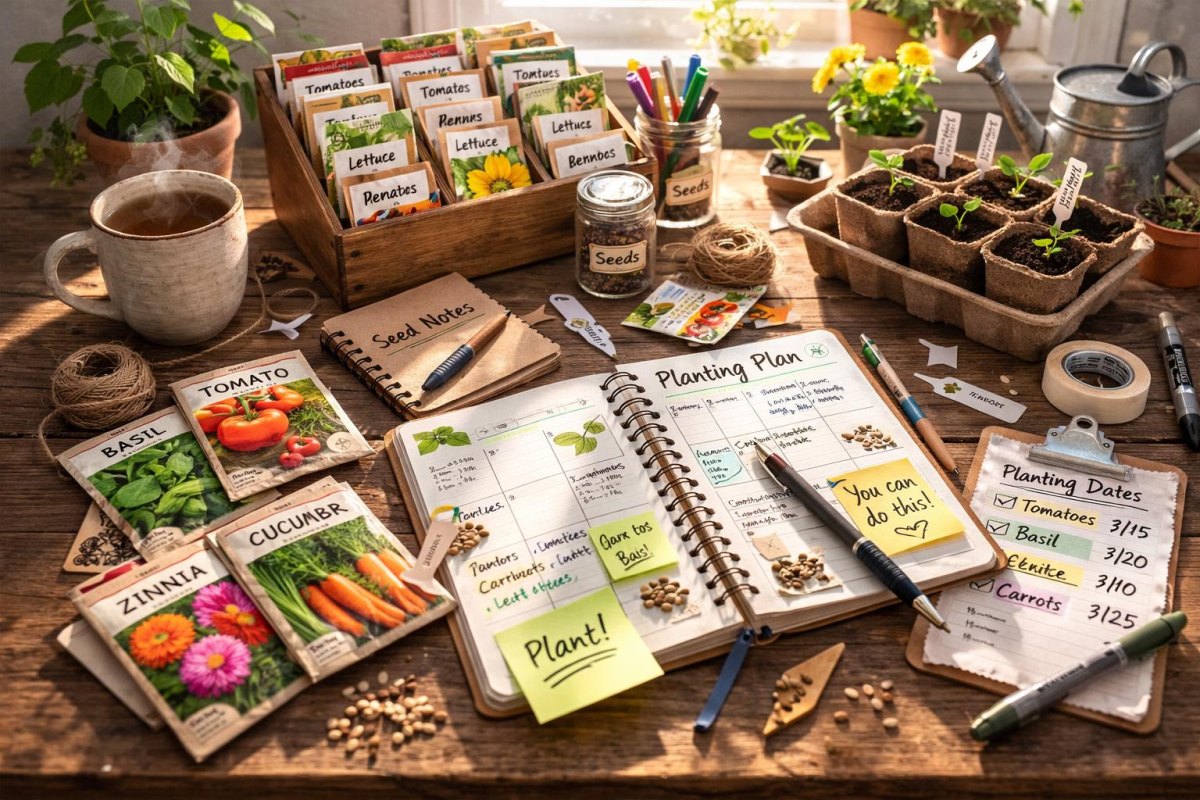
I still write down failures. Last year I started onions too late and lost weeks of growth, so my next sowing date moved earlier. The rack is just equipment; the notebook is where the useful information lives.
The measurement I keep
I track germination percentage and transplant quality because space has a cost. A shelf spot should earn its keep, whether it grows tomatoes, flowers, or a tray of herbs.
More Pinterest Visuals



 Balcony & Patio GardensSmall Space Garden Ideas That Make Every Inch Count
 Balcony & Patio GardensKübelpflanzen für die Terrasse – 15 Ideen für ein grünes und blühendes Outdoor-Paradies
 Balcony & Patio Gardens20 Balcony Garden Setup Ideas To Transform Your Outdoor
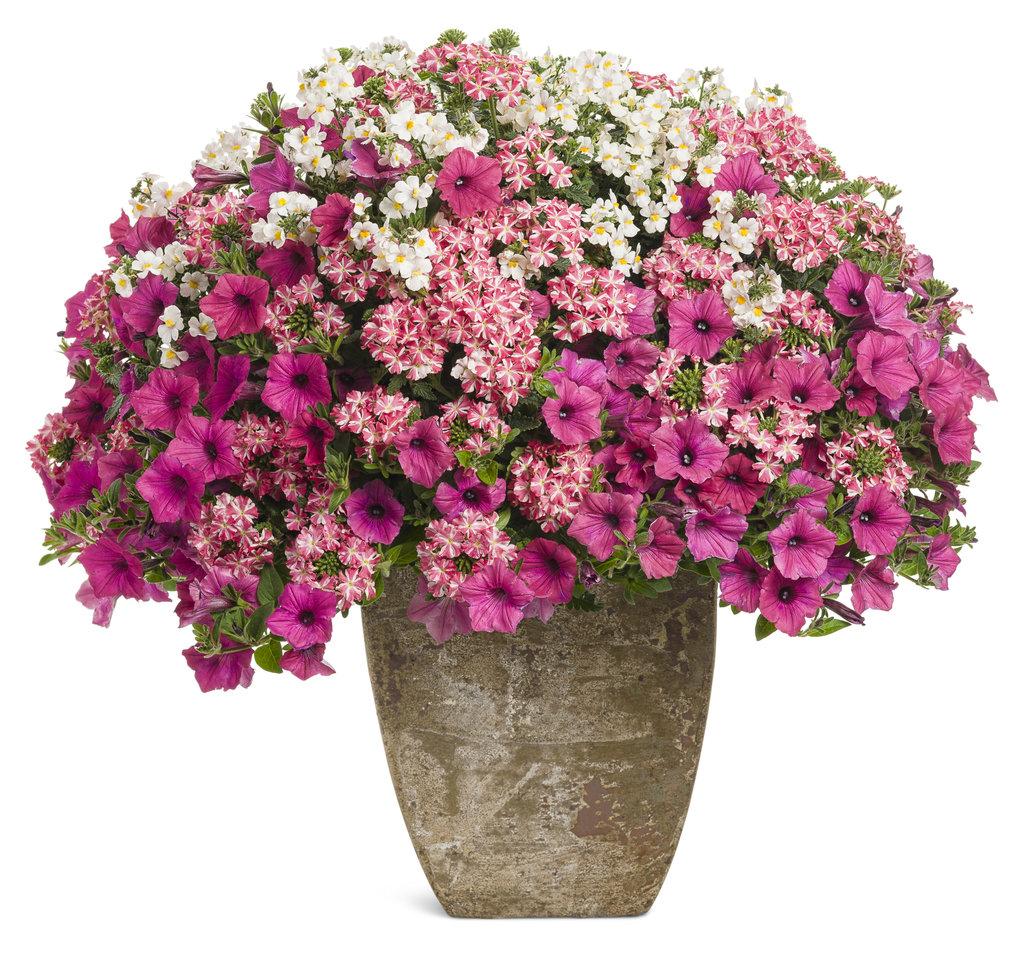 Seasonal & Flower Containers16 Beautiful Container Garden Flower Combinations That Work