
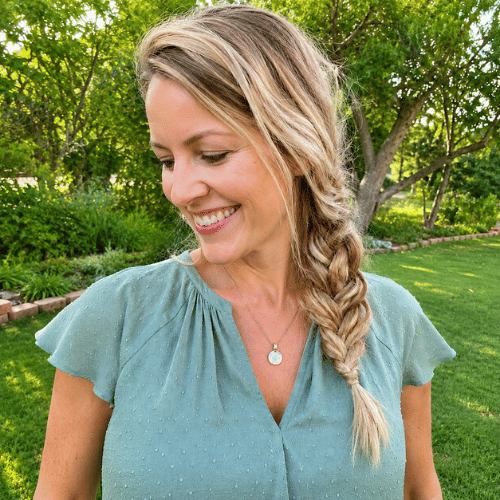
I still remember the first year I filled my basement shelves with seed trays and thought every tiny green sprout meant success. It did not. I lost tomatoes to a late frost, stretched seedlings under weak light, and learned to keep records instead of guessing. I garden in Boise, Idaho, zone 7a, with dry high-desert conditions, alkaline soil, about eleven inches of rain a year, and a last frost date that changes from year to year. Use my timing as a reference point, then count back from your own frost dates and check your local extension service.
This is the seed starting system I use now: simple supplies, realistic timing, and notes from each season. The goal is not a perfect tray of seedlings. The goal is plants strong enough to make it into your garden.
Choosing the Right Seeds for Beginners
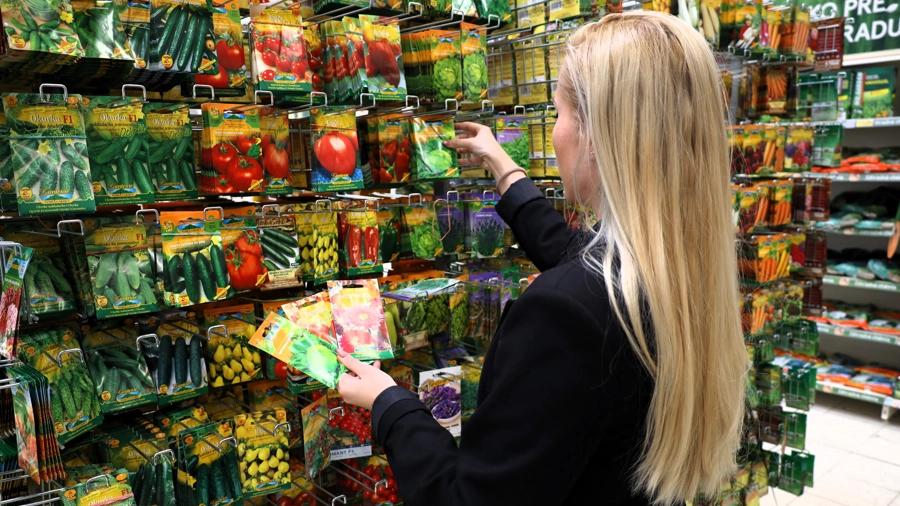
I always start with the seed packet, not the calendar. In my trial-garden years, I learned that words like "vigorous" can hide a lot of regional variation, so I look for days to maturity, plant size, and whether a crop actually fits my short, dry Idaho season. A beginner does not need twenty varieties; three or four reliable crops are enough to learn the process.
Beginner seed strategy
- Choose crops you will actually eat.
- Start with varieties suited to your climate.
- Record germination and harvest dates for next year.
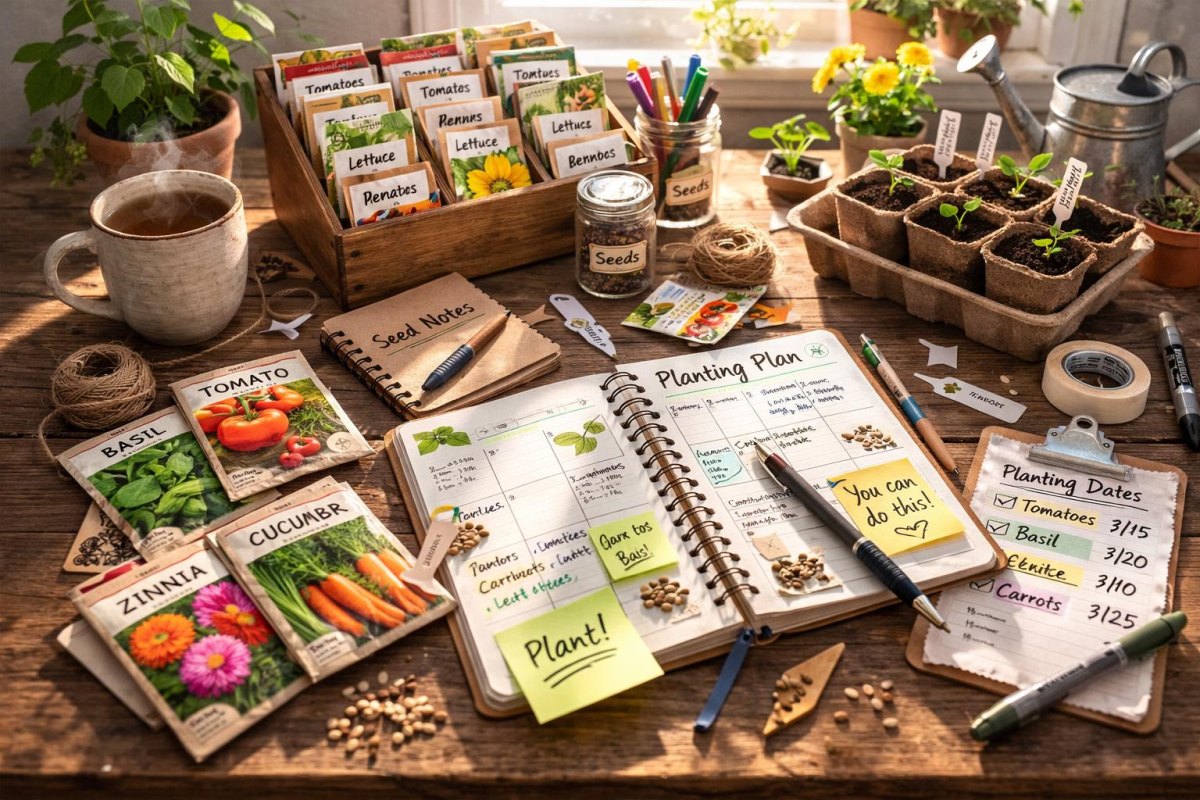
My easiest first crops are lettuce, basil, tomatoes, and marigolds. Tomatoes are a little more demanding, but they reward careful timing. In my notebook, I track what germinated, what survived transplanting, and whether the space earned its keep.
Preparing Containers and Seed Starting Mix
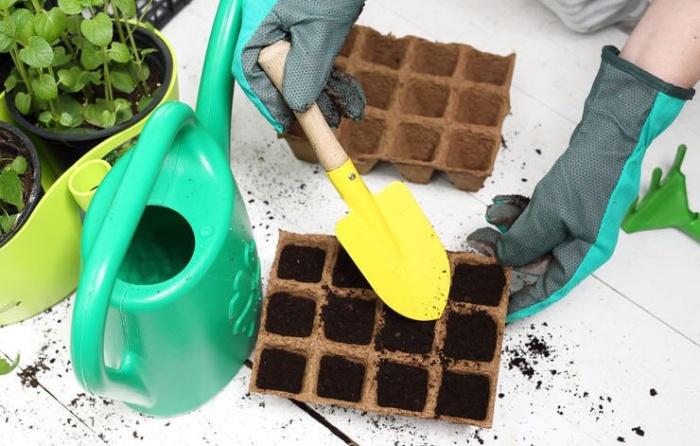
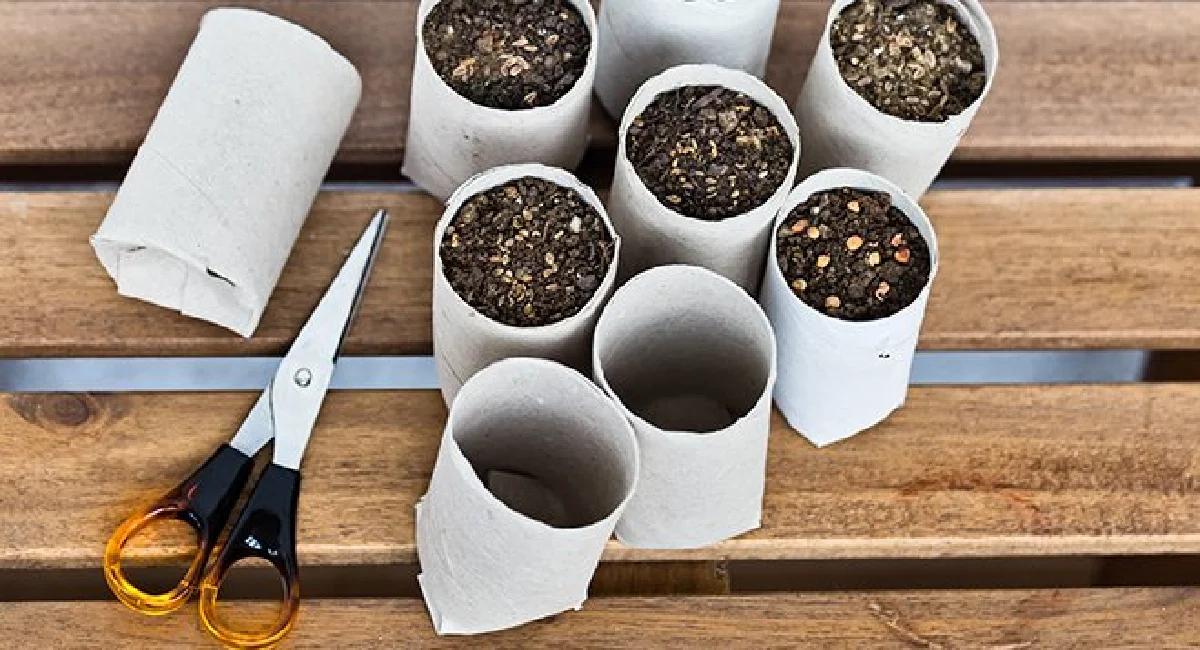
The container matters less than beginners think. I have started seeds in purchased trays and reused small pots, but every container needs good drainage holes. I never use garden soil for indoor trays because it is too heavy and can create problems for young seedlings. A lightweight seed starting mix gives roots a better beginning.
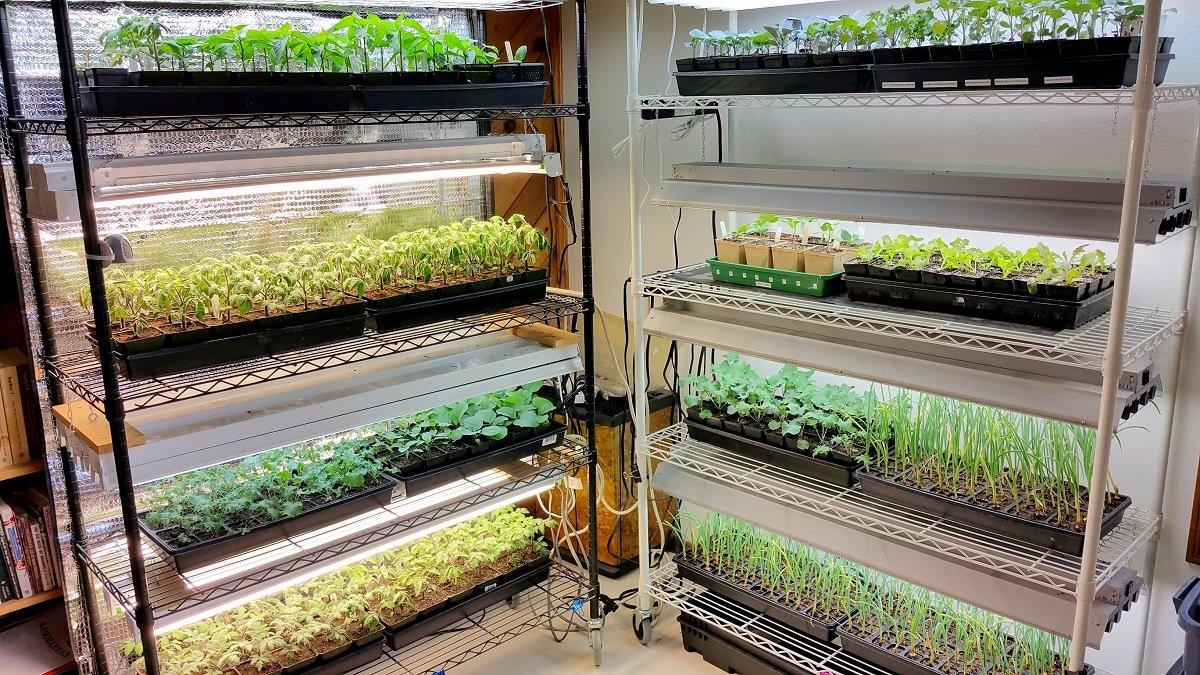
My basement setup is not fancy: shelves, shop lights, trays, and a notebook. Wes built the shelves square, because apparently even my seed starting needs an engineer involved. The supplies do not need to be expensive; they need to be consistent.
My tip
Moisten the mix before filling trays so tiny seeds are not washed into corners when you water.
Planting Seeds at the Correct Depth
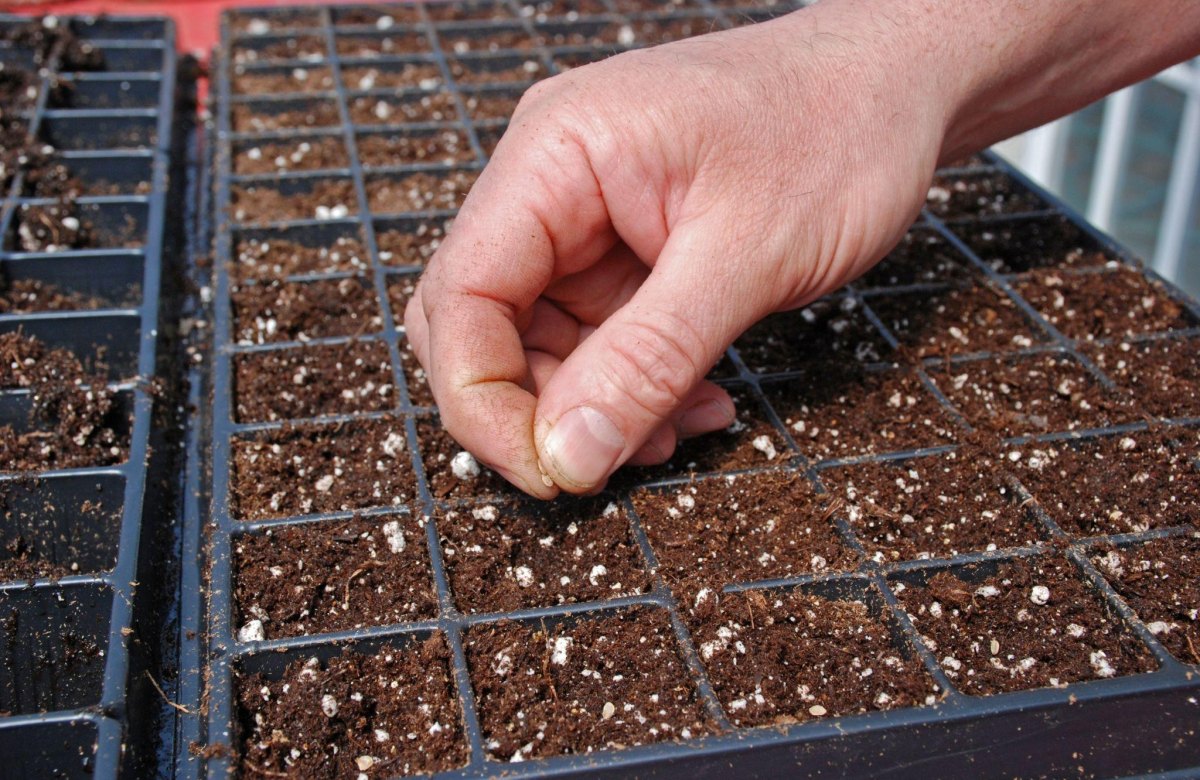
Planting depth is one of the easiest places for beginners to lose seeds. I follow the packet first, but the general rule I keep written on my seed shelf is about twice the seed diameter. Tiny seeds often need barely any covering at all.
- Fill. Level the damp seed starting mix without packing it hard.
- Sow. Place seeds at the depth recommended for that crop.
- Label. Mark every tray before you forget what you planted.
I once planted two tomato varieties in identical trays and skipped labels because I was sure I would remember. I did not. The mystery tomatoes were fine, but my record-keeping was not. That little mistake cost me a season of useful comparisons.
| Seed type | Beginner note |
|---|---|
| Large seeds | Usually tolerate deeper planting |
| Tiny seeds | Often need shallow covering or light |
Providing Light, Water, and Warmth
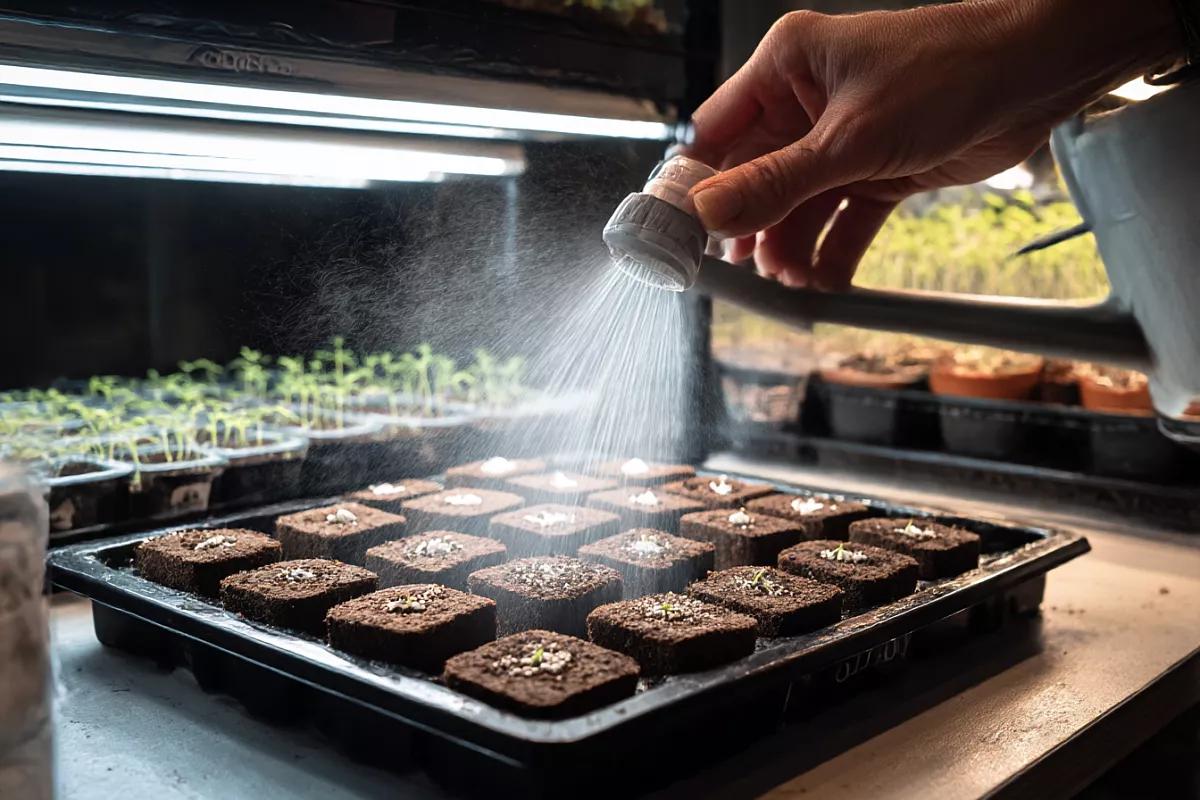
Most seed-starting failures I see come from one of three things: too little light, too much water, or poor temperature control. A sunny windowsill looks cheerful, but many seedlings become tall and weak because they are reaching for light. I use timers and indoor lights because consistency beats wishful thinking.
14–16 hours
Typical daily light period for many indoor seedlings
I keep my trays evenly moist, not soaked. Damping-off disease is one of those problems where prevention is much easier than rescue, and crowded, wet conditions make trouble more likely.
What helps
- Bright grow lights
- Gentle airflow
- Clean trays
What hurts
- Soggy soil
- Weak window light
- Crowded seedlings
Transplanting Healthy Seedlings Outdoors
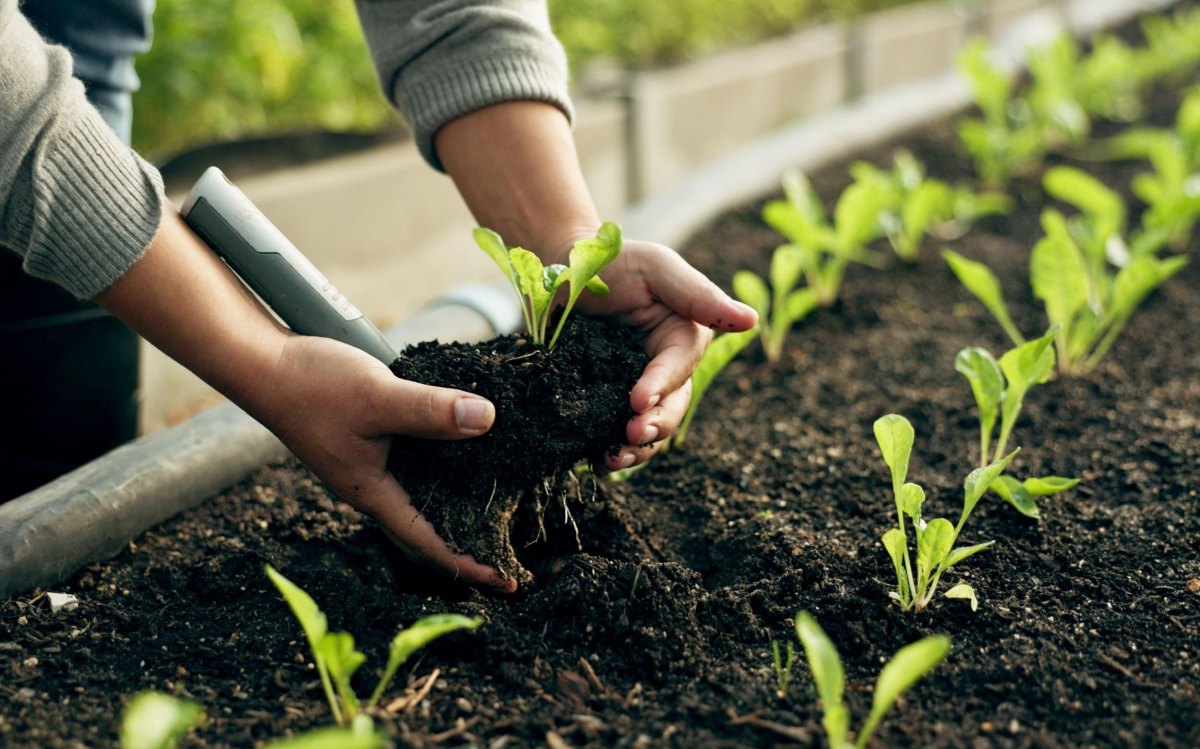
Moving seedlings outside is where patience pays off. In Boise, I count backward and forward from frost dates instead of trusting a generic April planting list. Your garden may be completely different, so use your local frost information and extension recommendations. Hardening off is the bridge between a protected basement tray and real weather.
- Move. Place seedlings outdoors in a sheltered spot for short periods.
- Increase. Slowly add sunlight and wind exposure over one to two weeks.
- Plant. Transplant after conditions match the crop’s needs.
I have lost tomatoes to sudden cold more than once, including three especially painful late-frost seasons. Strong seedlings still cannot defeat the wrong weather, so I watch temperatures more than the calendar.
Watch the weather
Cold soil and surprise freezes can set back warm-season crops even when the seedlings look ready.
Avoiding Common Seed Starting Mistakes
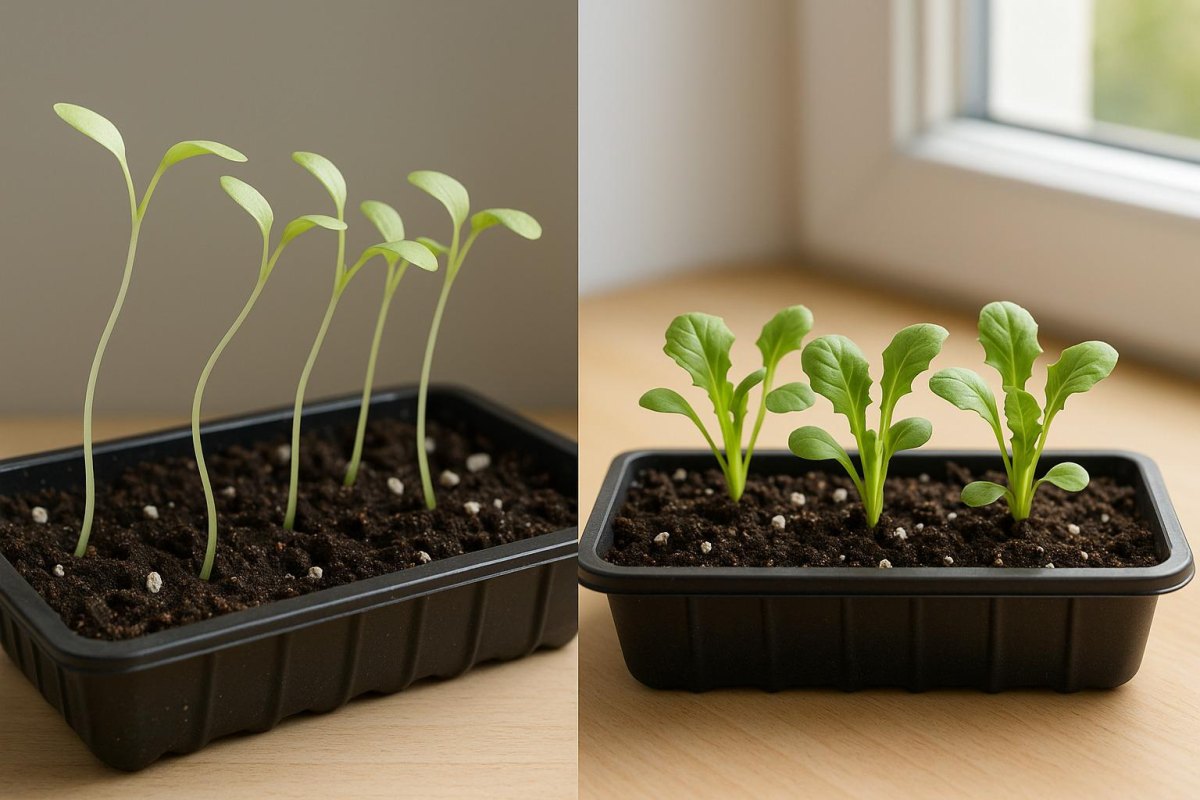
I keep a season post-mortem every year because failures are usually more useful than successes. The common mistakes are not dramatic; they are small choices repeated until the plants struggle. Starting too early, skipping labels, overwatering, and ignoring light are the ones I see most often.
My recommendation after fifteen years of growing is simple: start smaller than your enthusiasm wants. Four healthy trays you understand will teach you more than twenty trays you cannot keep up with. My old seed tins from Poppy are full of reminders like that, written one season at a time.
More Pinterest Visuals



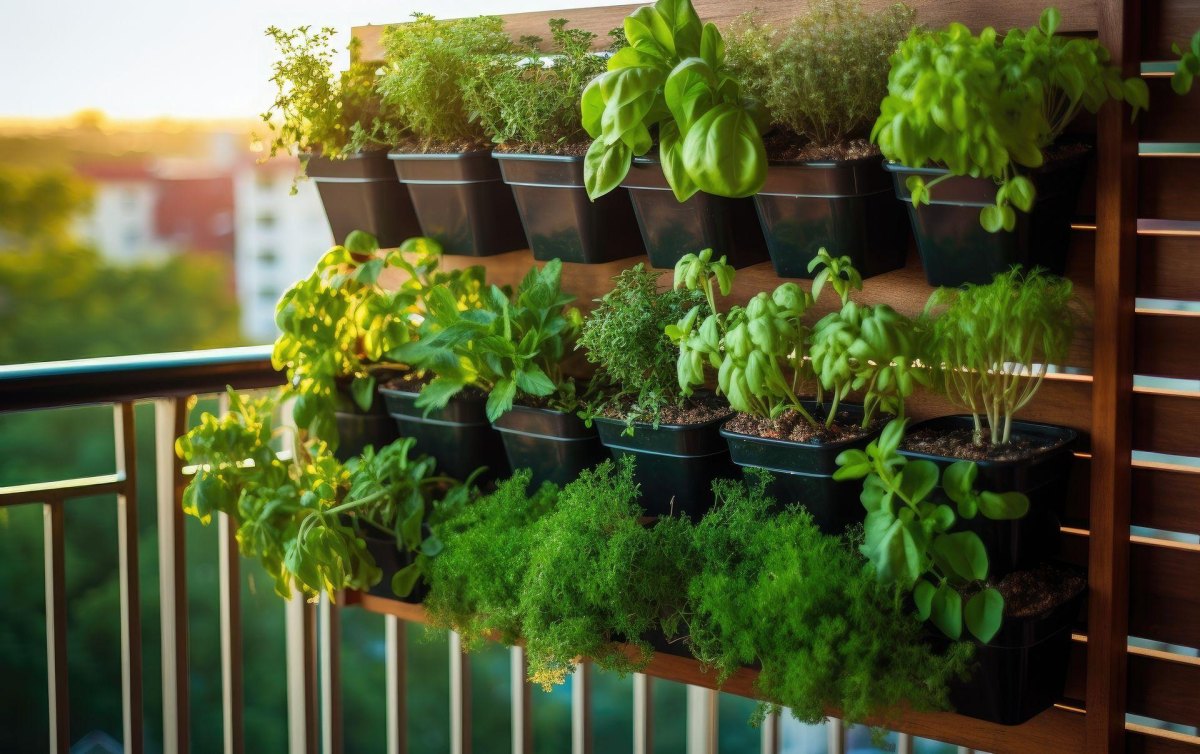 Balcony & Patio GardensSmall Space Garden Ideas That Make Every Inch Count
 Balcony & Patio GardensKübelpflanzen für die Terrasse – 15 Ideen für ein grünes und blühendes Outdoor-Paradies
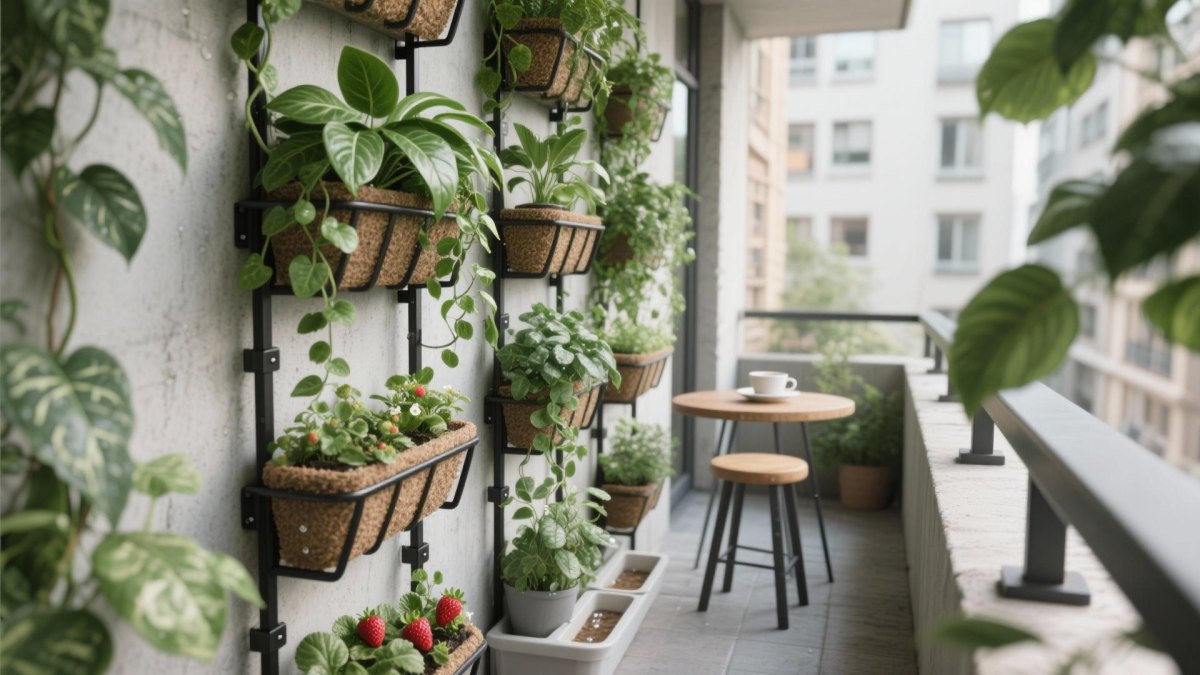 Balcony & Patio Gardens20 Balcony Garden Setup Ideas To Transform Your Outdoor
 Seasonal & Flower Containers16 Beautiful Container Garden Flower Combinations That Work