
Starting seeds indoors is where I save the most money in my Boise, Idaho zone 7a garden, but I have learned that tiny details decide whether a tray becomes a jungle or a compost experiment. My basement setup is simple: shelves, shop lights, seed trays, and fifteen years of notes from what worked and what failed.
I garden in a high-desert climate with about eleven inches of annual precipitation, alkaline soil, wind, and late frosts, so I count backward from my own frost dates instead of copying a calendar. Use your local extension service and your own last frost date to adjust these tricks. These are the seed starting hacks that have earned their space in my garden.
Start Seeds in Recycled Household Containers
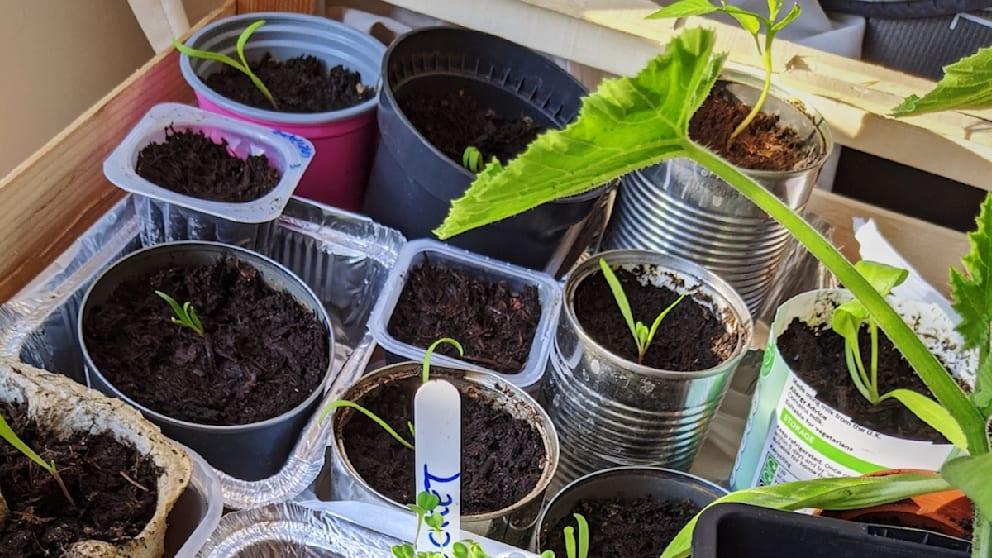
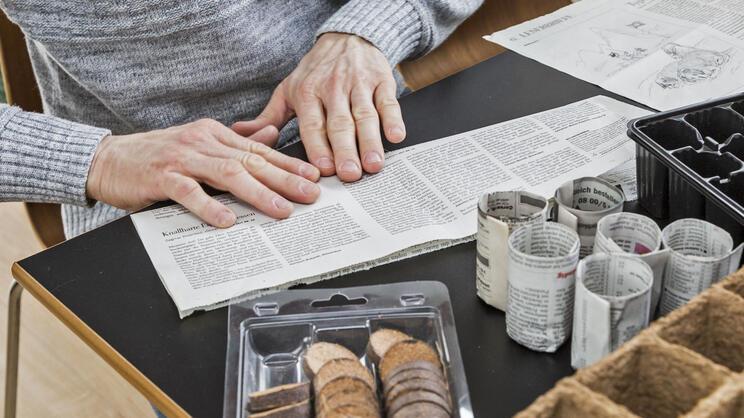
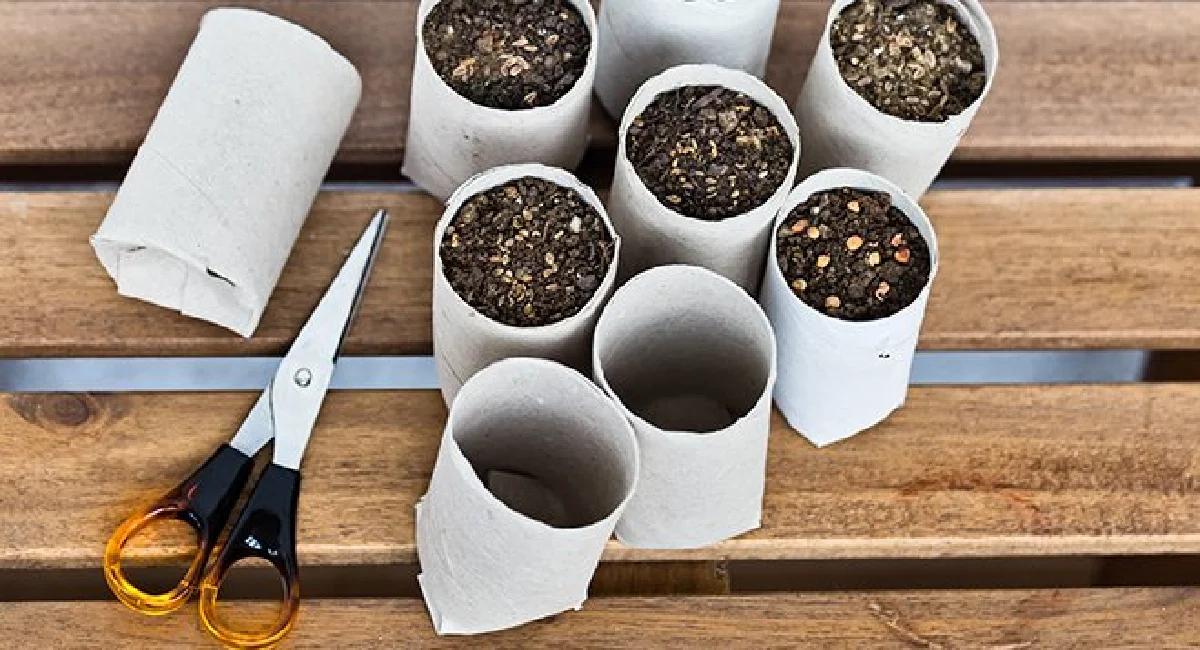
I have started seeds in yogurt cups, salad containers, and other clean household containers when I needed extra space. The trick is not the container itself; it is good drainage holes and a lightweight seed-starting mix. Extension guidance also notes that reused containers can work if they are cleaned and disinfected before use.
In my garden notes, recycled containers cost me almost nothing, but I only use them for crops that tolerate a little handling. For tomatoes, peppers, and flowers I want to baby, I still prefer sturdy cell trays because transplanting is easier.
My container tip
Poke drainage holes before adding mix. A container that holds water perfectly is usually the container that kills seedlings.
Use Bottom Heat to Speed Up Germination
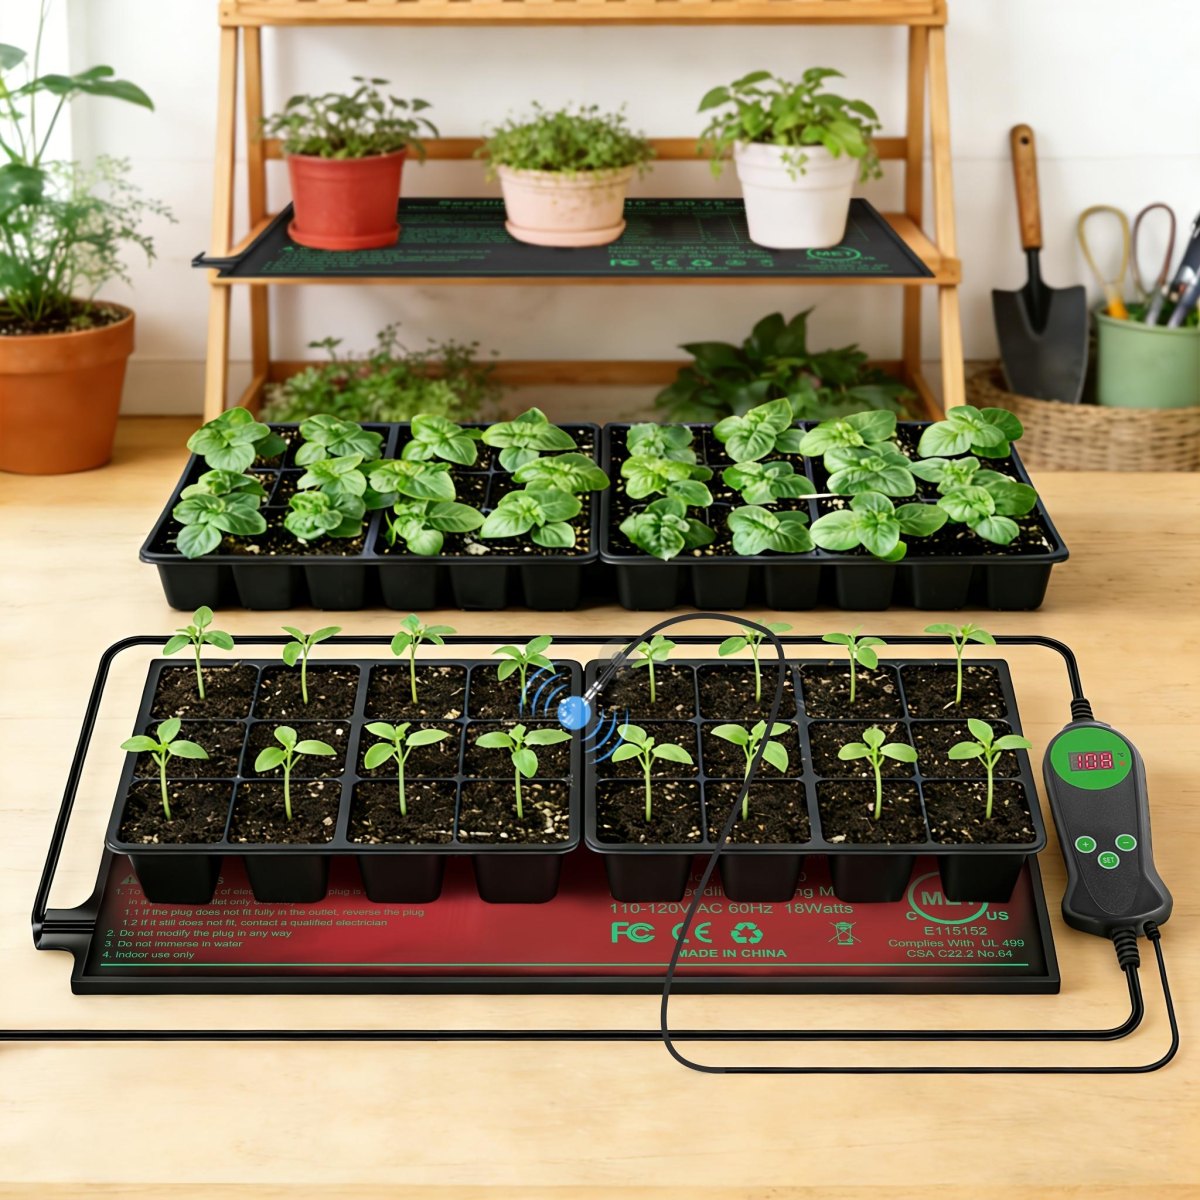
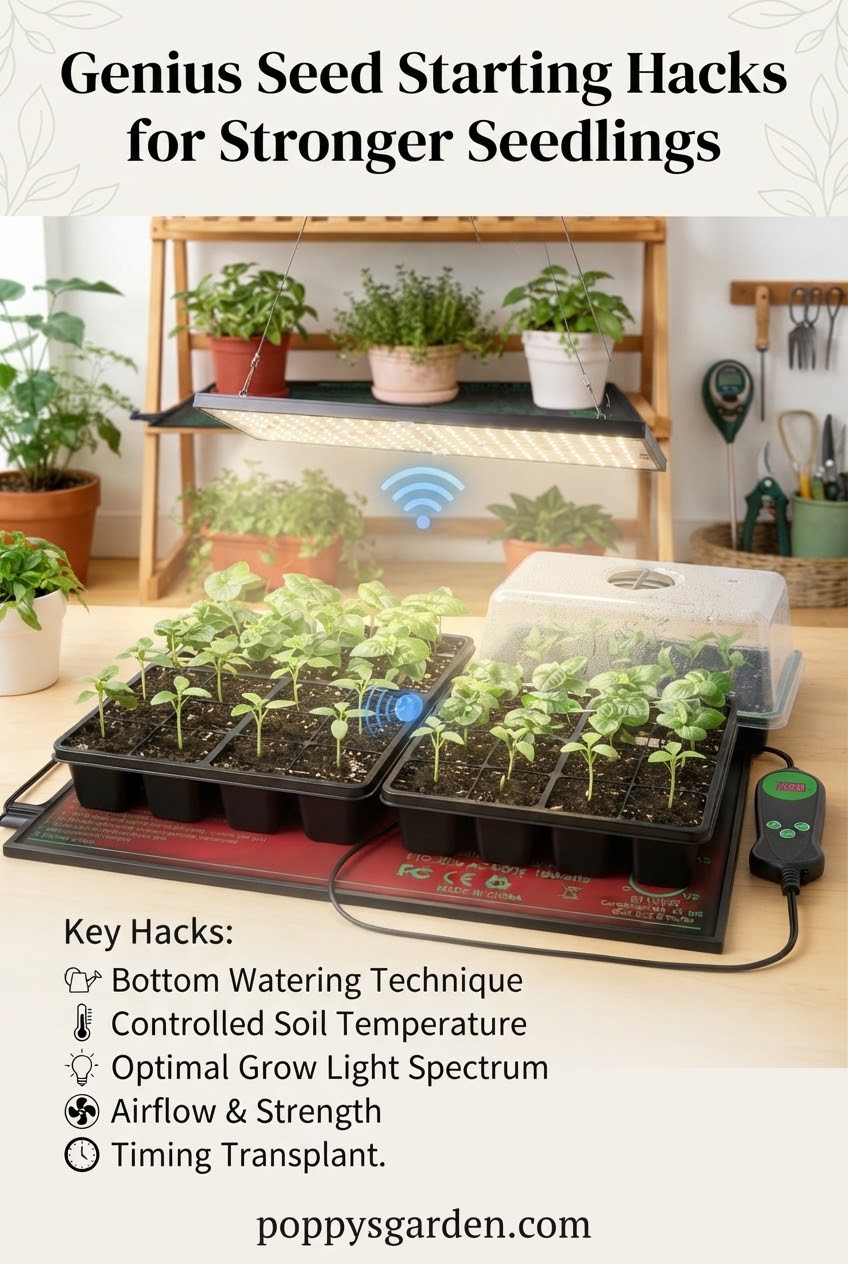
Warm soil wakes seeds up faster, especially for heat-loving crops like peppers and basil. I use a thermostat-controlled heat mat for those slow starters because it gives me more even germination than guessing with room temperature. Most seeds germinate well around 70 to 75°F in the growing medium.
I remove the trays from bottom heat after emergence because seedlings need strong light and slightly cooler conditions to grow sturdy instead of stretched. My old trial-garden habit is simple: change one variable, record the result.
| Crop | My approach |
|---|---|
| Peppers | Use bottom heat for reliable sprouting |
| Lettuce | Usually skip heat and focus on moisture |
Pre-Soak Tough Seeds Before Planting
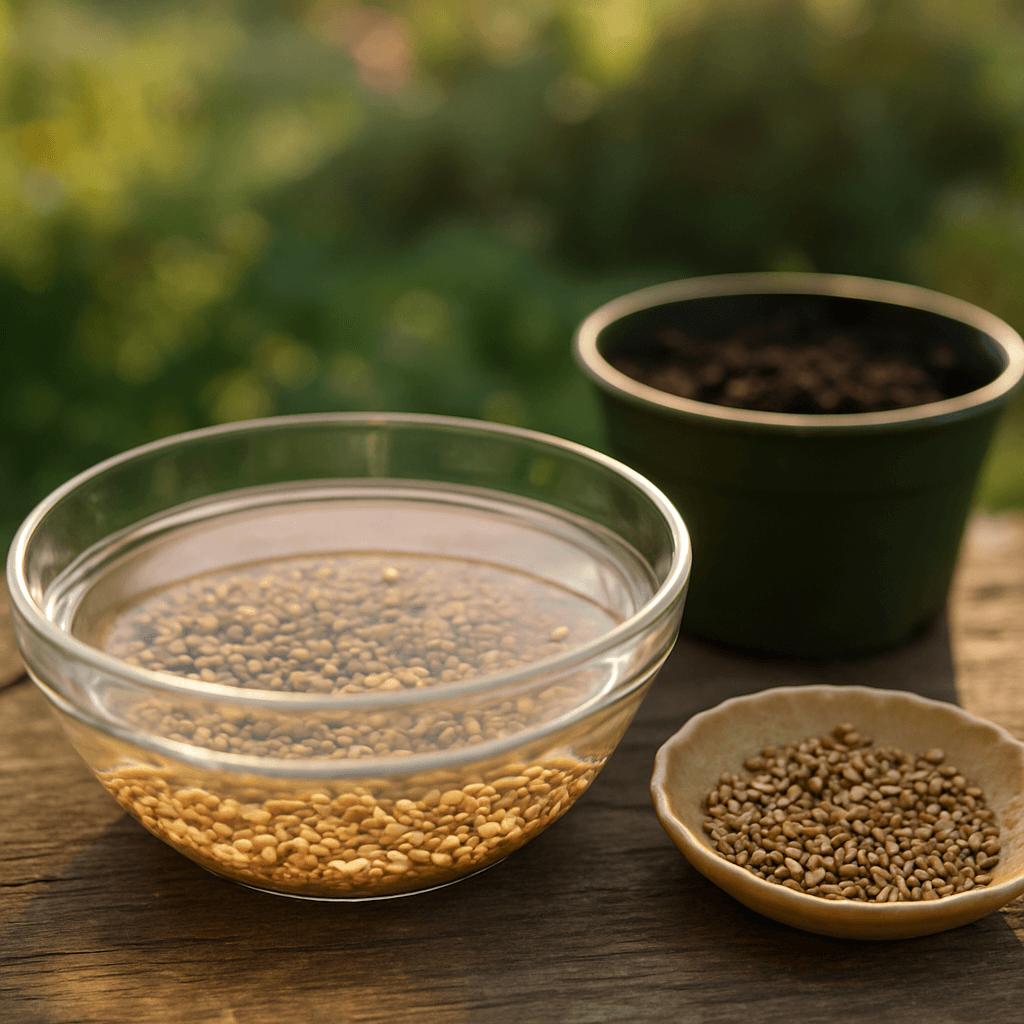
Some large seeds benefit from soaking because the seed coat needs time to absorb water. I use this trick selectively for seeds like peas and beans, but I do not soak everything because tiny seeds are easier to manage directly in the tray. Germination starts when seeds absorb water, so consistent moisture matters more than a complicated ritual.
My rule is simple: if the seed is large and hard, I consider soaking; if it is tiny, I focus on steady moisture and correct planting depth.
Make DIY Mini Greenhouses with Clear Covers
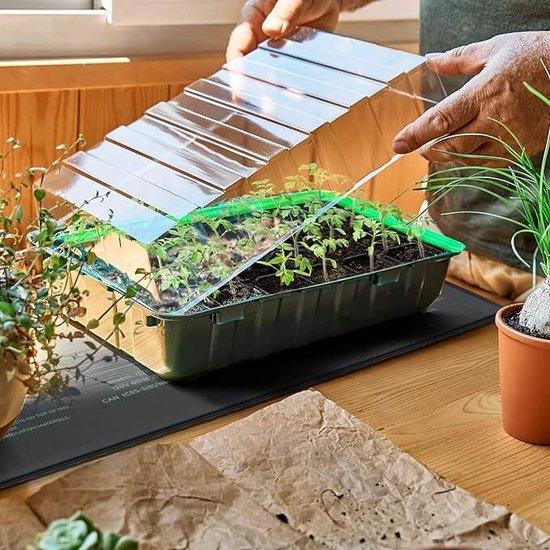
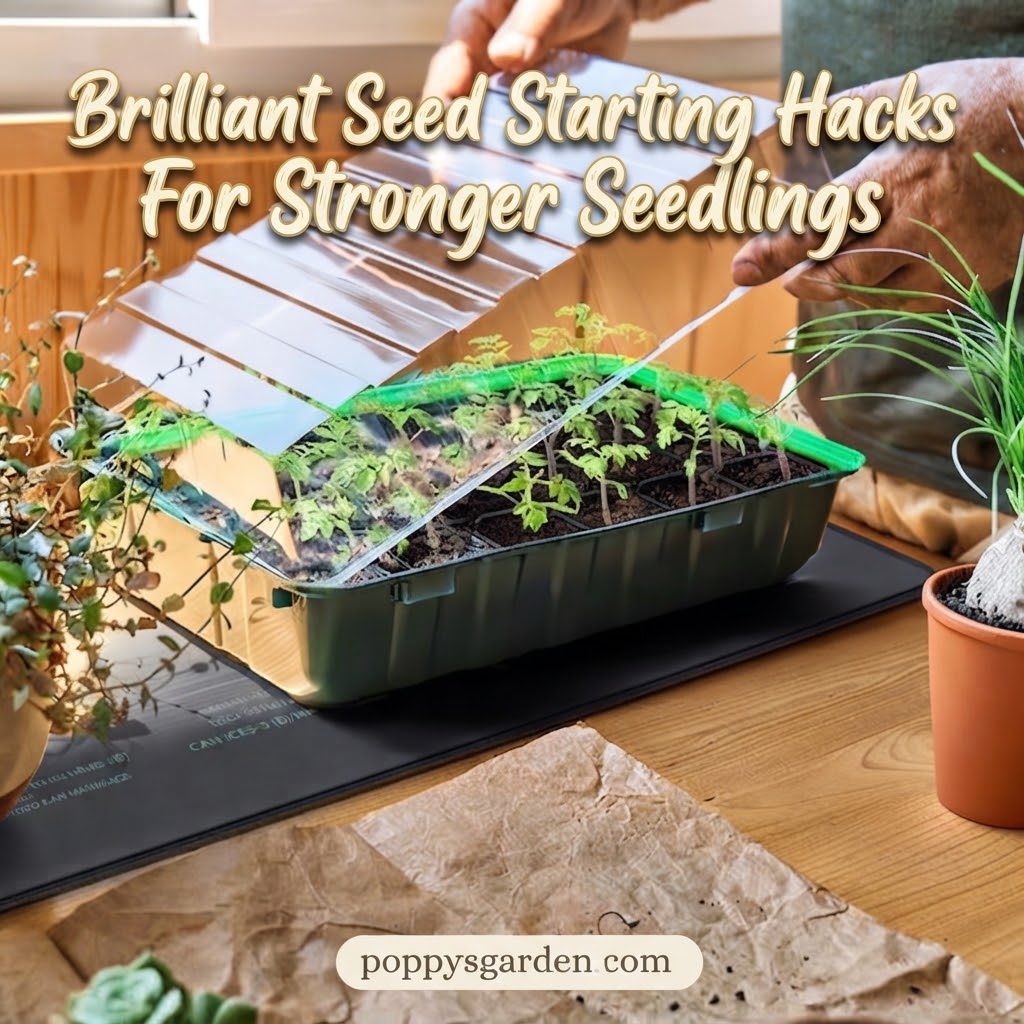
A clear cover is one of the cheapest upgrades in my seed-starting room. It keeps the surface from drying out while seeds are waking up. University extension resources recommend clear domes or plastic coverings to maintain humidity until germination.
The important part is removing the cover after seedlings appear. I have lost trays to damping-off by being too generous with humidity. Fresh air is part of growing, not an afterthought.
Avoid this mistake
Do not leave a sealed dome over seedlings after emergence. Wet, stagnant conditions invite problems.
Label Seed Trays for Easy Plant Tracking
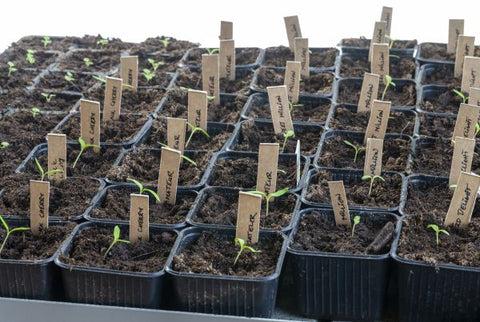
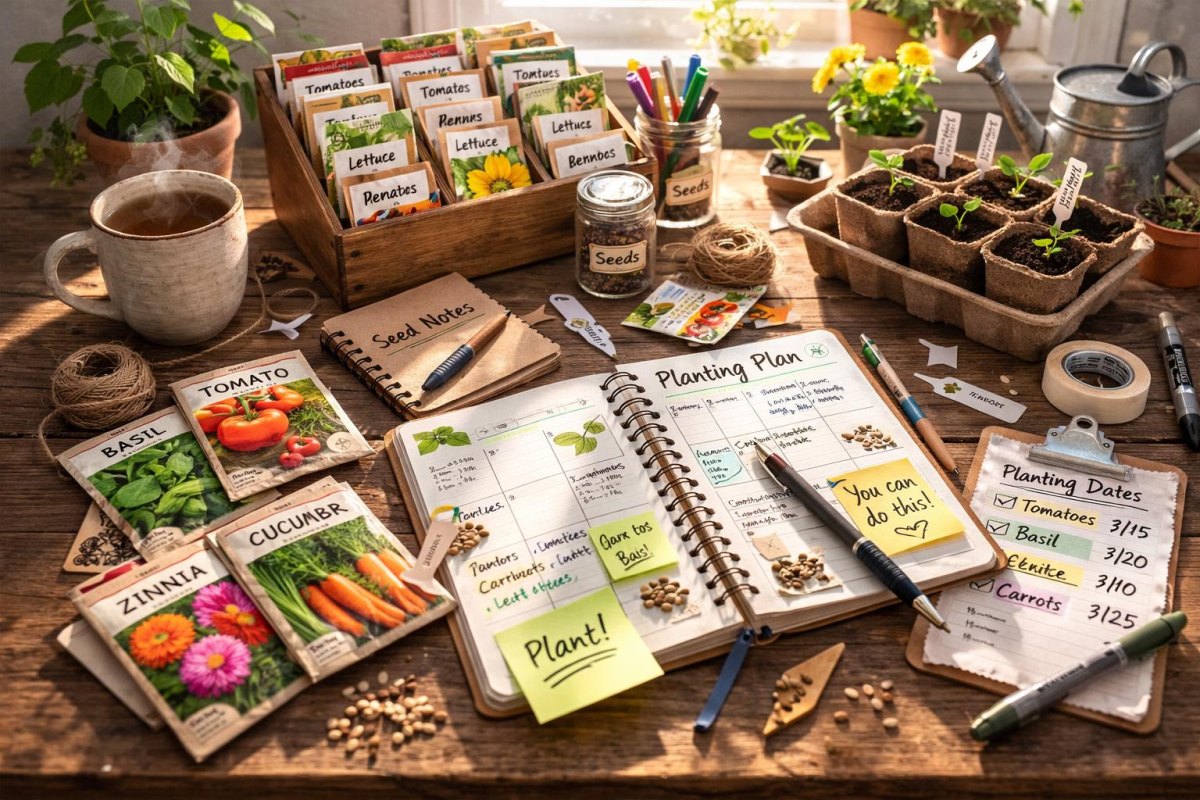
I learned this lesson during my seed company trial-garden years: unlabeled plants become mystery plants very quickly. I label every tray with variety and date because garden records matter when deciding what deserves space next year.
Labels also prevent the classic spring mistake of moving seedlings outside and forgetting which pepper is which. Extension recommendations also encourage labeling containers clearly with plant information and dates.
Use Proper Grow Lights for Strong Seedlings
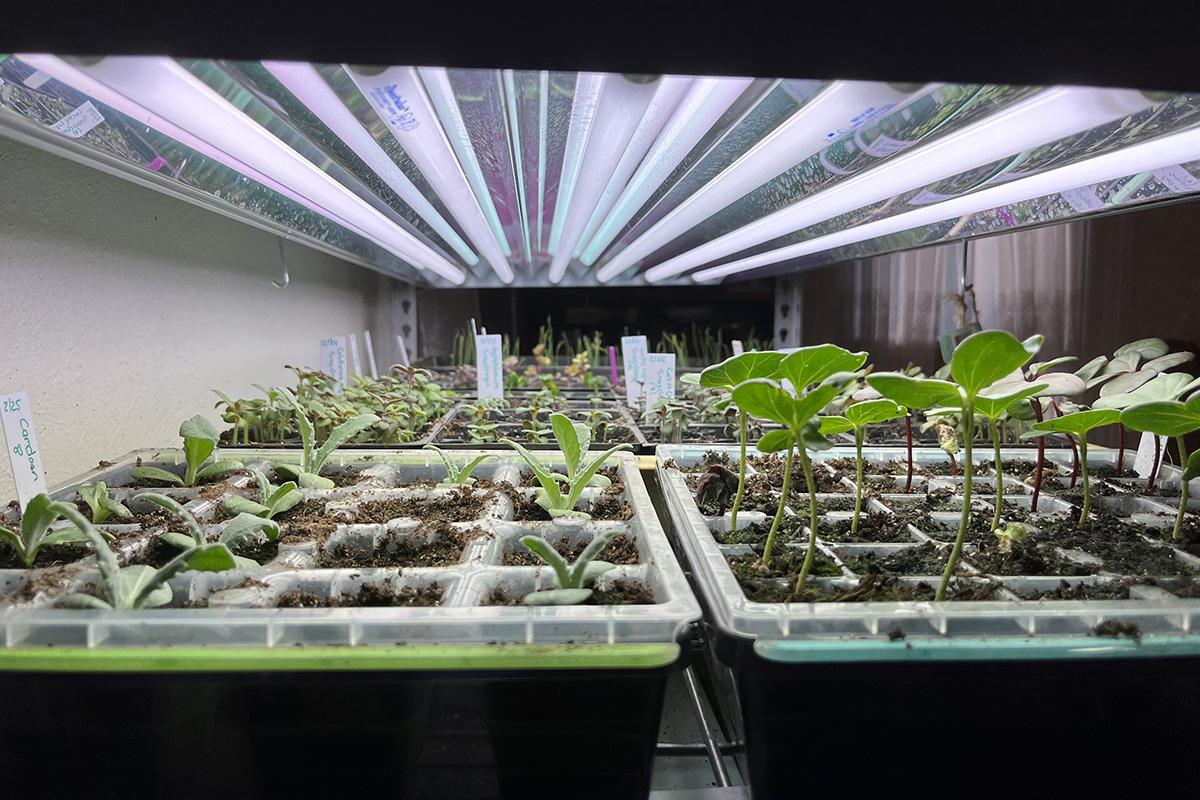
My basement grow lights are not fancy, and I am completely fine with that. Seedlings need enough intensity and duration, not a beautiful setup for social media. Extension guidance recommends supplemental lights because windows often produce tall, weak seedlings.
I run lights for roughly 12 to 16 hours and keep them close enough that seedlings do not stretch. The difference between a strong transplant and a floppy one is often consistent light.
12–16 hours
Typical daily light range for indoor seedlings
Prevent Leggy Seedlings with Correct Light Placement
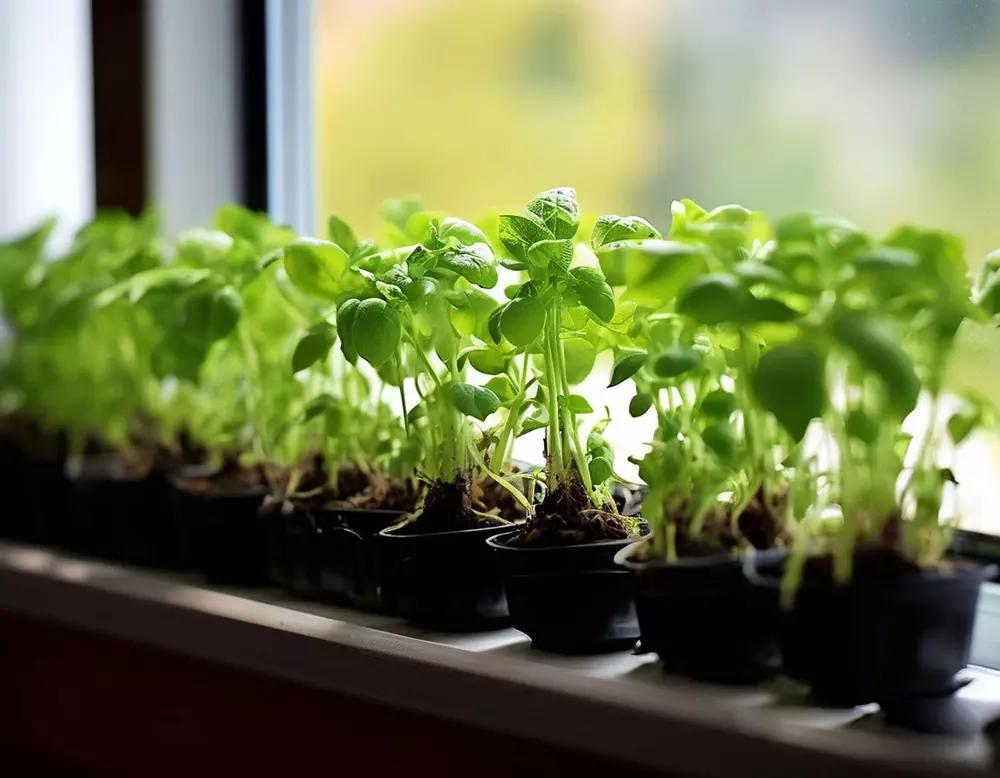
Leggy seedlings are usually a light problem, not a seed problem. I have created my share of weak tomato plants by trusting a sunny window too much. Seedlings grow best with strong light close overhead and good airflow.
When I see thin stems, I fix the environment first: move lights closer, reduce excess warmth, and add gentle airflow. My goal is a short, sturdy transplant that can handle Boise wind.
Signs of good light
- Compact growth
- Strong stems
Signs of weak light
- Long stems
- Pale leaves
Bottom Water Seedlings to Protect Roots
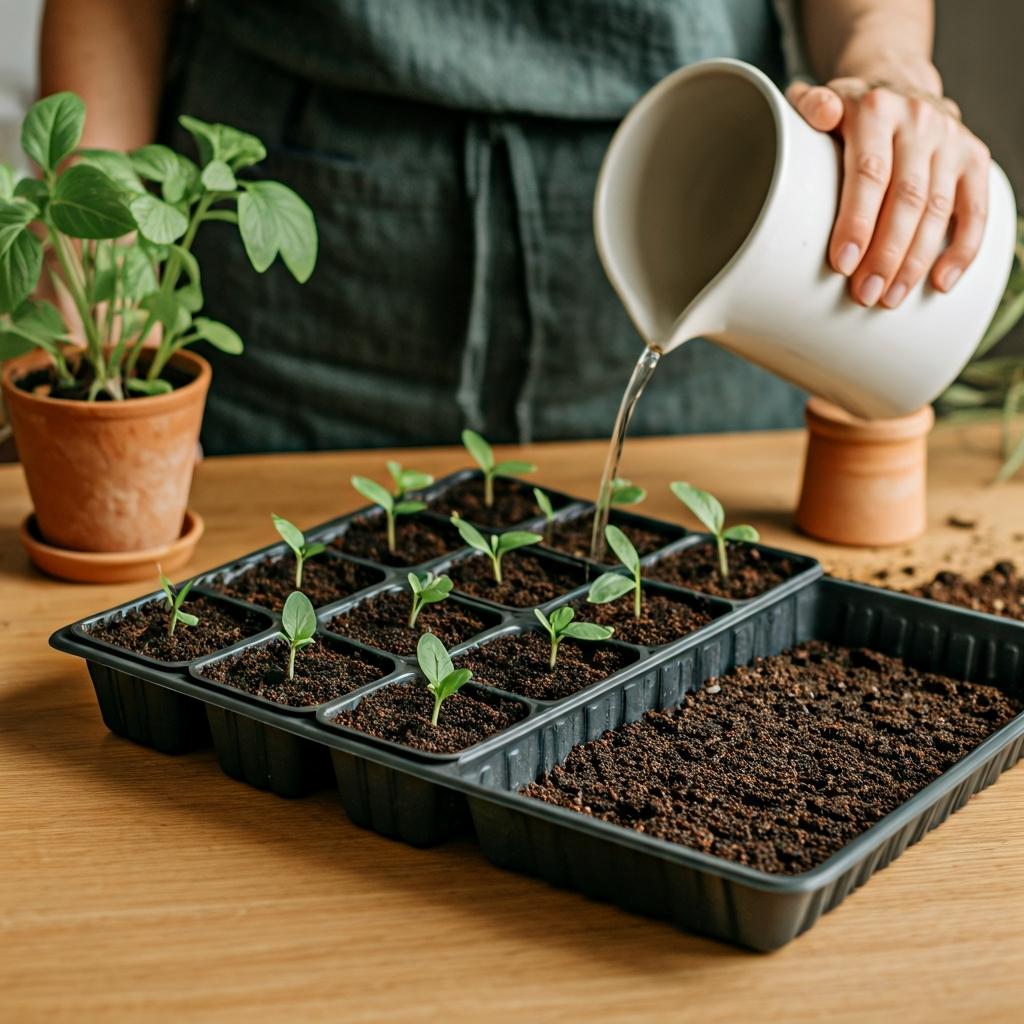
I bottom-water many of my seedlings because it keeps the mix evenly moist without blasting tiny roots around. The goal is damp, not soggy. Extension guidance notes that bottom watering can help avoid disturbing seeds and young roots.
I set trays in water briefly, let the mix absorb what it needs, then remove the tray. Overwatering has caused more seedling failures in my garden than forgetting a single watering.
Harden Off Seedlings Before Transplanting
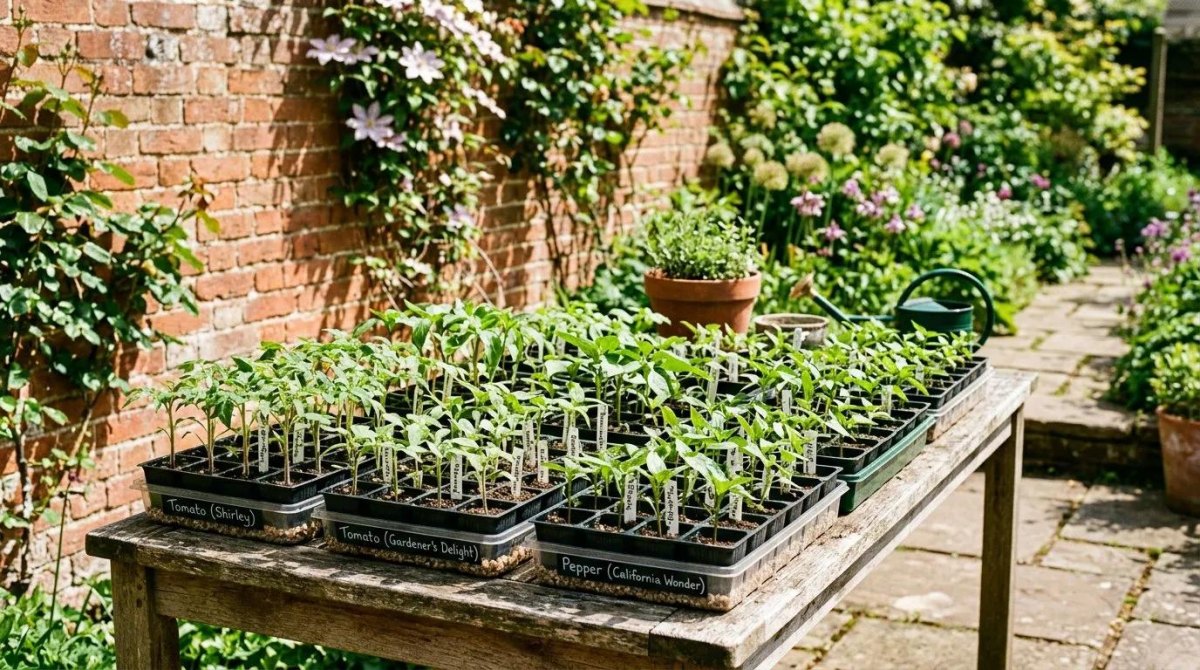
Moving seedlings straight from my basement to full Idaho sun is a recipe for stress. I harden plants gradually before they meet real weather, especially because my garden gets wind and sudden temperature changes. Extension guidance recommends increasing outdoor exposure gradually over about a week.
I start in shade, add more hours outside, and watch the forecast. My three late-frost tomato disasters taught me that a healthy transplant is still vulnerable.
Timing reminder
Count backward and forward from your own frost dates, not mine. Zone 7a in Boise is not the same as another gardener's zone.
Save Space with Vertical Seed Starting Shelves
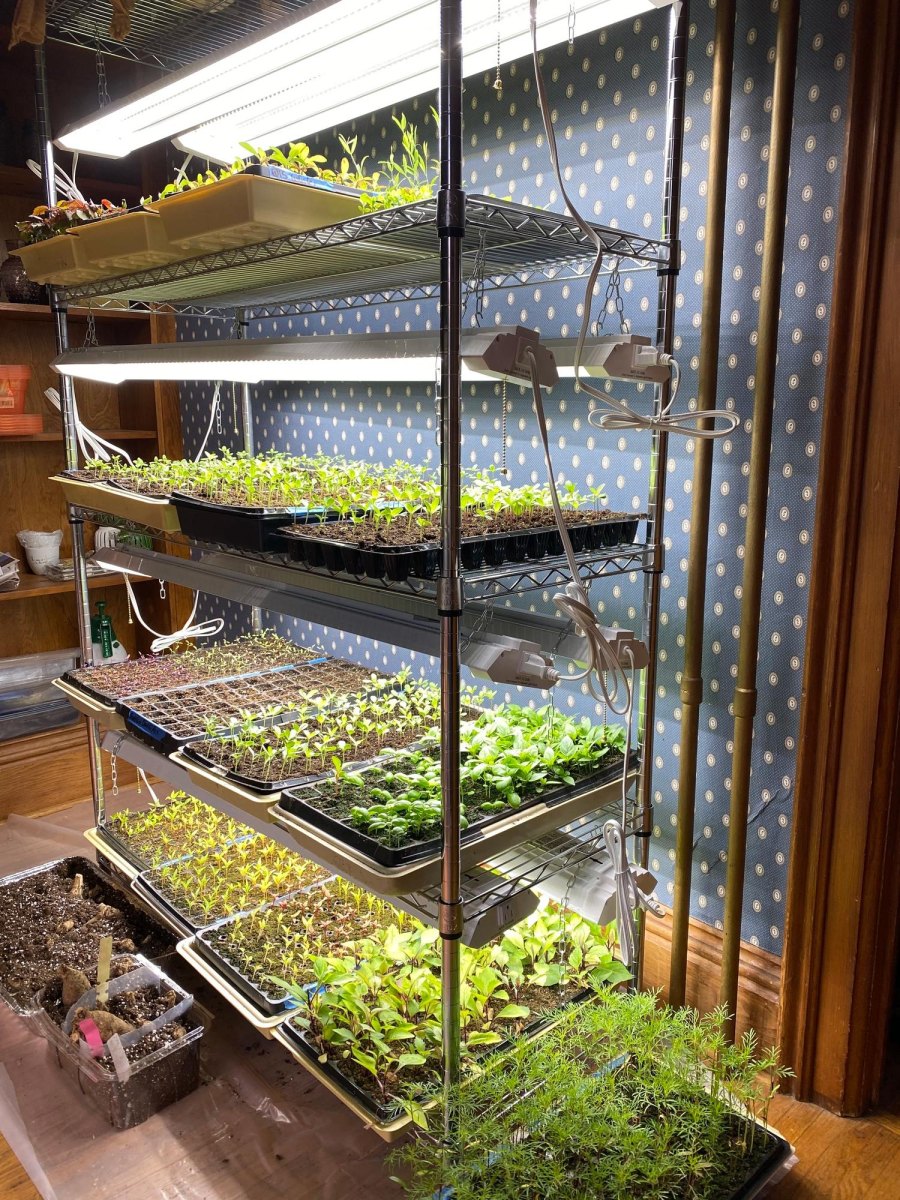
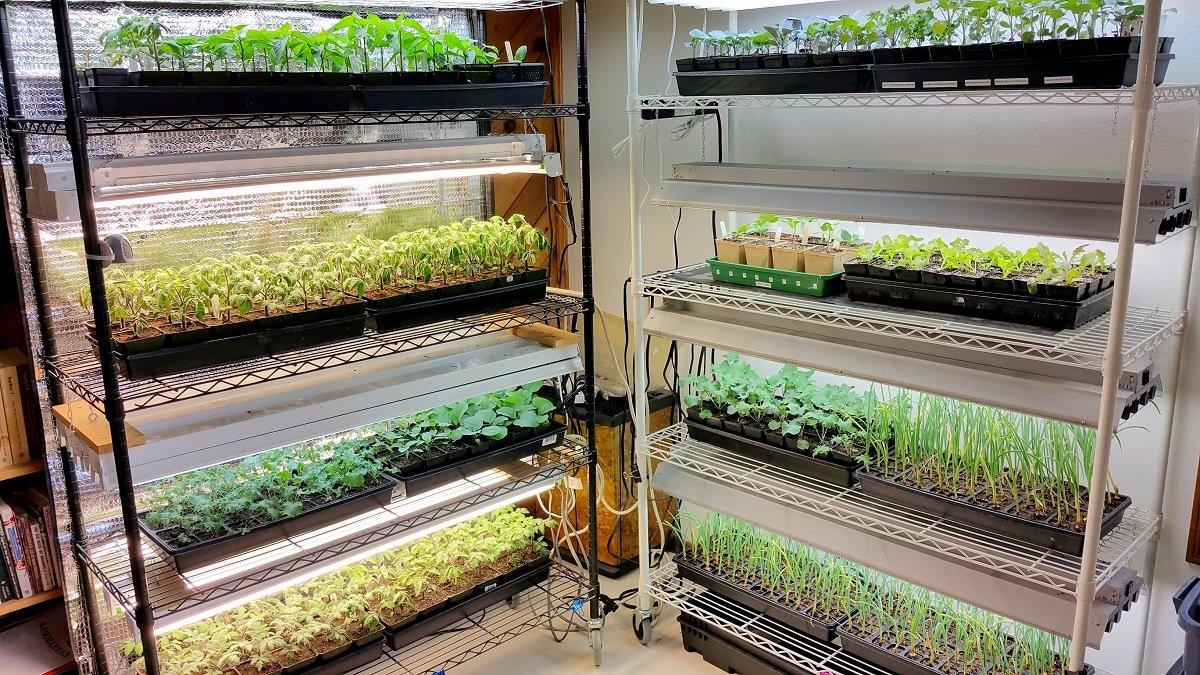
My basement shelves let me grow hundreds of seedlings without taking over the house. Vertical setups make sense when floor space is limited, but each shelf needs proper airflow and enough light coverage.
I keep my system practical: sturdy shelving, adjustable lights, trays that fit, and a notebook nearby. The best setup is the one I can maintain during the busy spring weeks.
What I track each season
I record germination, transplant dates, varieties, and failures. The plants tell me what to change next year.
More Pinterest Visuals



 Balcony & Patio GardensSmall Space Garden Ideas That Make Every Inch Count
 Balcony & Patio GardensKübelpflanzen für die Terrasse – 15 Ideen für ein grünes und blühendes Outdoor-Paradies
 Balcony & Patio Gardens20 Balcony Garden Setup Ideas To Transform Your Outdoor
 Seasonal & Flower Containers16 Beautiful Container Garden Flower Combinations That Work